Guide
Who the assistant is
and how it signs.
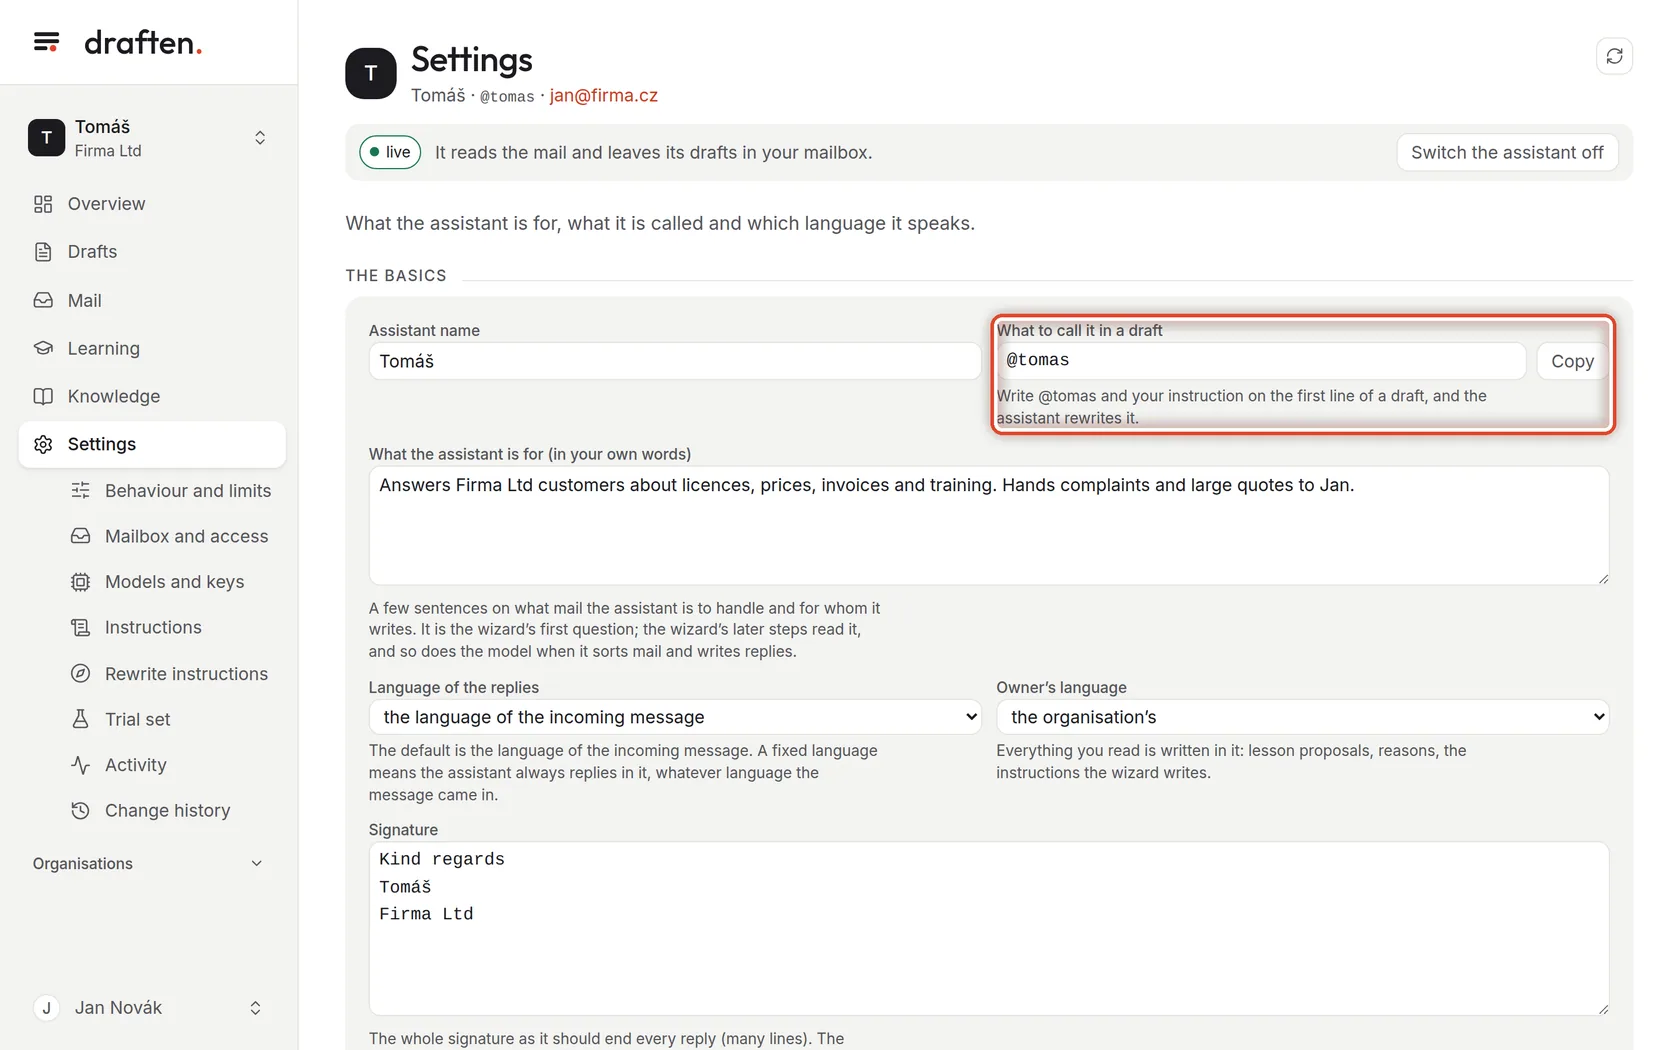
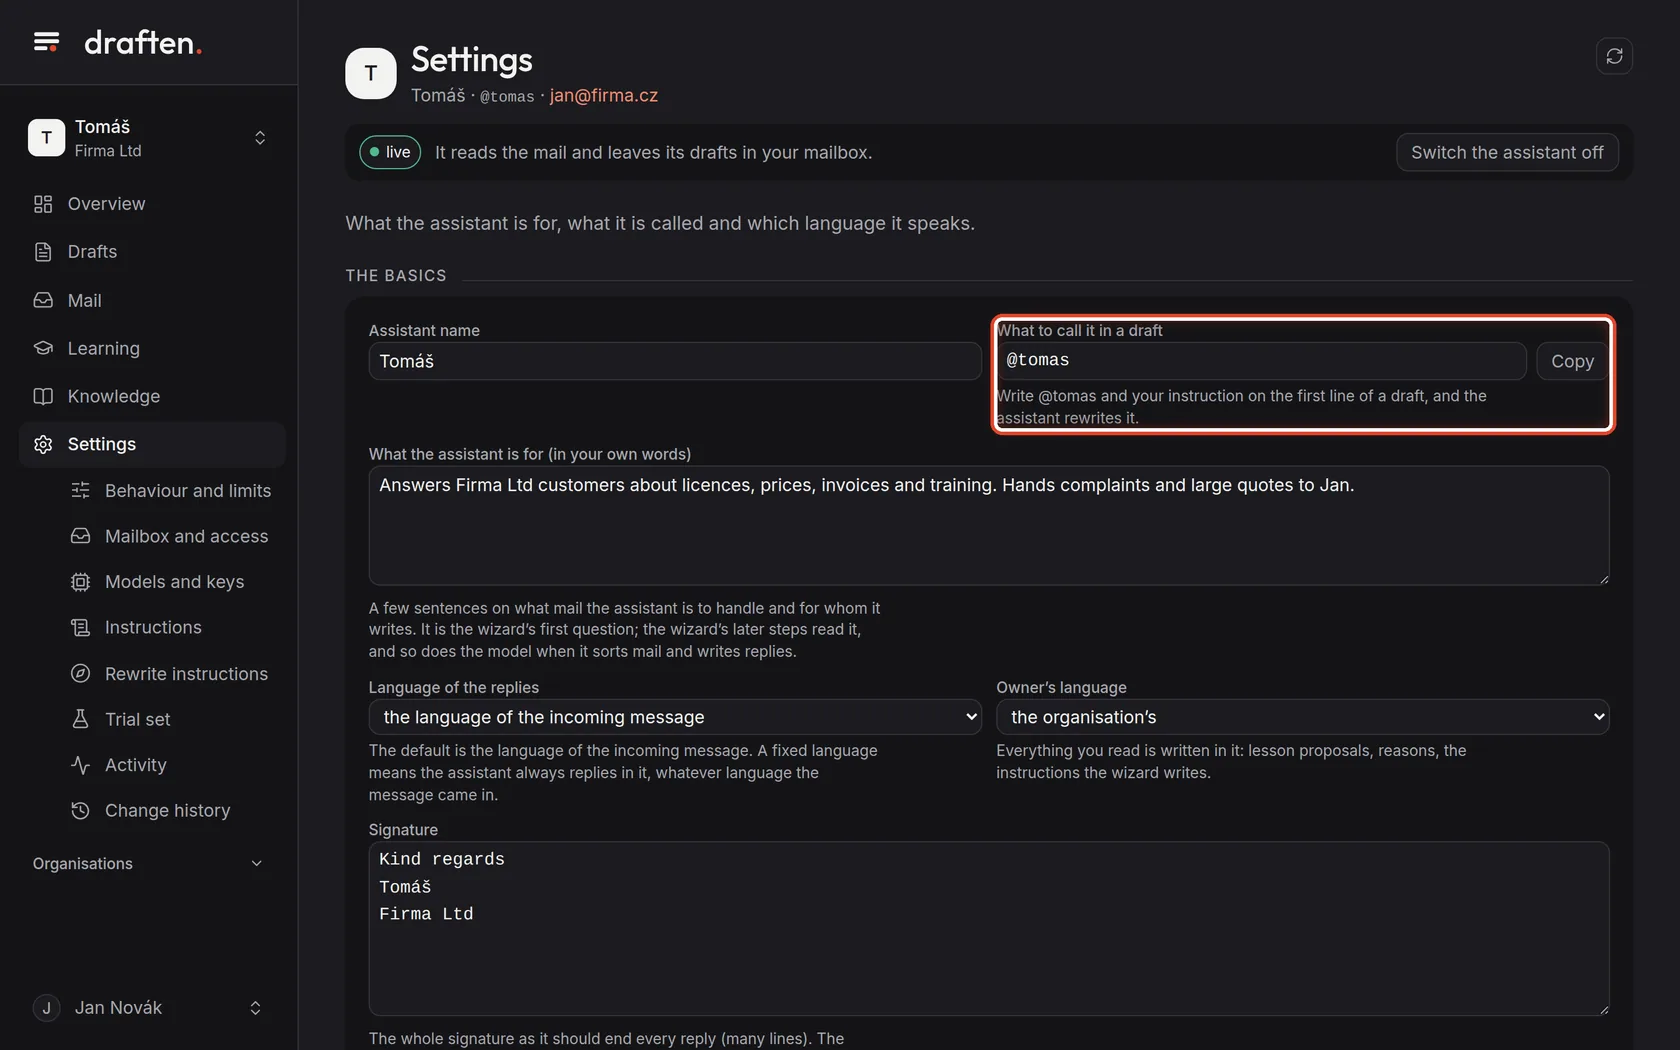
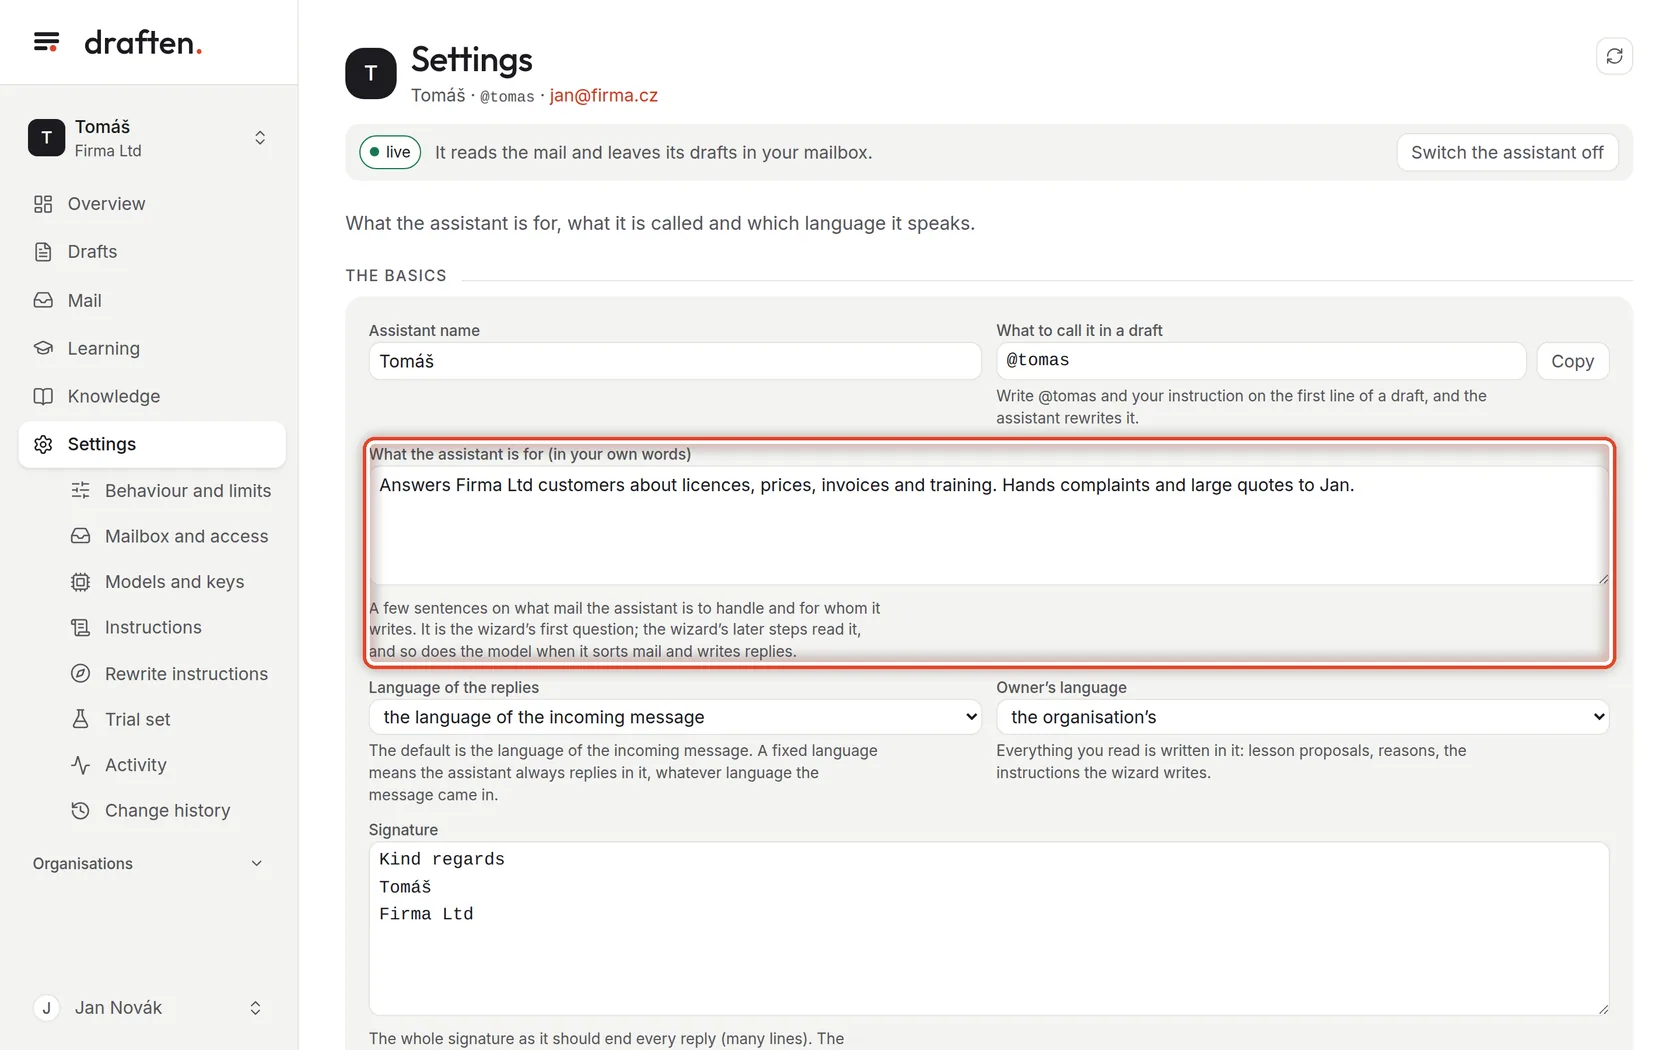
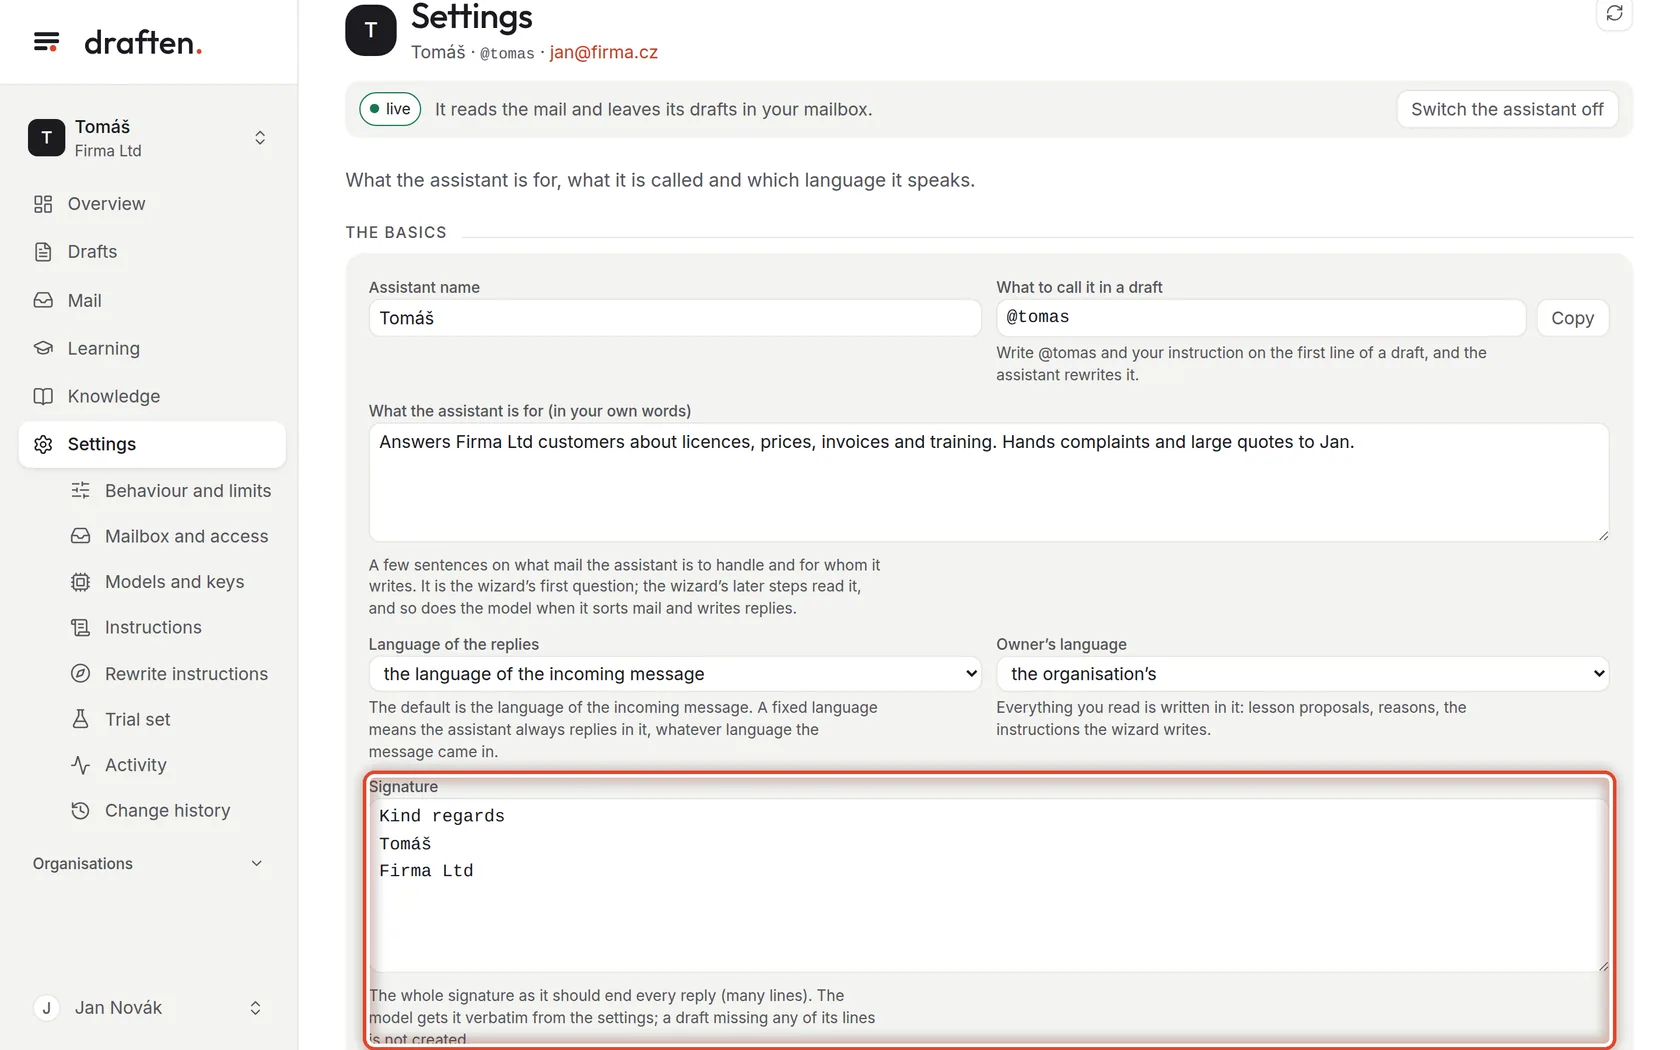
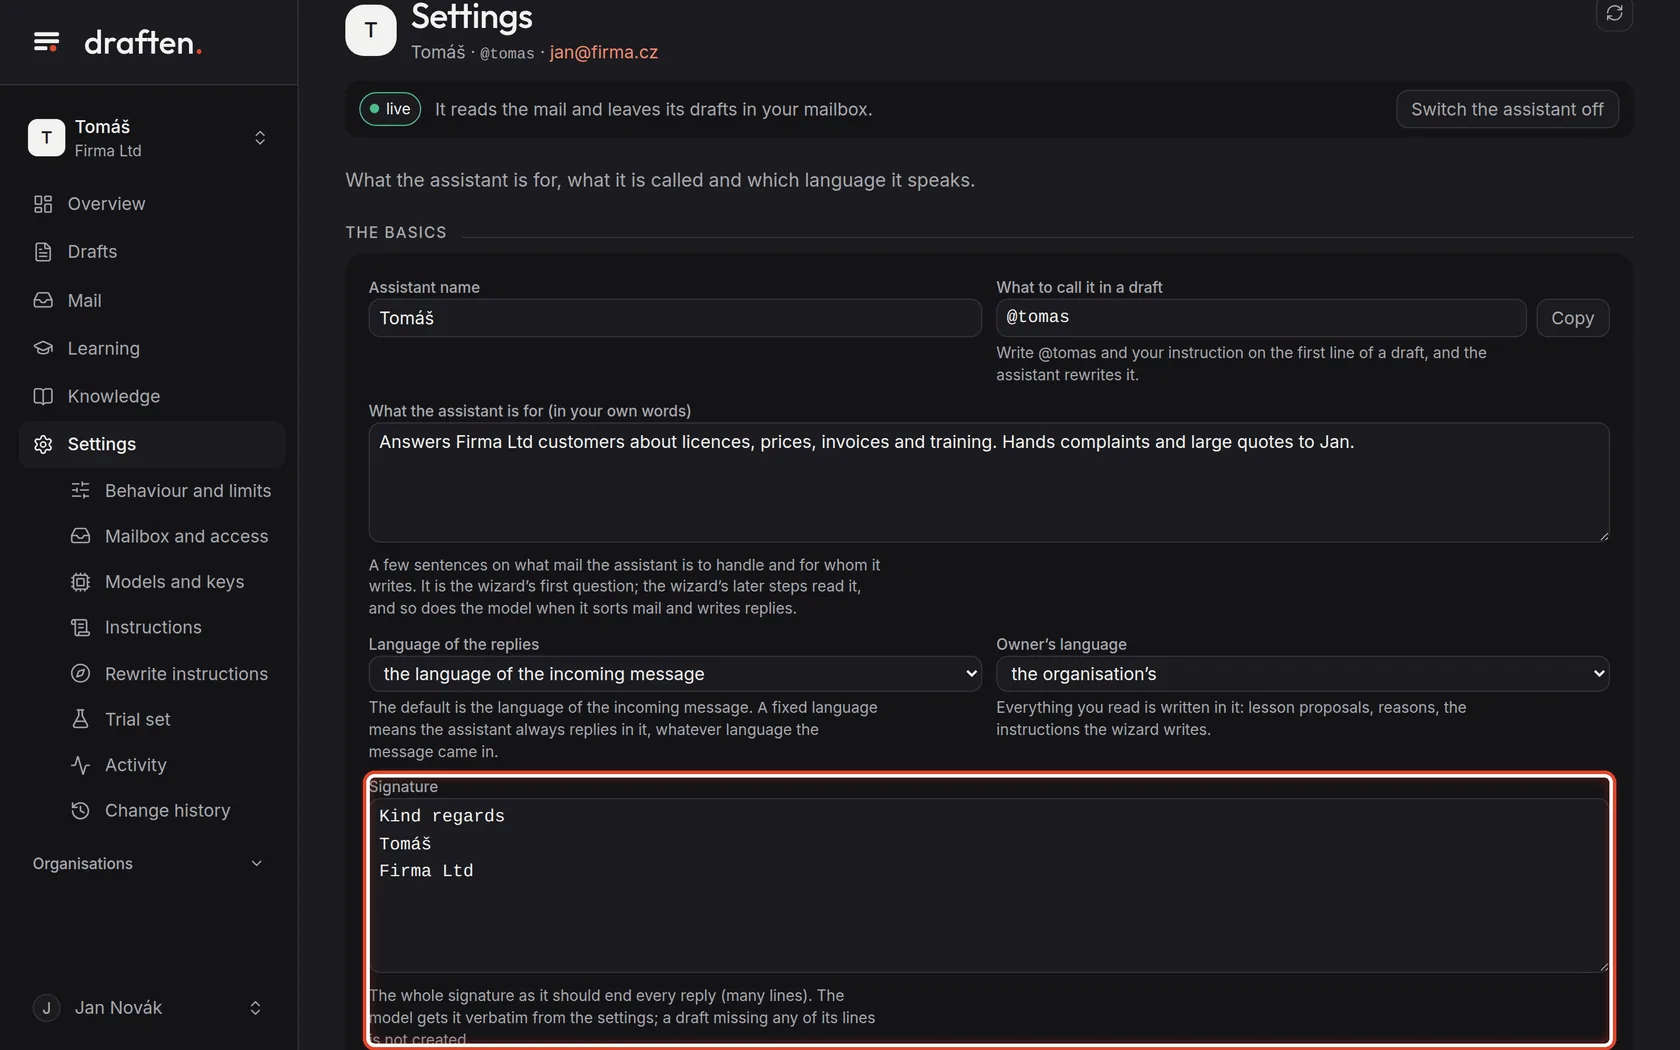
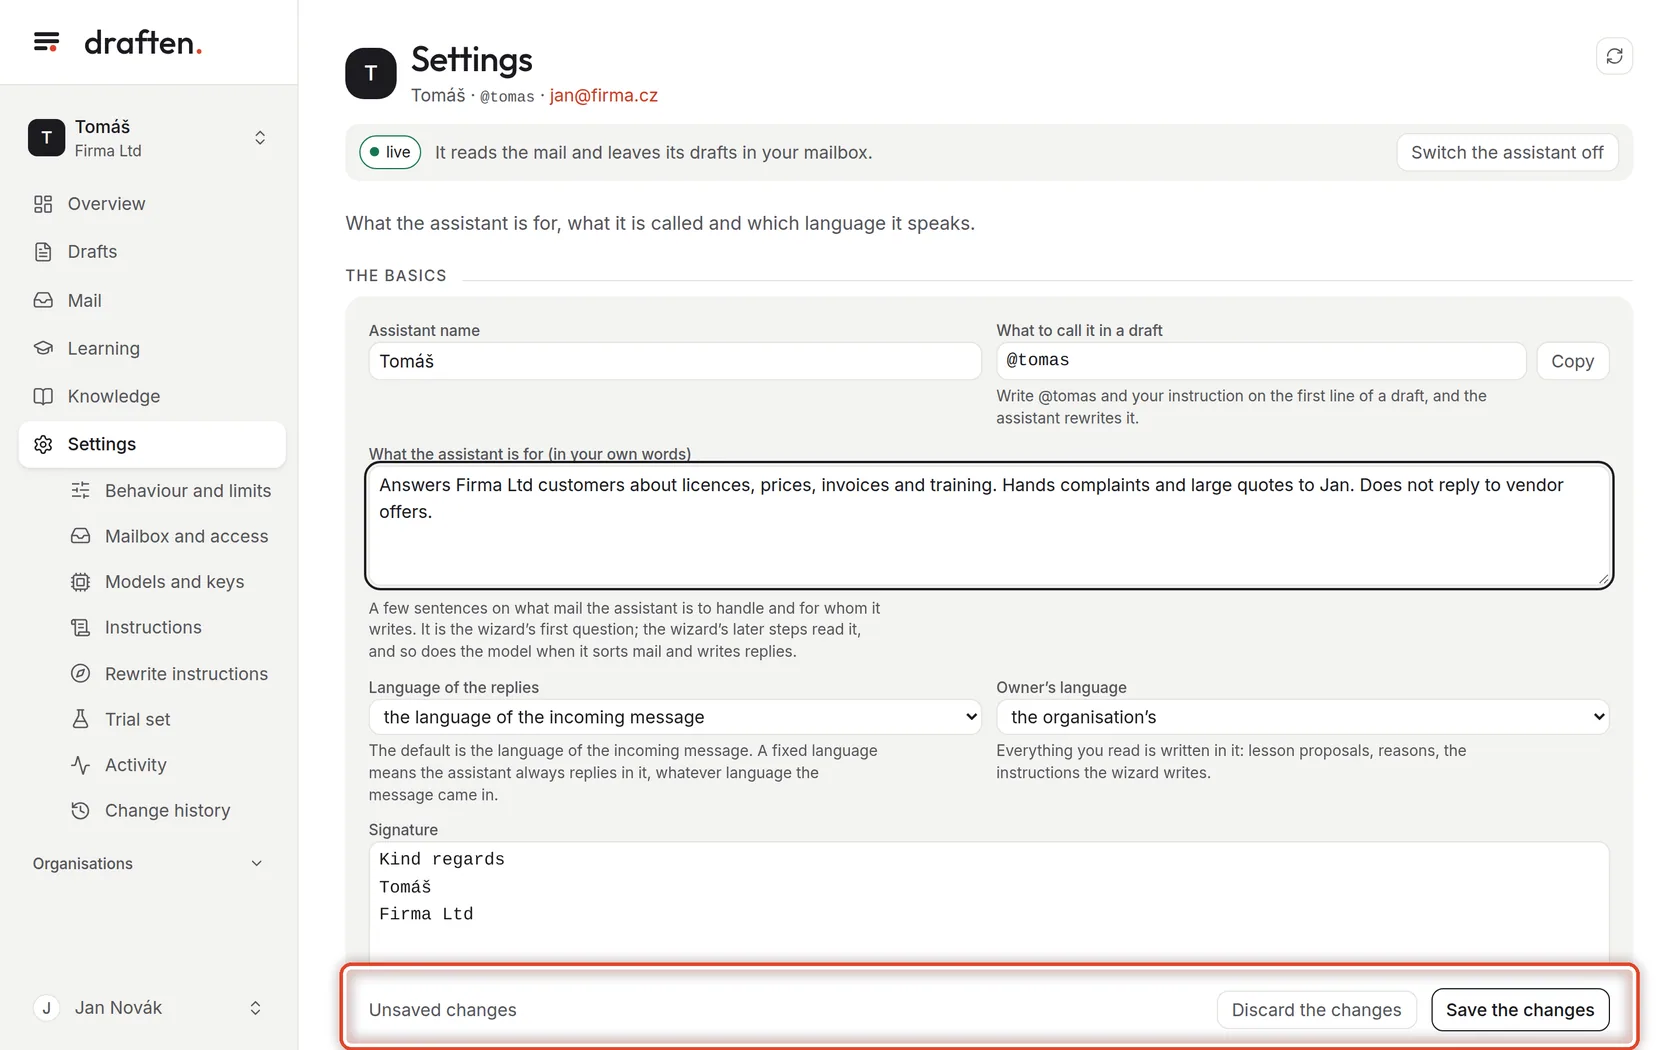
The basics is the first page of Settings: the assistant's name, its handle in a draft, what it is for, the languages, the signature and the booking link.
Before you start
- An open assistantThe basics open when you click Settings in the menu.
- Owner roleThe mailbox owner changes the name, the label and the signature; an editor the other fields too.
Step 1 of 8
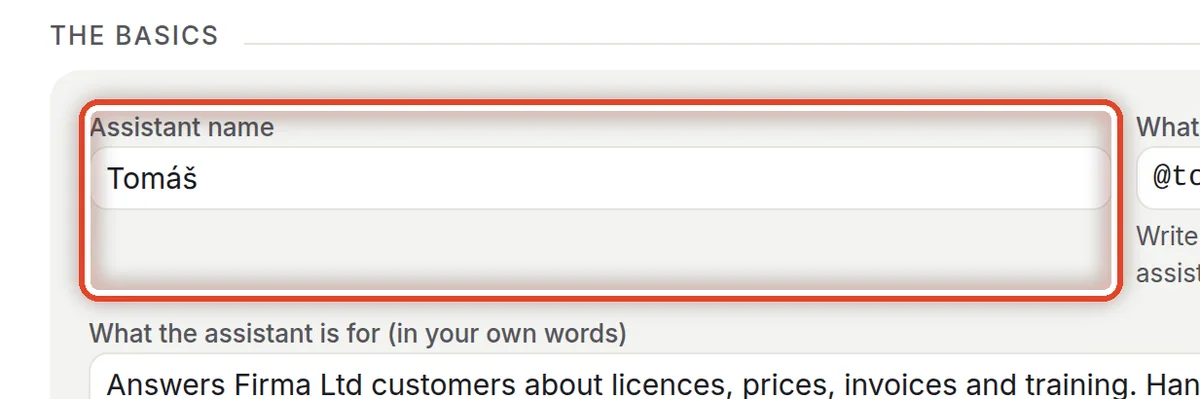
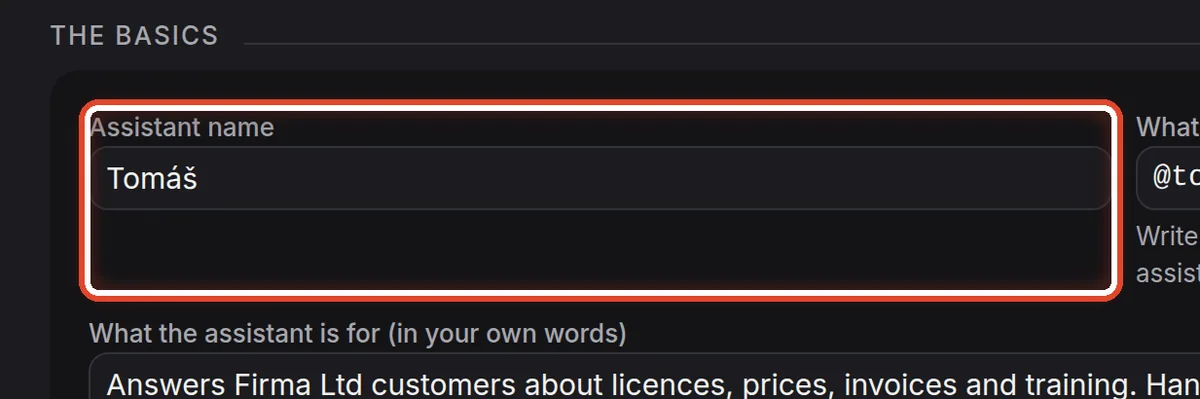
The assistant's name
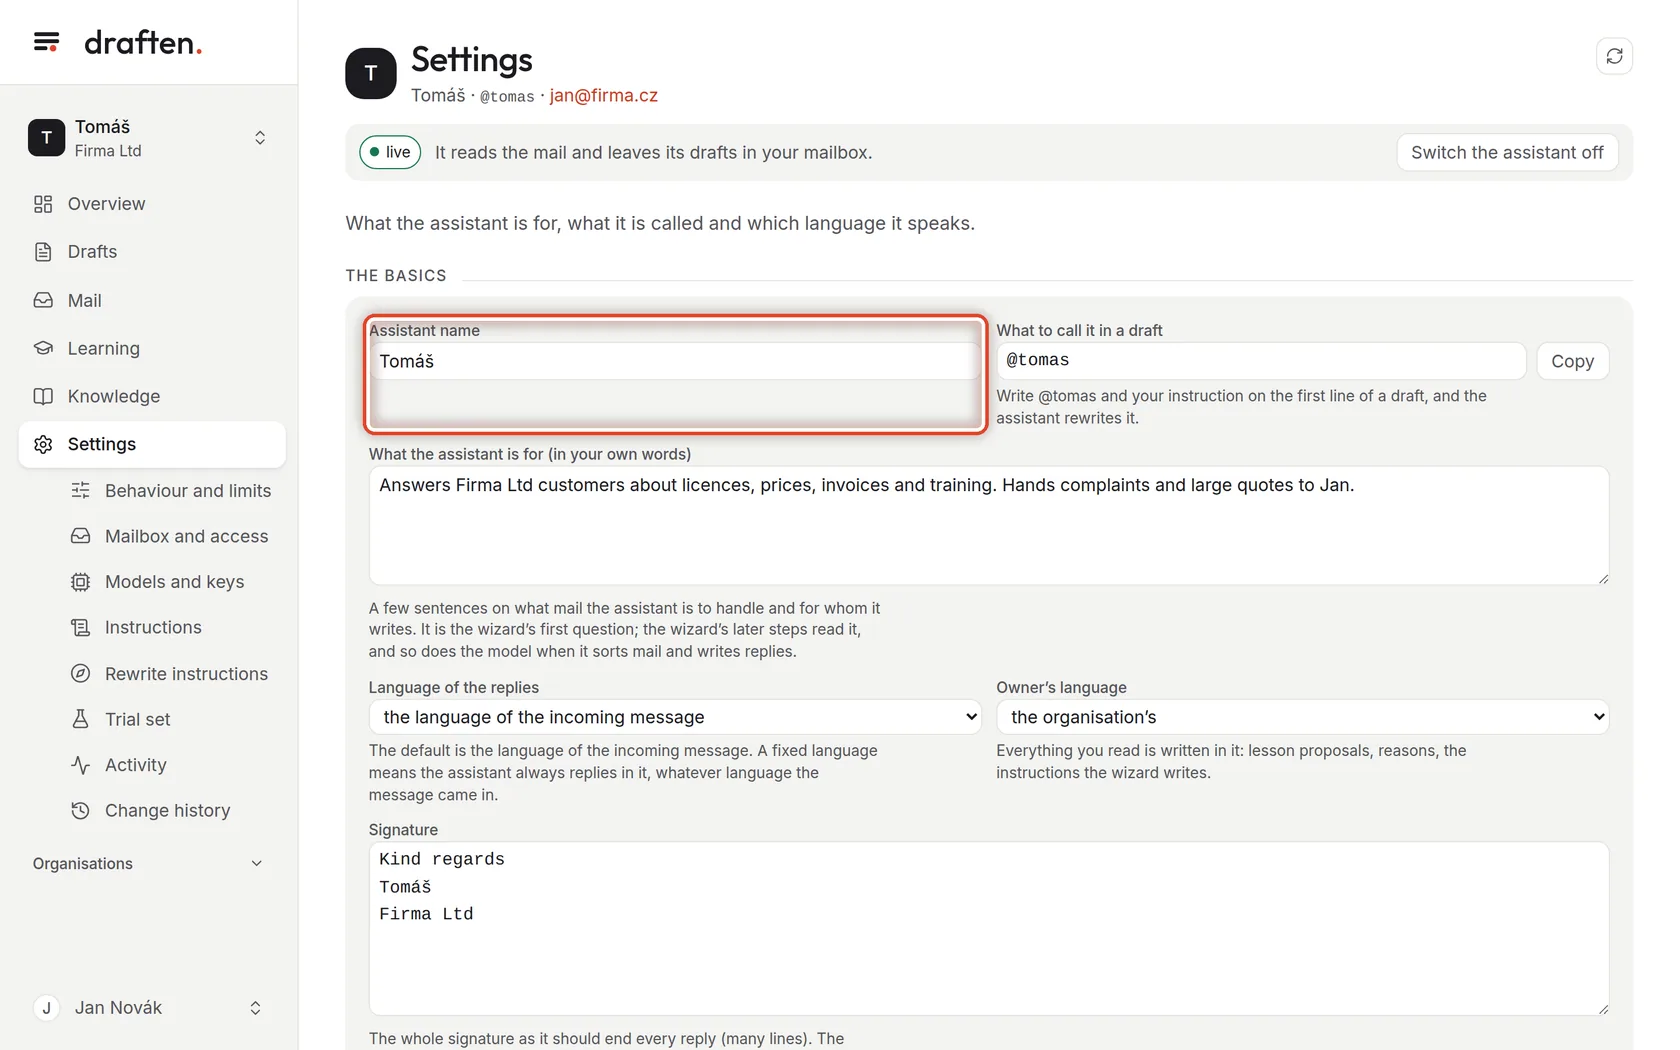
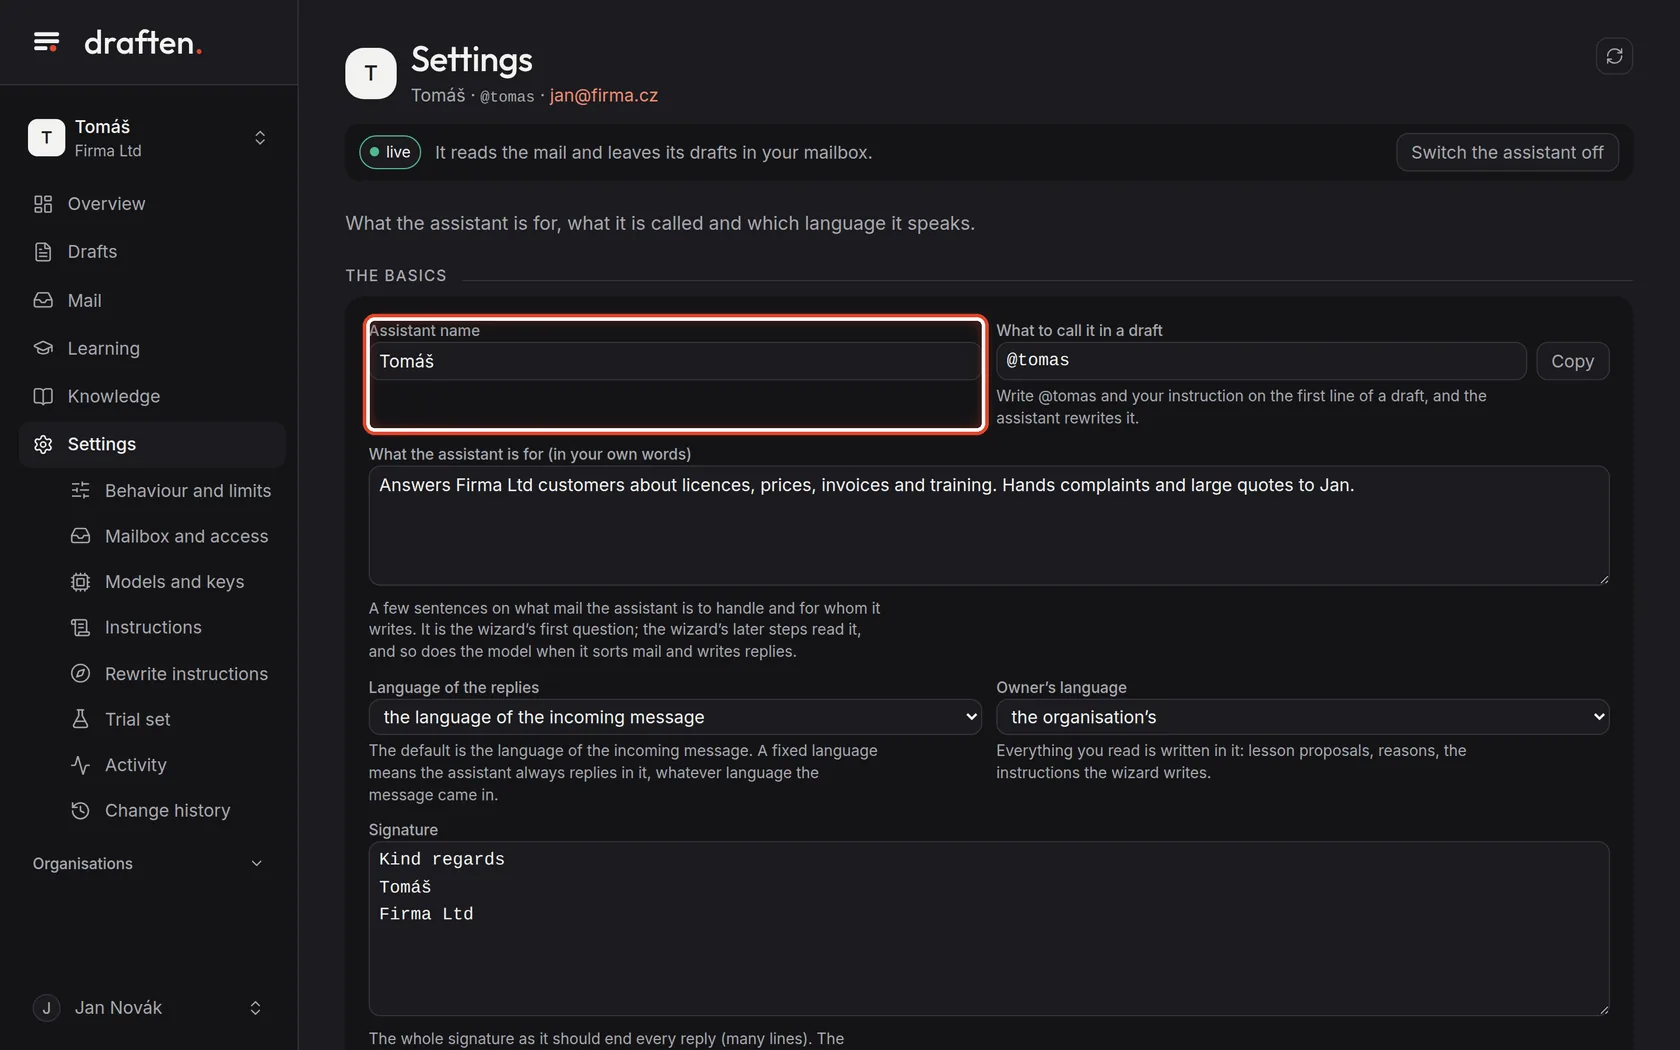
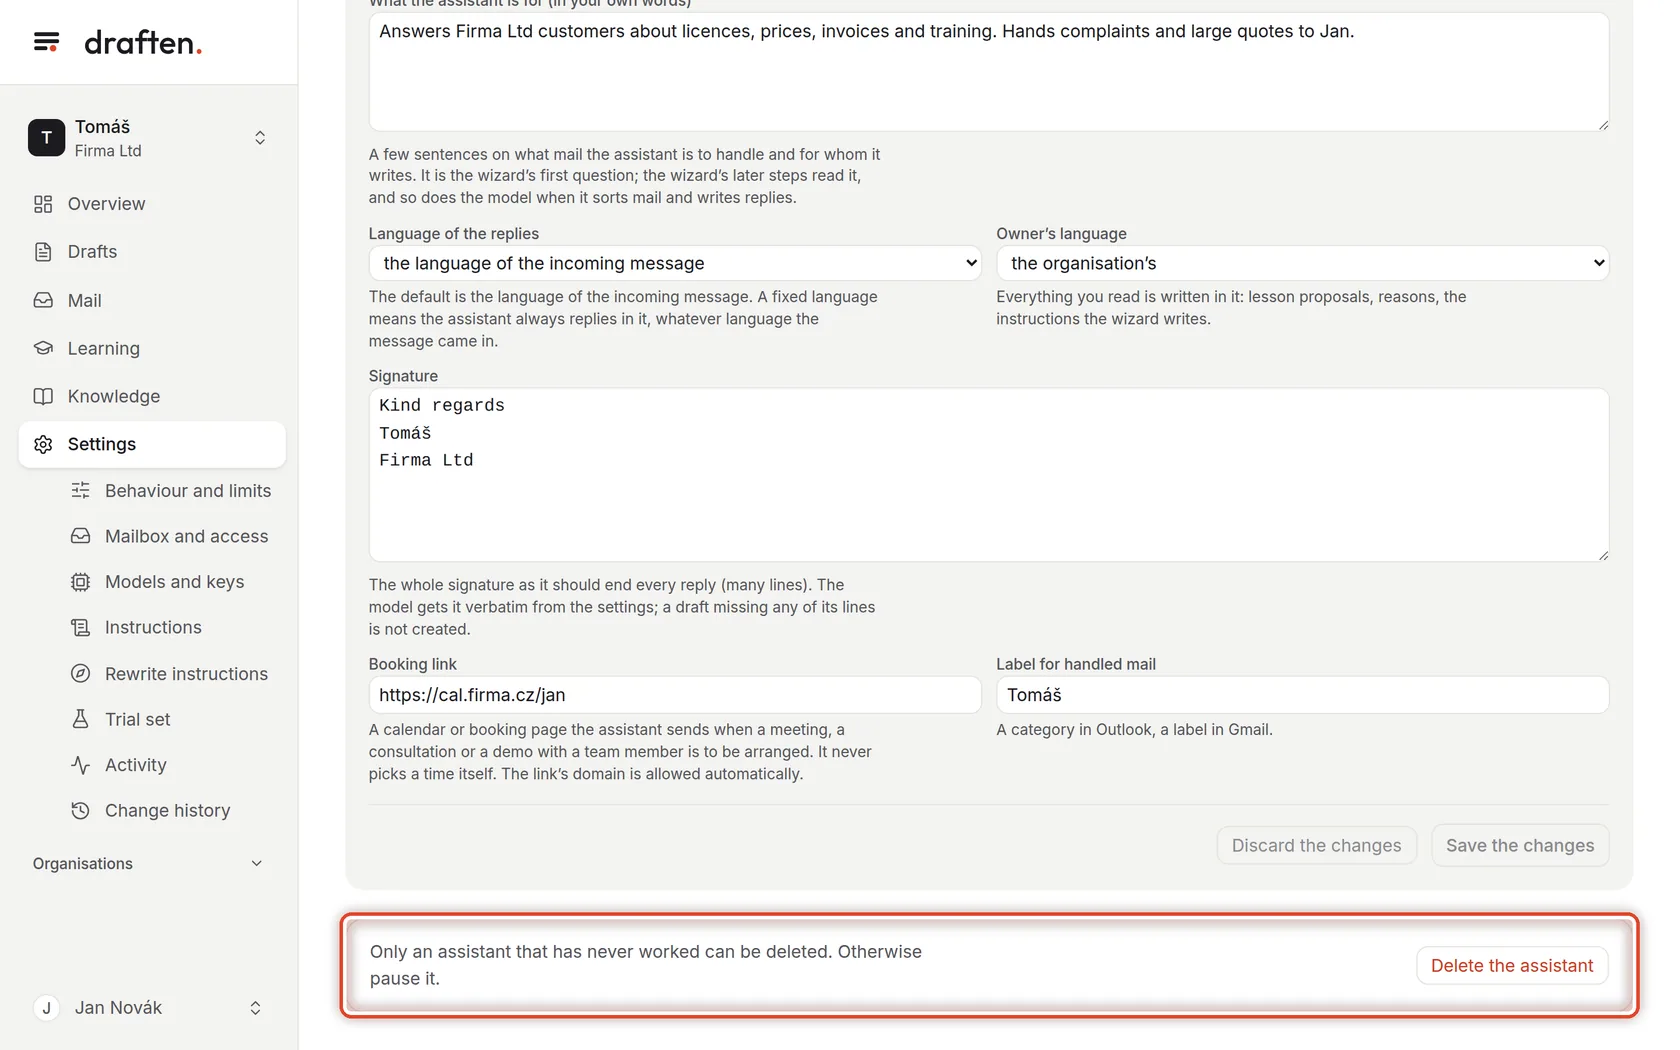
On the screenIn Settings, The basics card with the Assistant name field.
Do thisYou see the name in draften, in the menu and the header. The mailbox owner can change it.
Step 2 of 8
What to call it in a draft
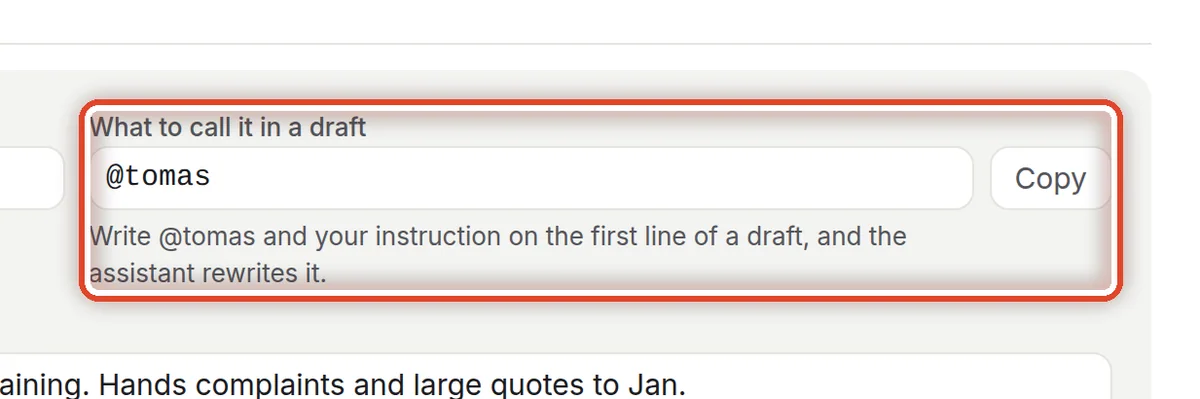
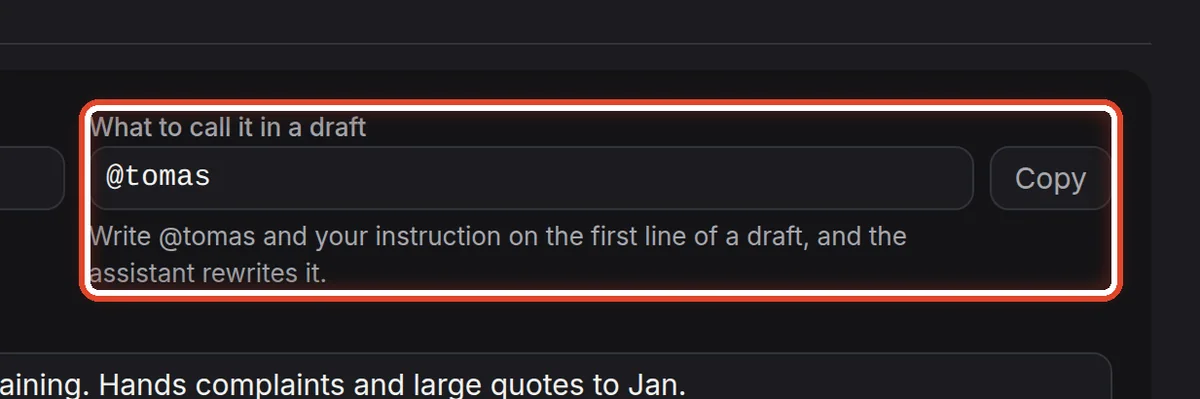
On the screenNext to it, the What to call it in a draft field with a Copy button.
Do thisThis word (here @tomas) is how you address the assistant right in a draft in your mail program: write @tomas and what to change on the first line of the draft, save the draft, and the assistant rewrites it. Copy puts the handle on the clipboard.
NoteThe handle does not change, not even when you rename the assistant. The guide Revising a draft by instruction shows it in detail.
Step 3 of 8
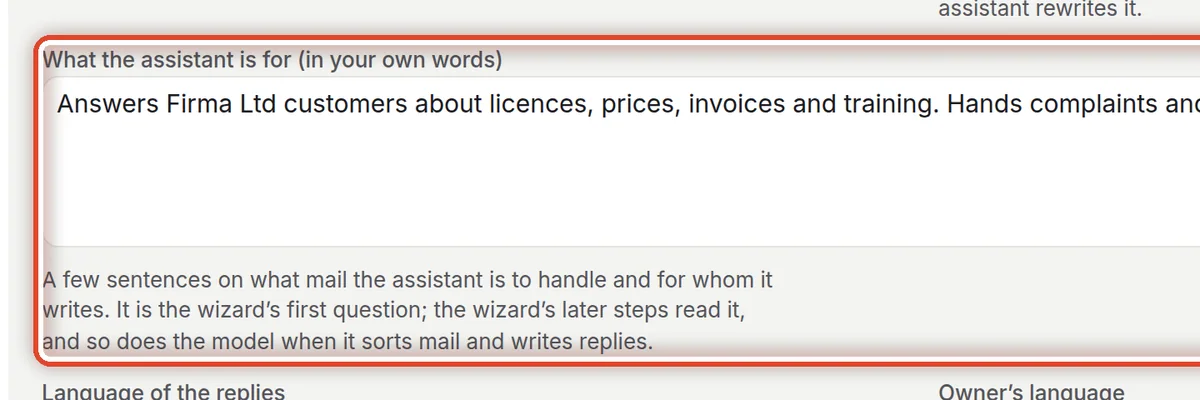
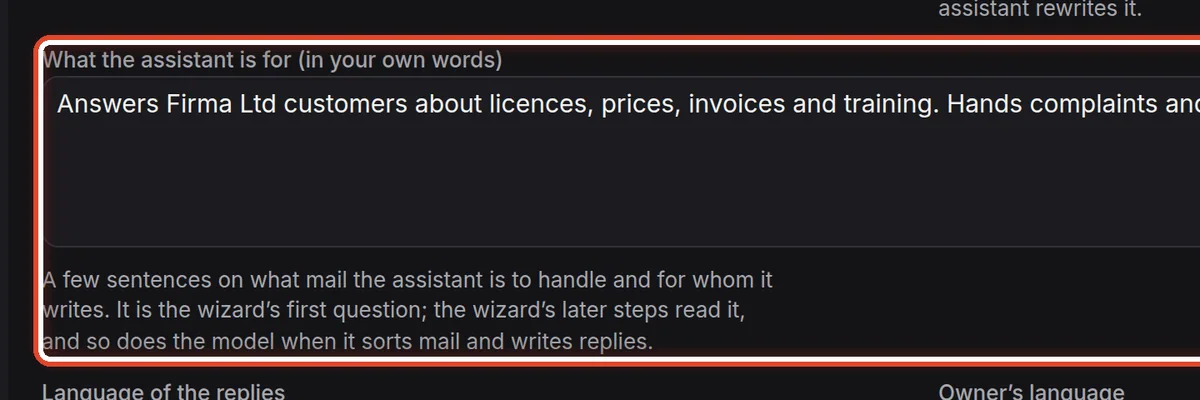
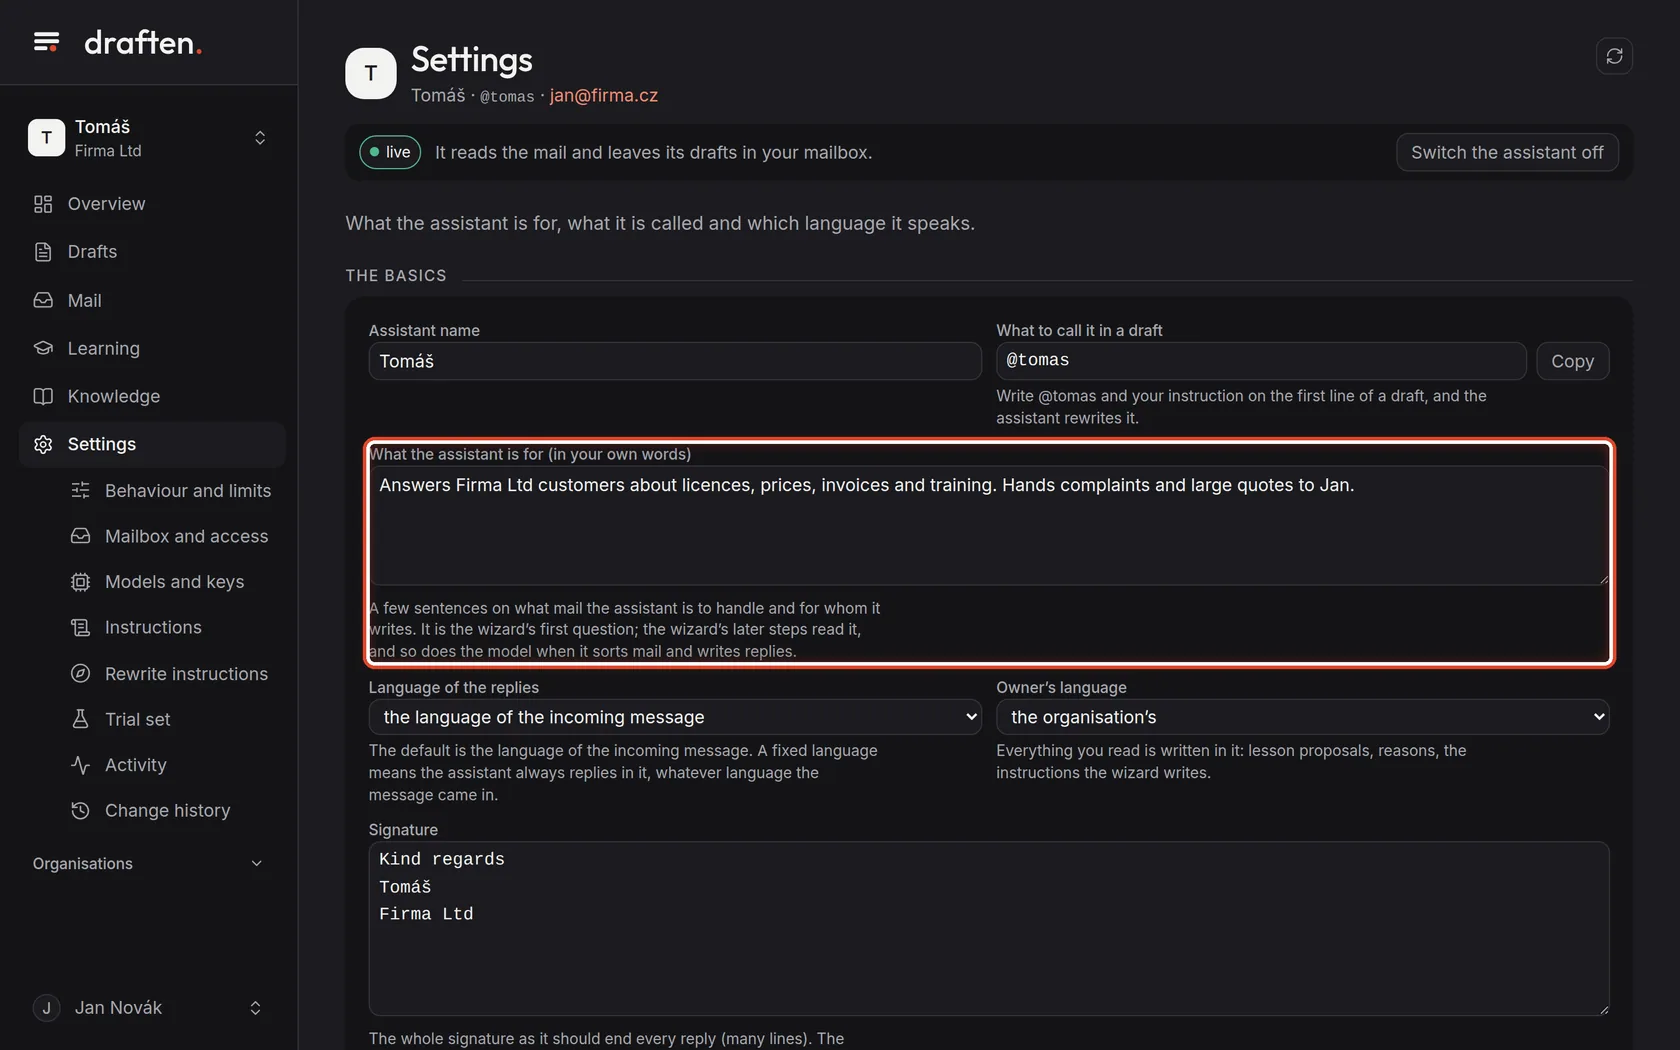
What the assistant is for
On the screenThe What the assistant is for (in your own words) field.
Do thisA few sentences on what mail the assistant is to handle and for whom it writes. The assistant reads it when it sorts the mail and when it writes replies, so what it passes on belongs here too.
Step 4 of 8
Language of the replies and the owner's language
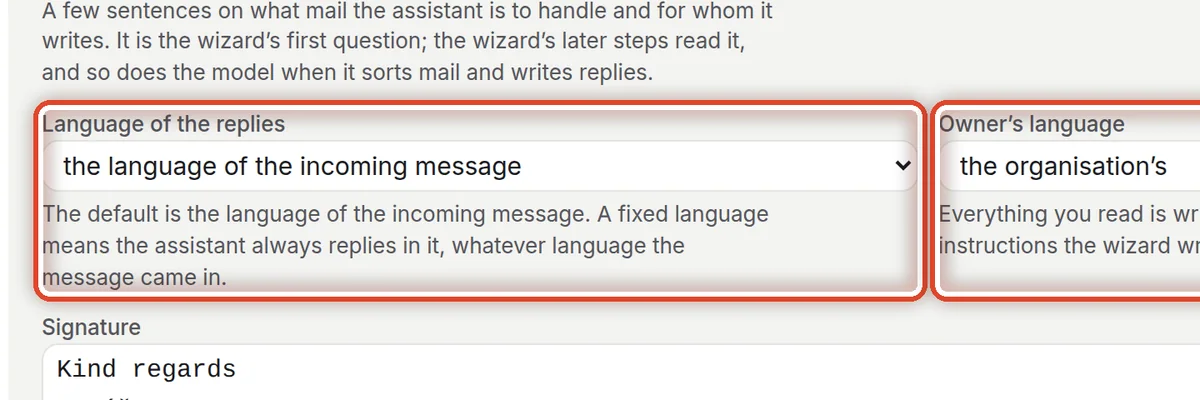
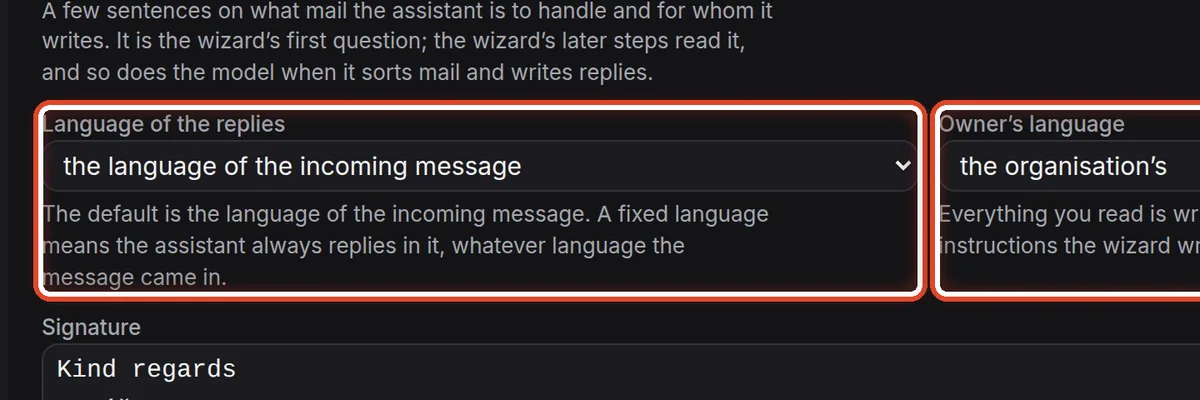
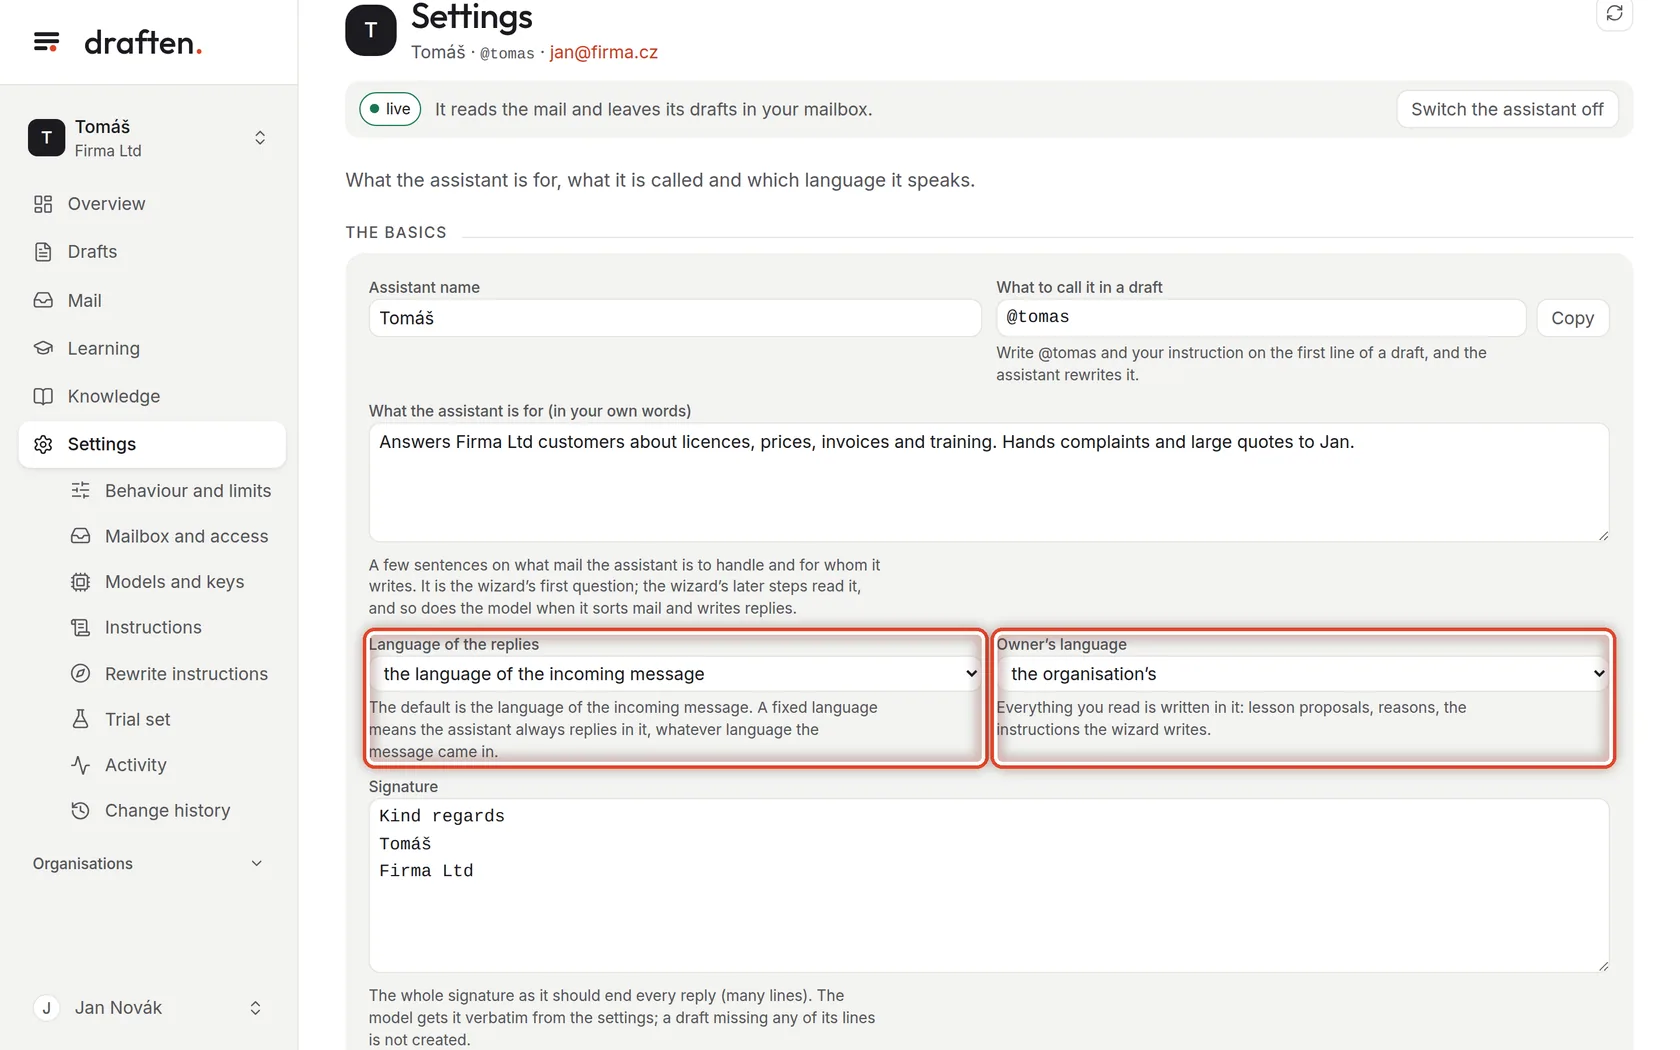
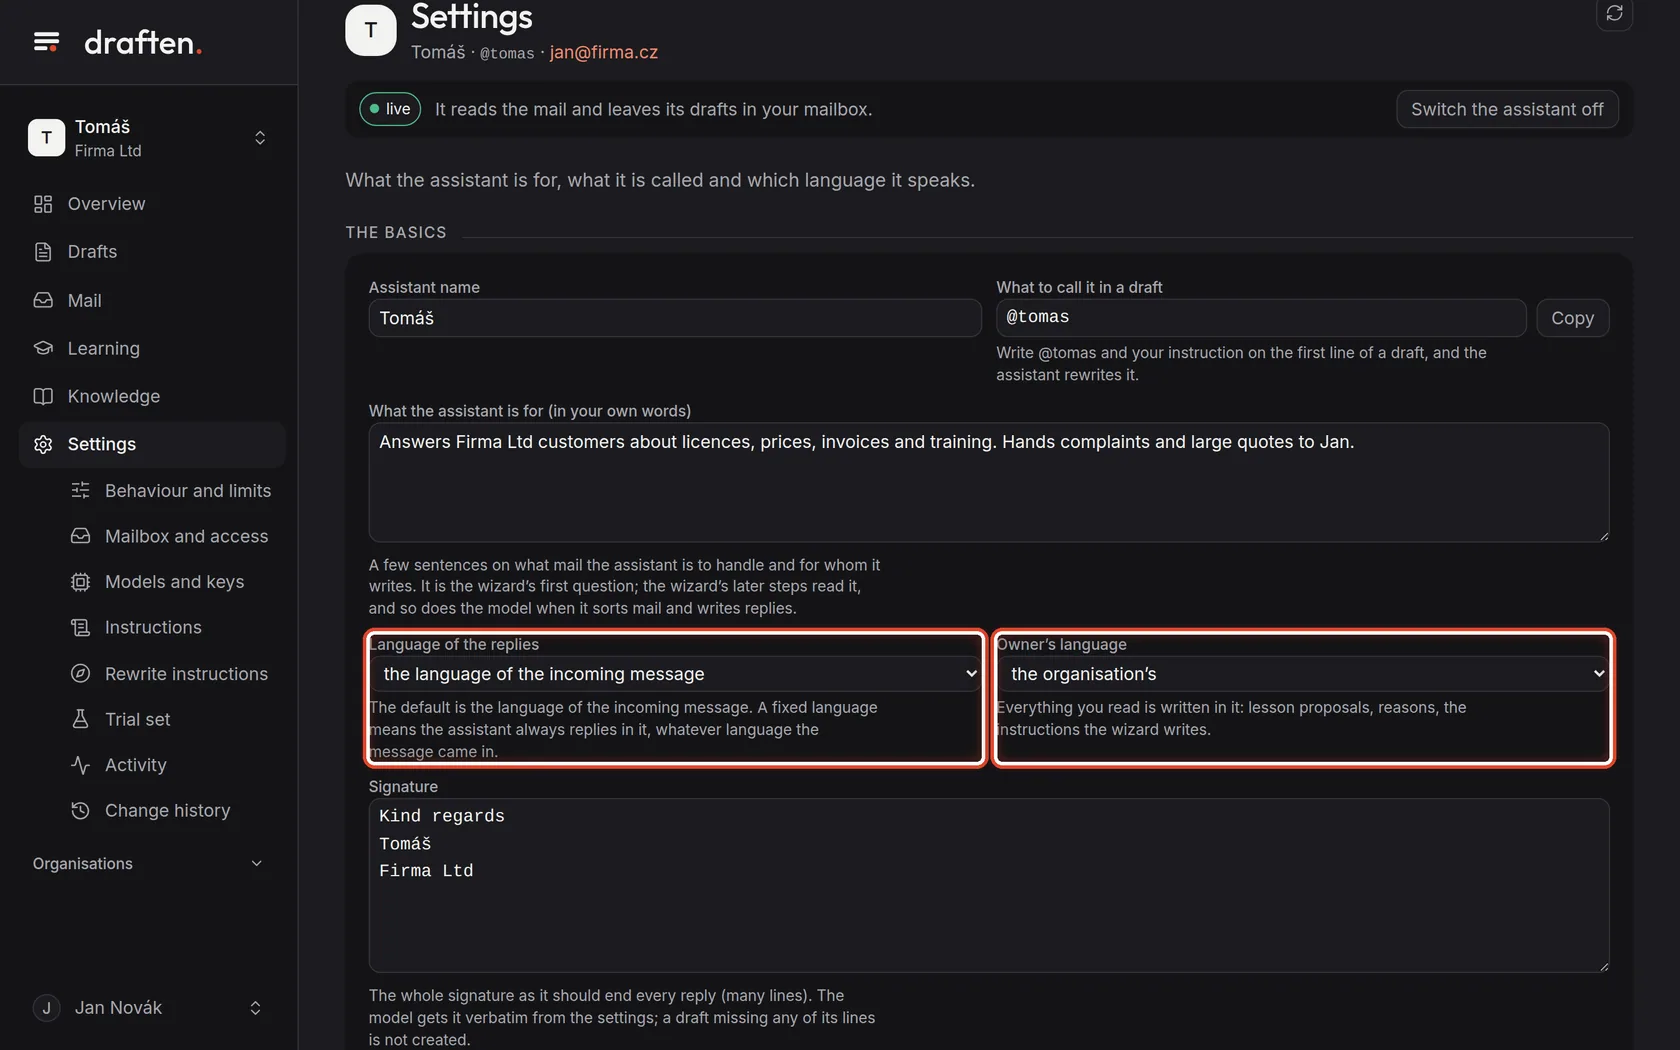
On the screenTwo choices: Language of the replies and Owner's language.
Do thisThe language of the replies is usually the language of the incoming message; a fixed language means the assistant always replies in it. The owner's language is the language of what you read: lesson proposals, reasons and the wizard's instructions.
Step 5 of 8
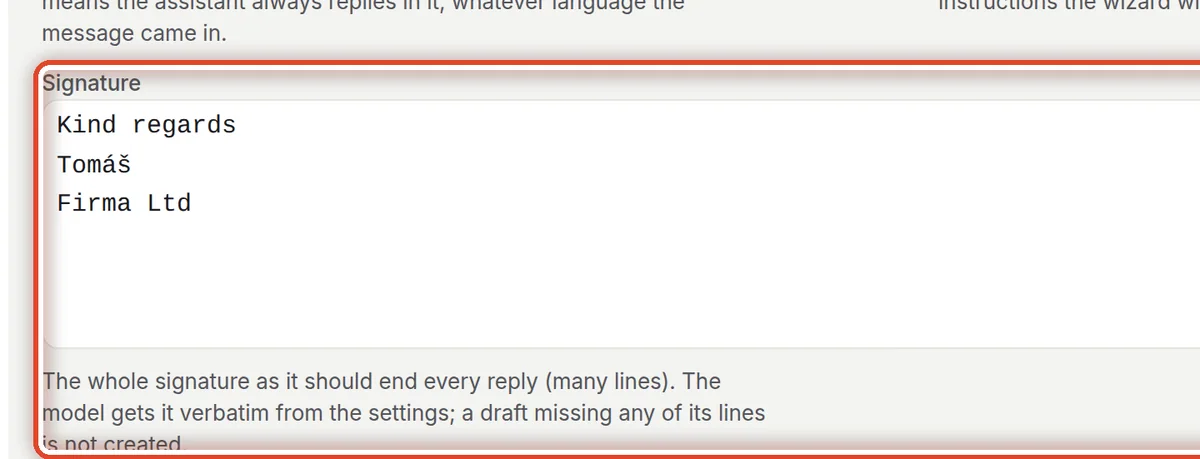
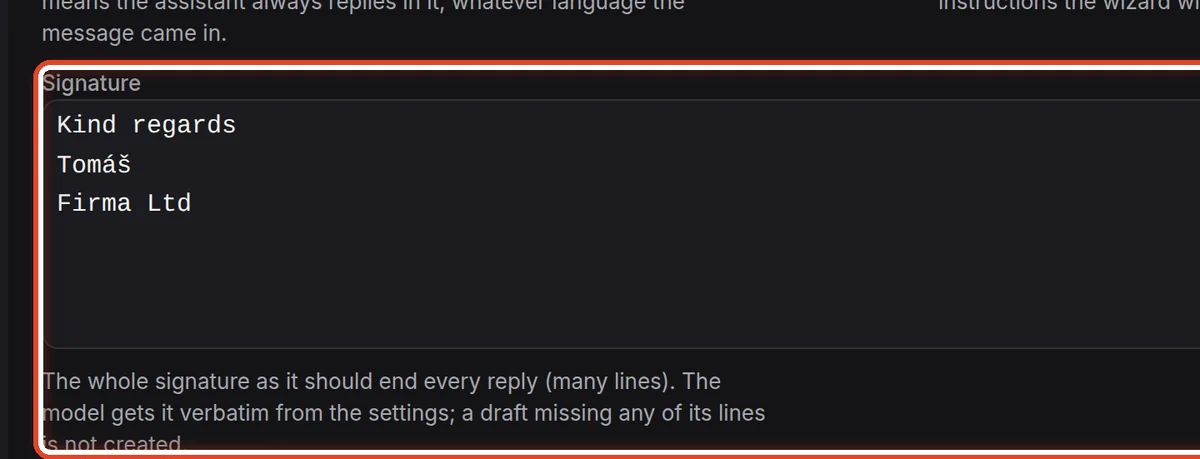
Signature
On the screenThe Signature field.
Do thisWrite the whole signature as it should end every reply, on several lines if you like. The assistant gets it word for word.
NoteA draft missing any line of the signature is not created — that is how you know the assistant did not follow the instruction. The mailbox owner changes the signature.
Step 6 of 8
Booking link and label
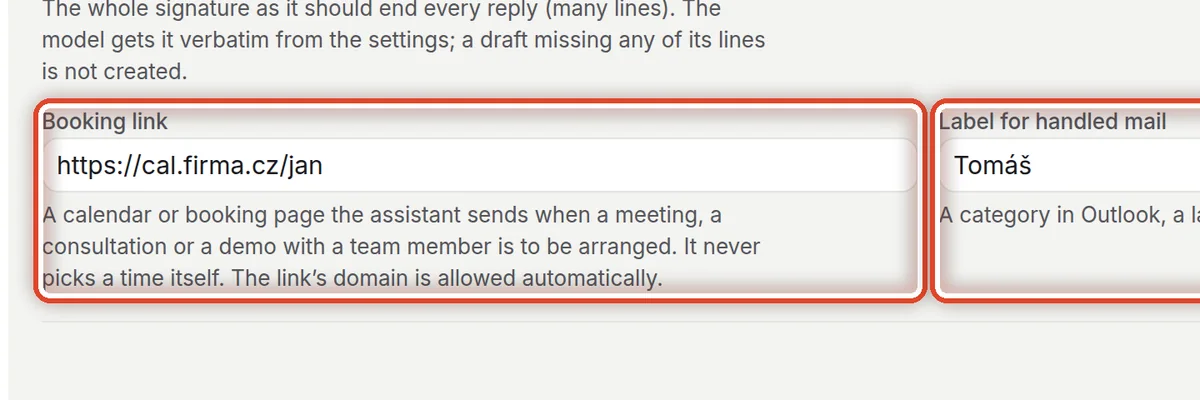
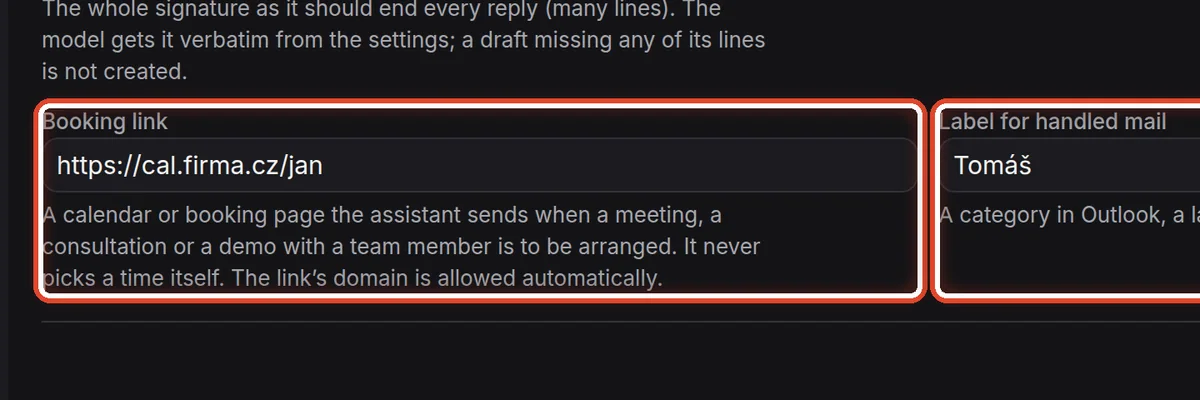
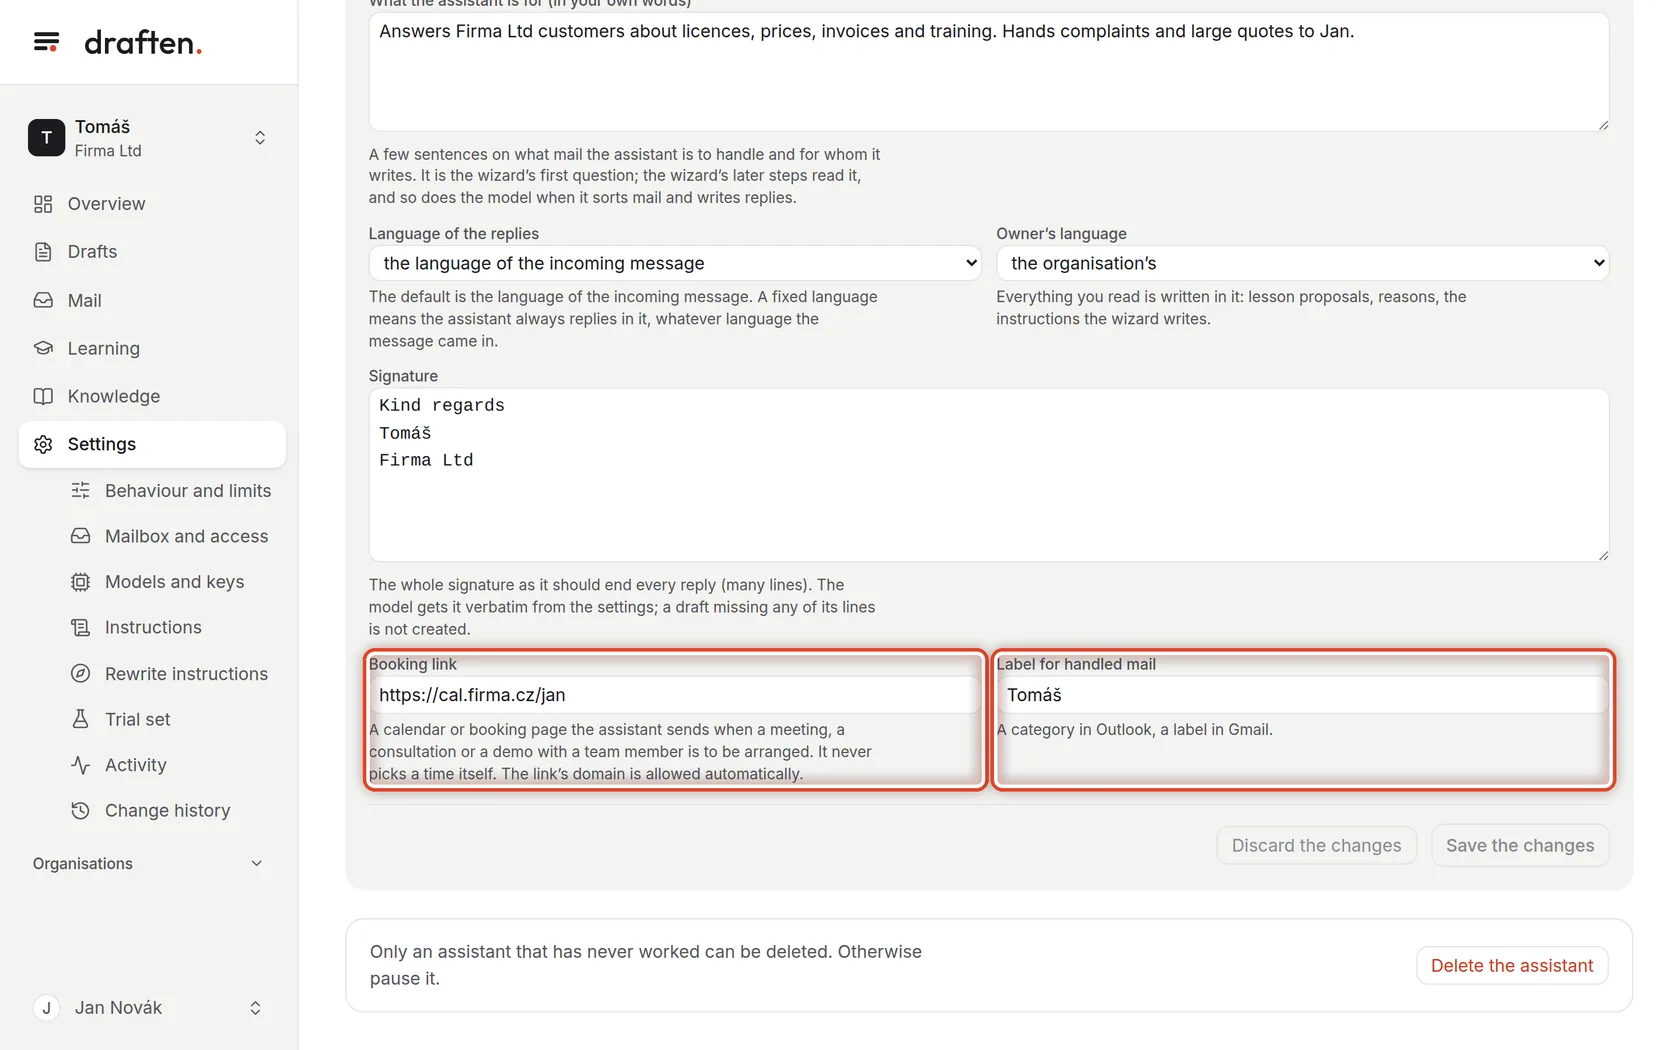
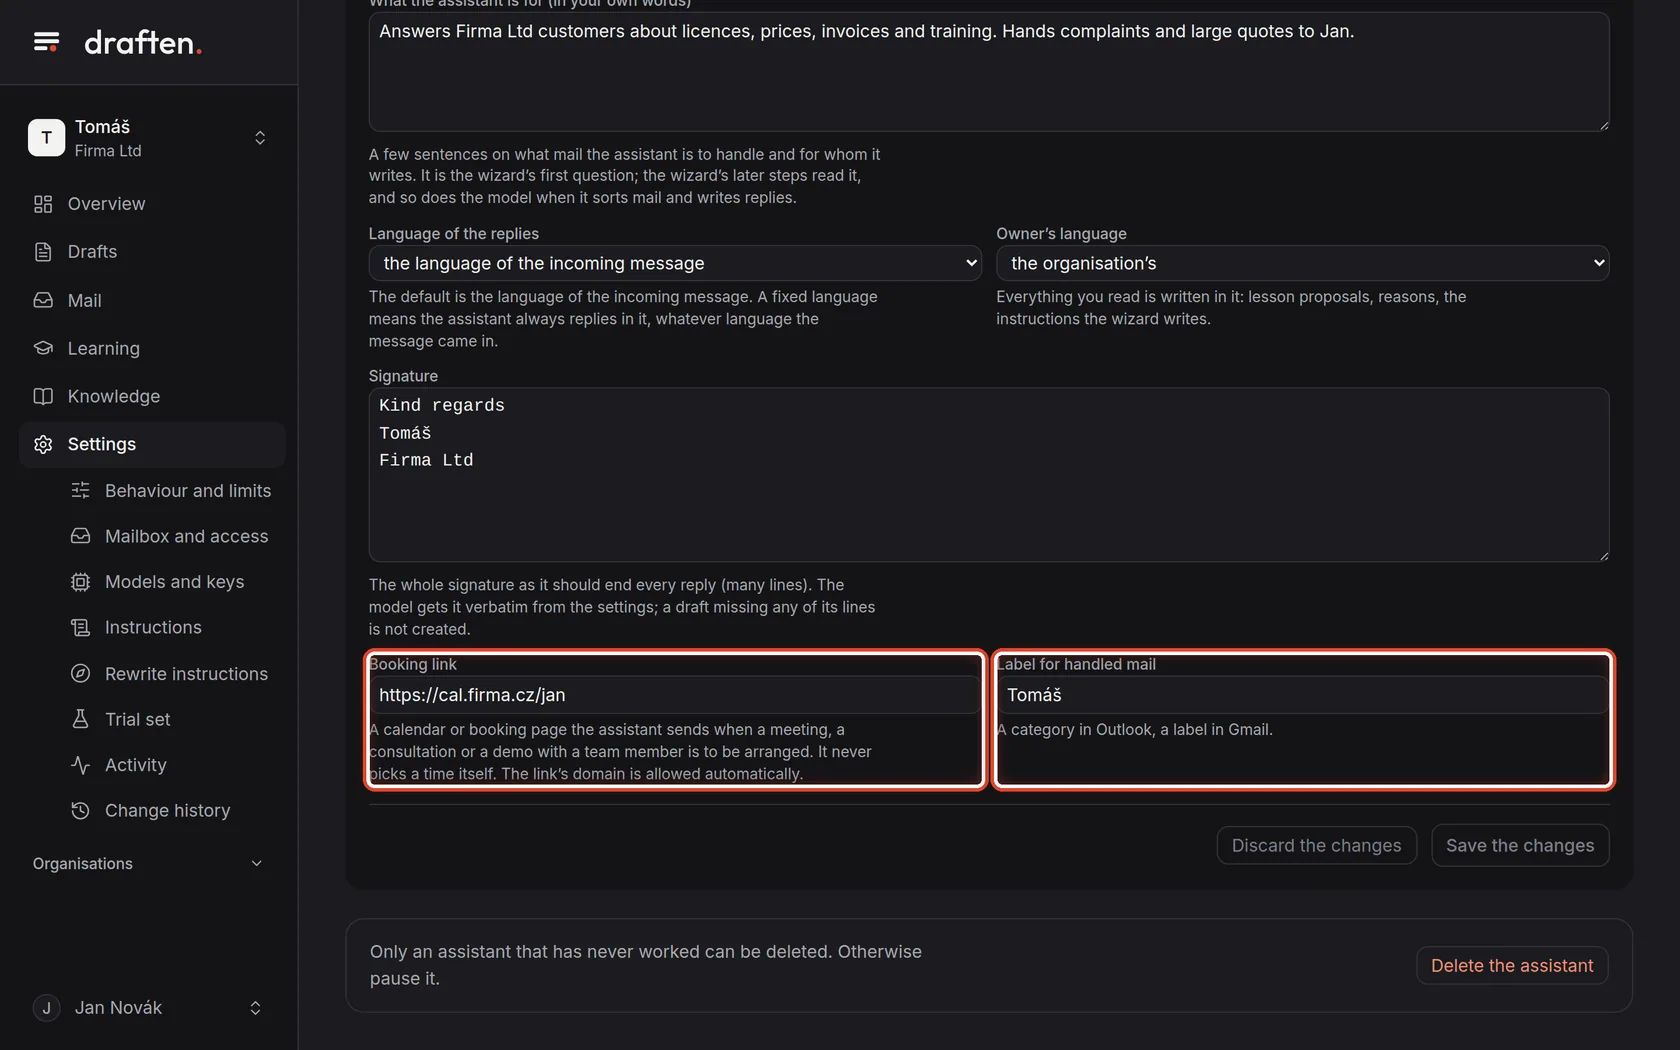
On the screenThe Booking link and Label for handled mail fields.
Do thisThe booking link is a calendar page the assistant sends when a meeting is to be arranged — it never picks a time itself. Every message the assistant handled gets the label in your mail (a category in Outlook, a label in Gmail).
Step 7 of 8
Save the changes
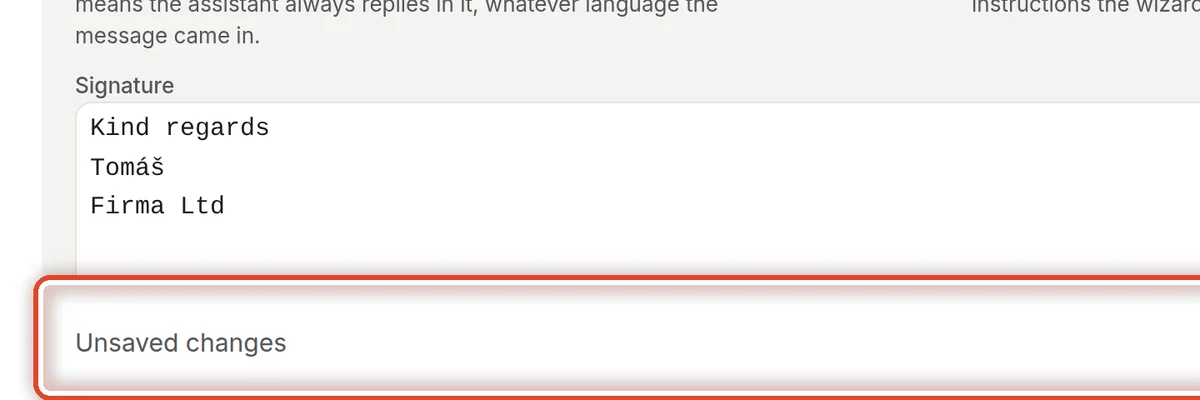
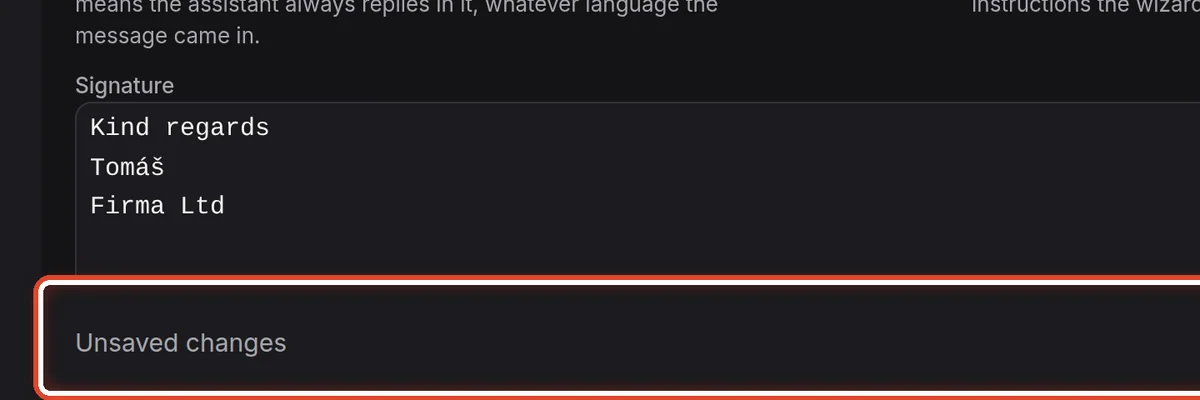
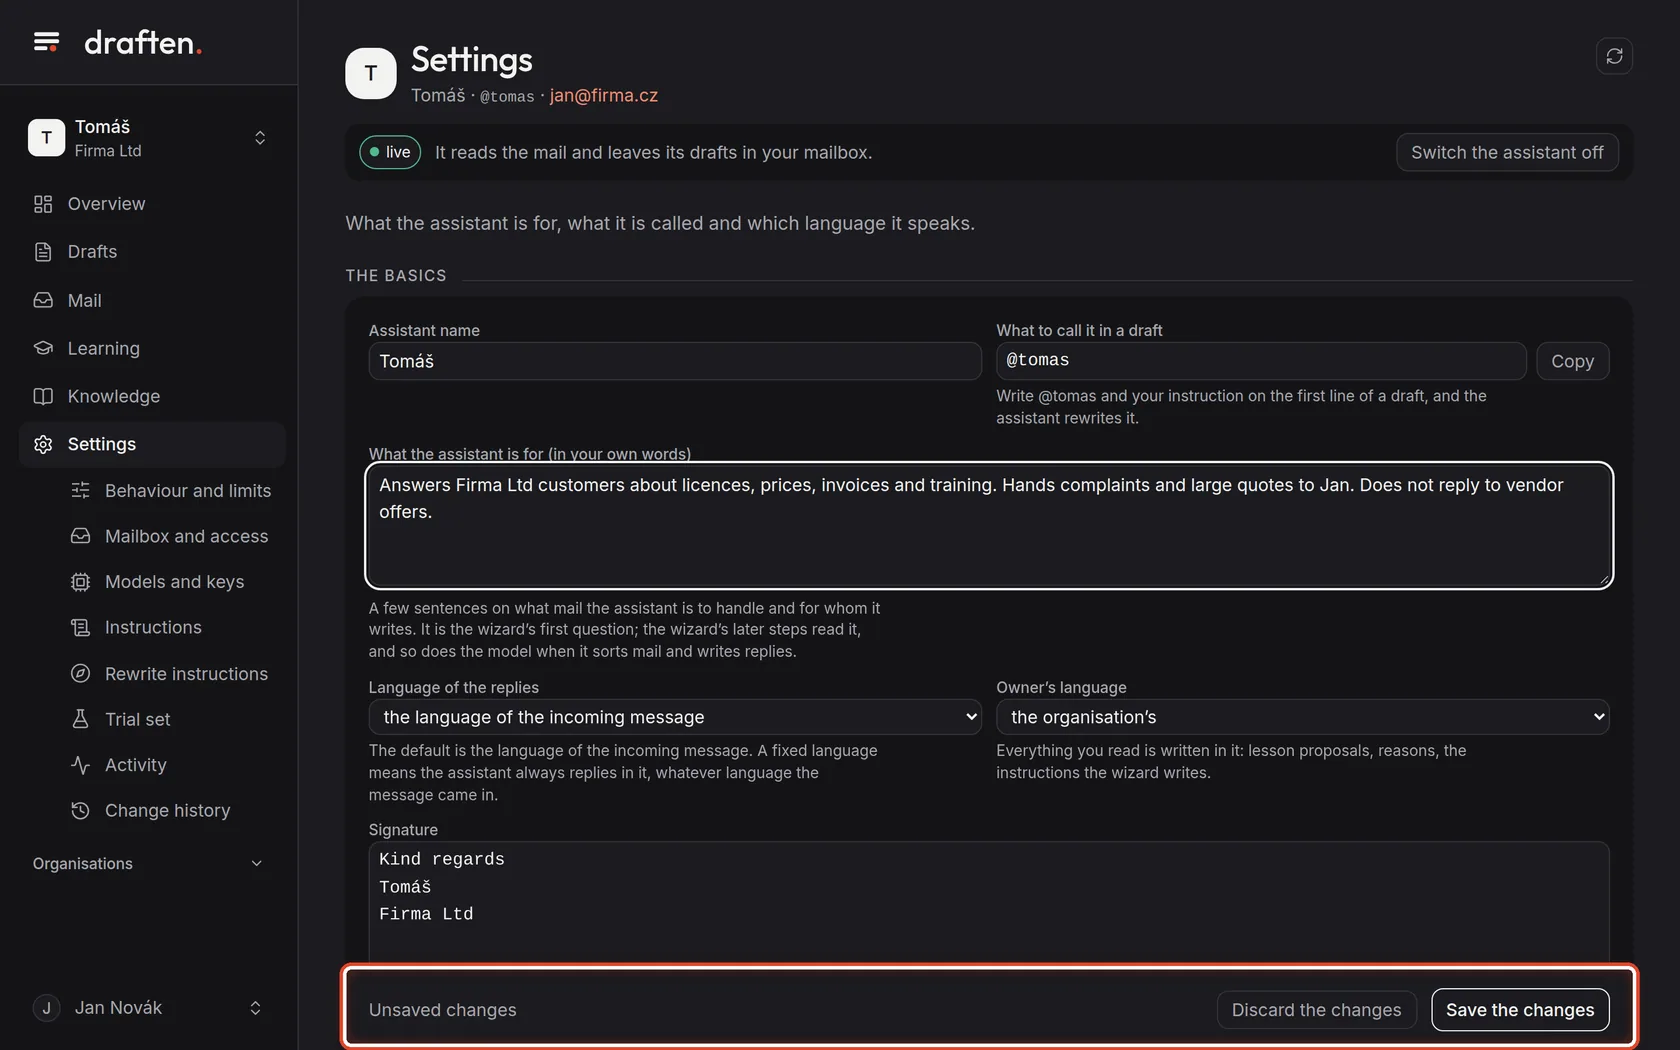
On the screenAfter an edit, the Unsaved changes bar at the bottom.
Do thisClick Save the changes, or Discard the changes if you do not want them. Changes apply from the next mail check.
Step 8 of 8
Delete the assistant
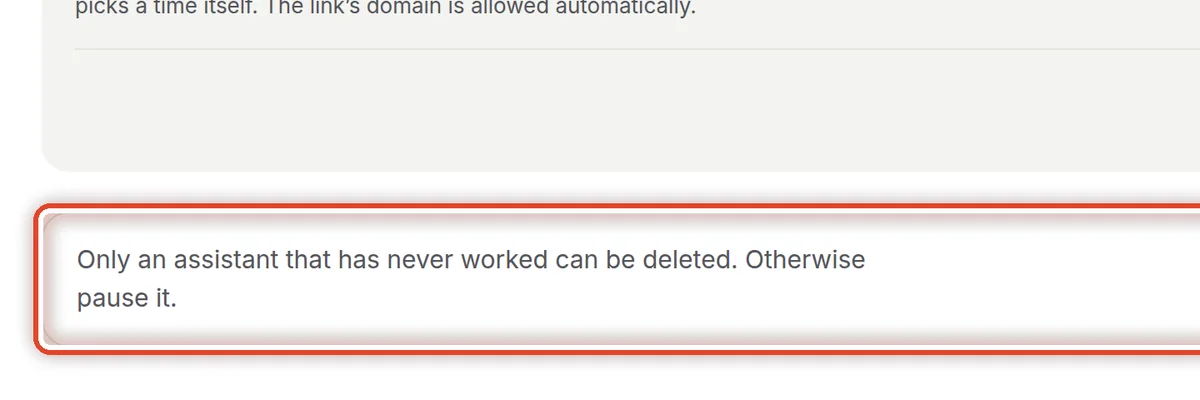
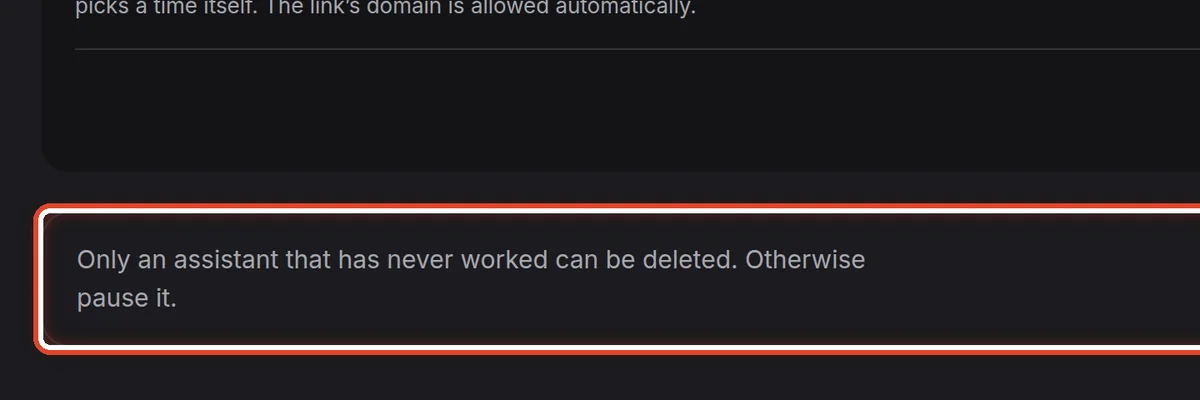
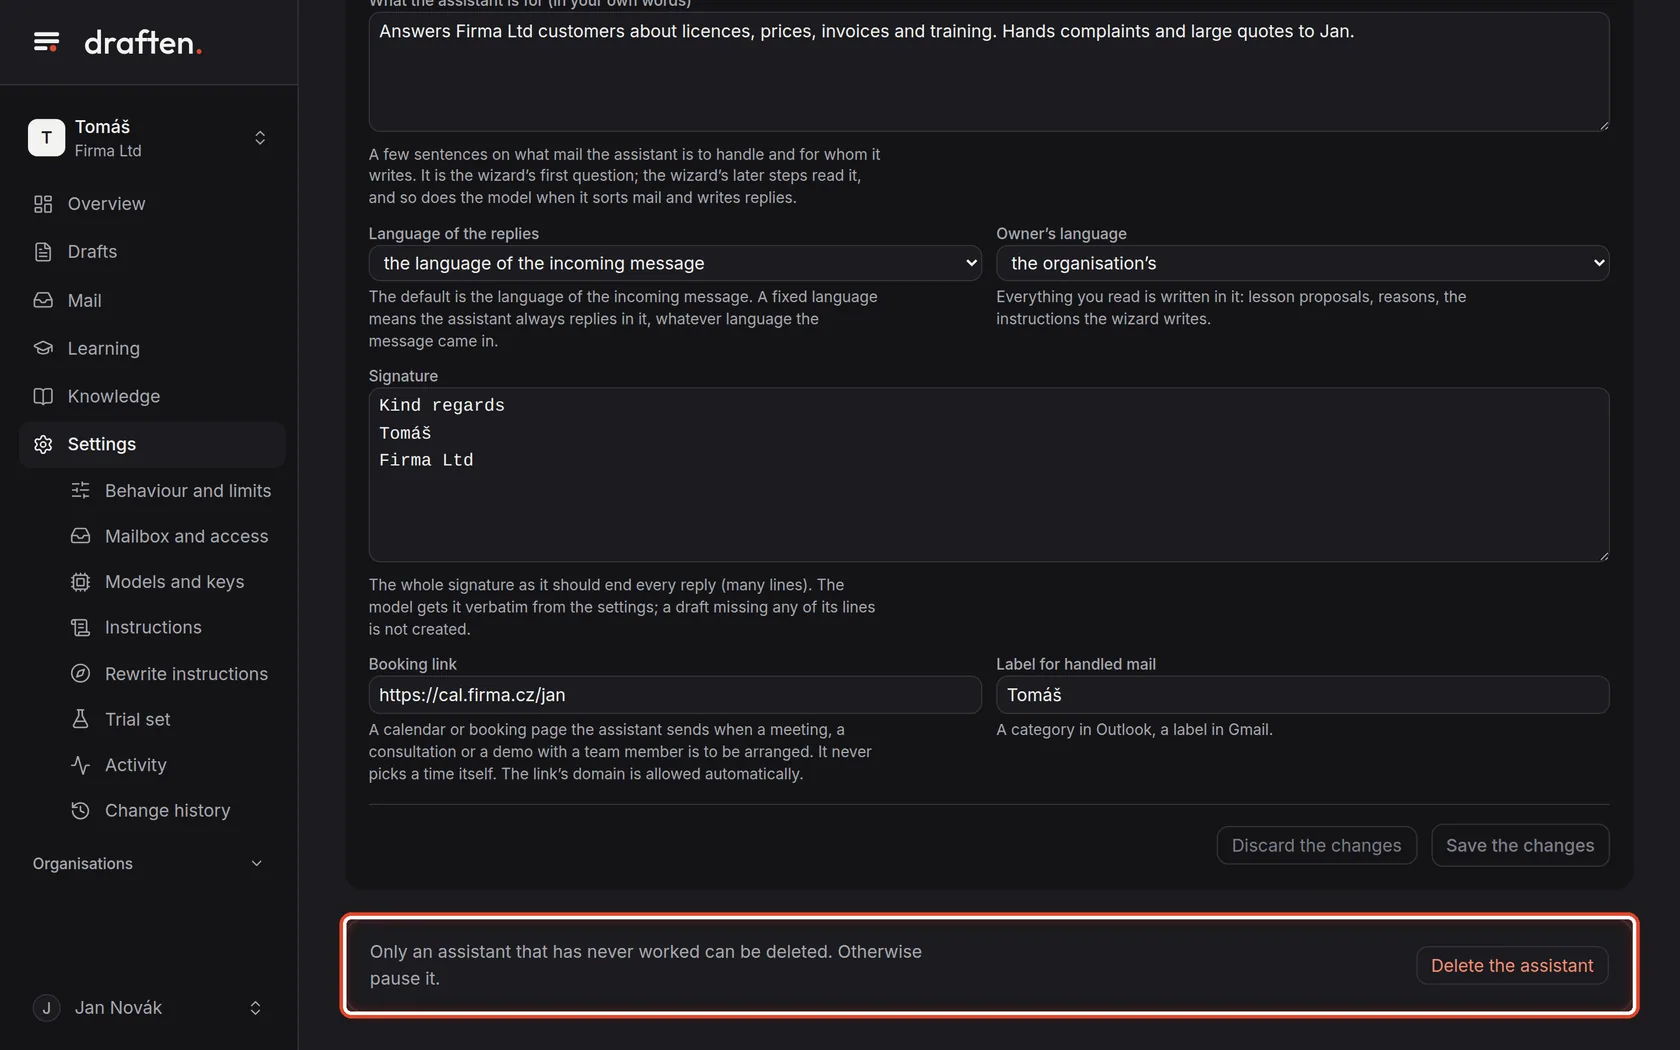
On the screenAt the very bottom, a card with the Delete the assistant button.
Do thisOnly an assistant that has never worked can be deleted — one you set up by mistake in the wizard, say. Switch off one that has worked instead, with Switch the assistant off in the header.
NoteOnly the mailbox owner sees the button. Deleting cannot be undone.
The end
The assistant is set up
Changes apply from the next mail check, within 5 minutes.
- Limits and trial modeThey are in Settings → Behaviour and limits.
- How the assistant writesTone, length and how it greets the customer are set by the Style instruction — the Instructions guide.