Guide
A new assistant
from mailbox to launch.
You create an assistant in a wizard that does most of the work for you. You choose the mailbox and name the assistant; the wizard learns from your mail how you reply and tries the instructions on mail the learning never saw. The assistant then starts in trial mode: its drafts are only practice and nothing is sent.
Before you start
- A mailbox you ownThe owner of a mailbox makes its assistant. The organisation's owner or a manager adds a new mailbox.
- The New assistant wizardOpen it from the menu at the top left, where you switch assistants.
- About half an hourMost of it the wizard works on its own — analysing your mail and trying the instructions. Paid steps show the estimated cost first, usually a few dollars.
Step 1 of 19
Choose the mailbox
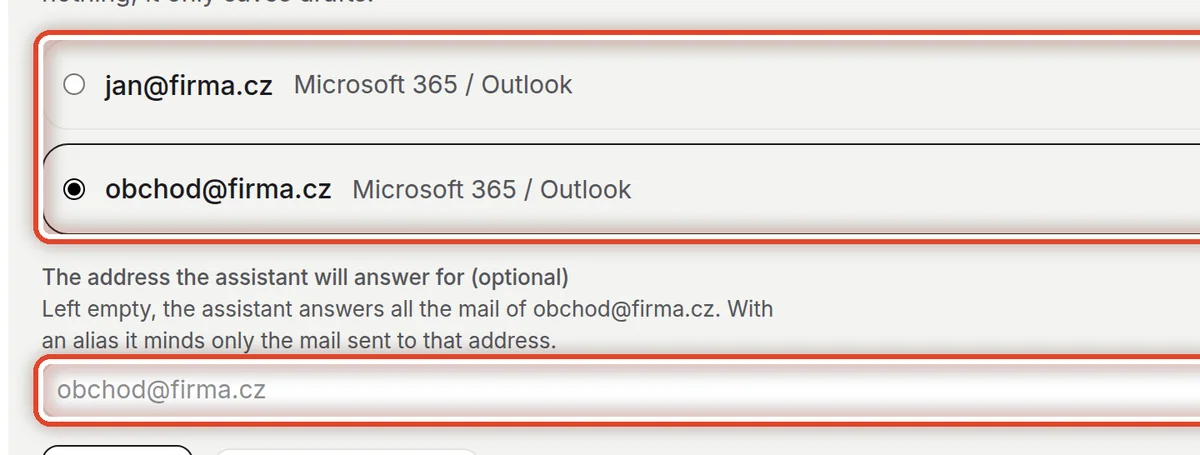
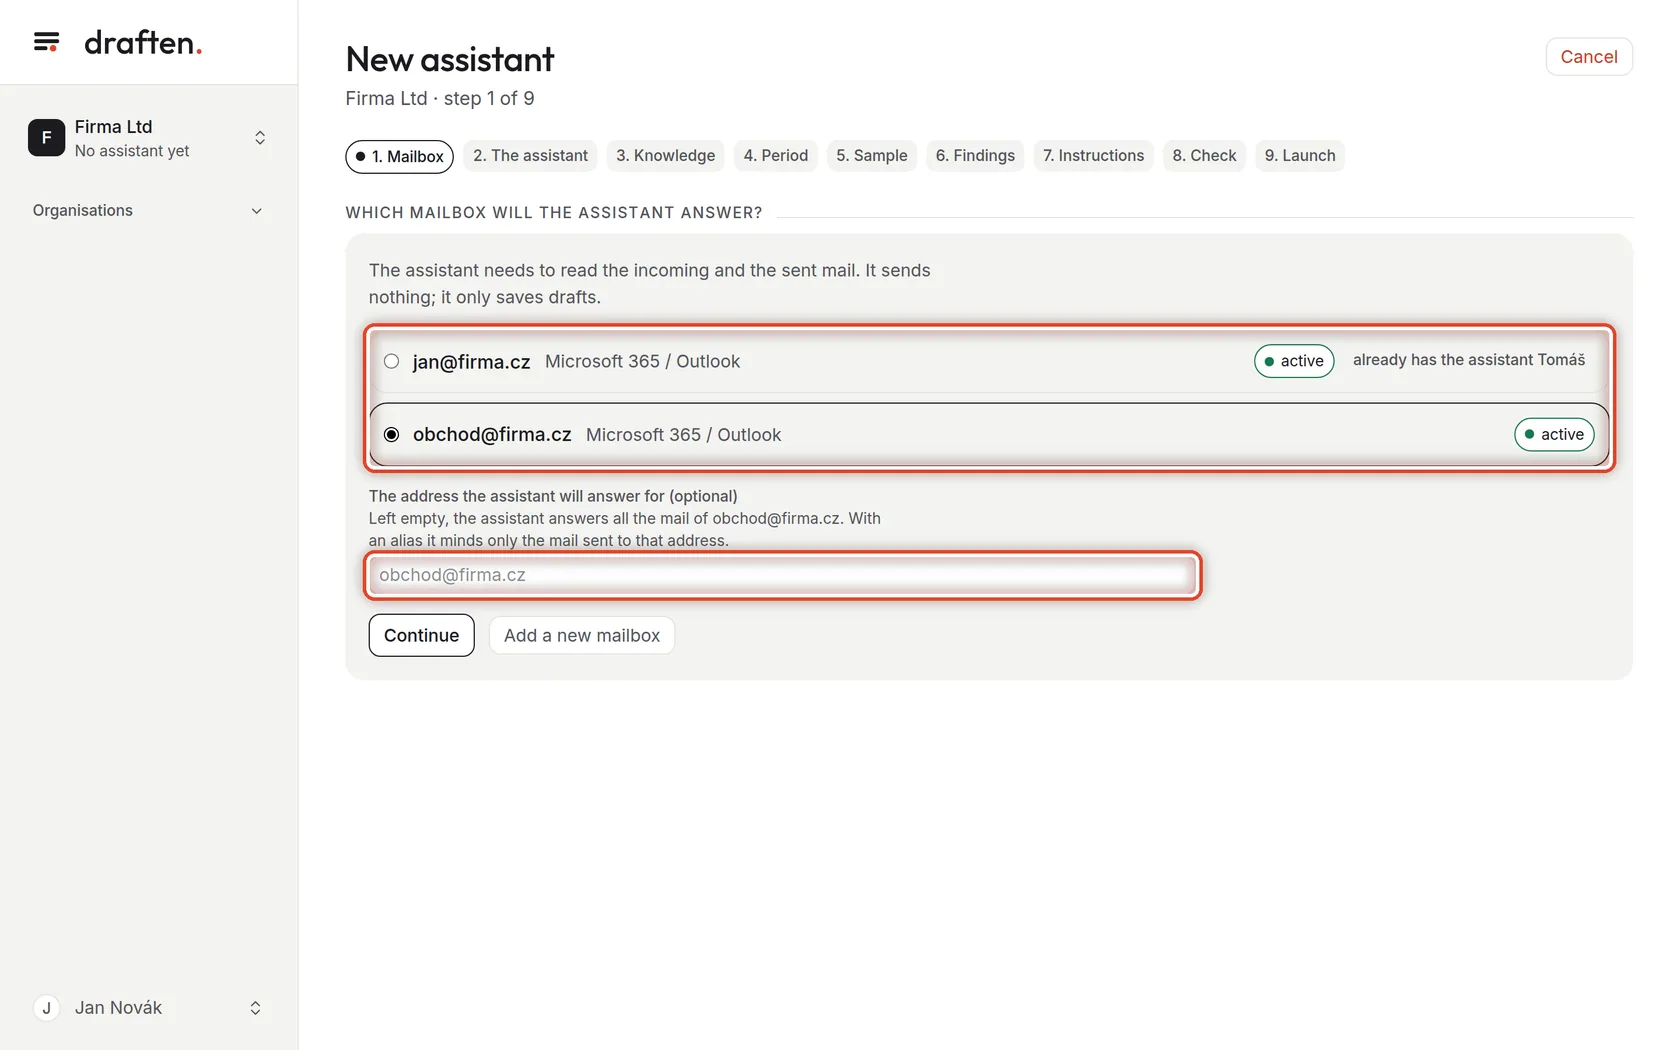
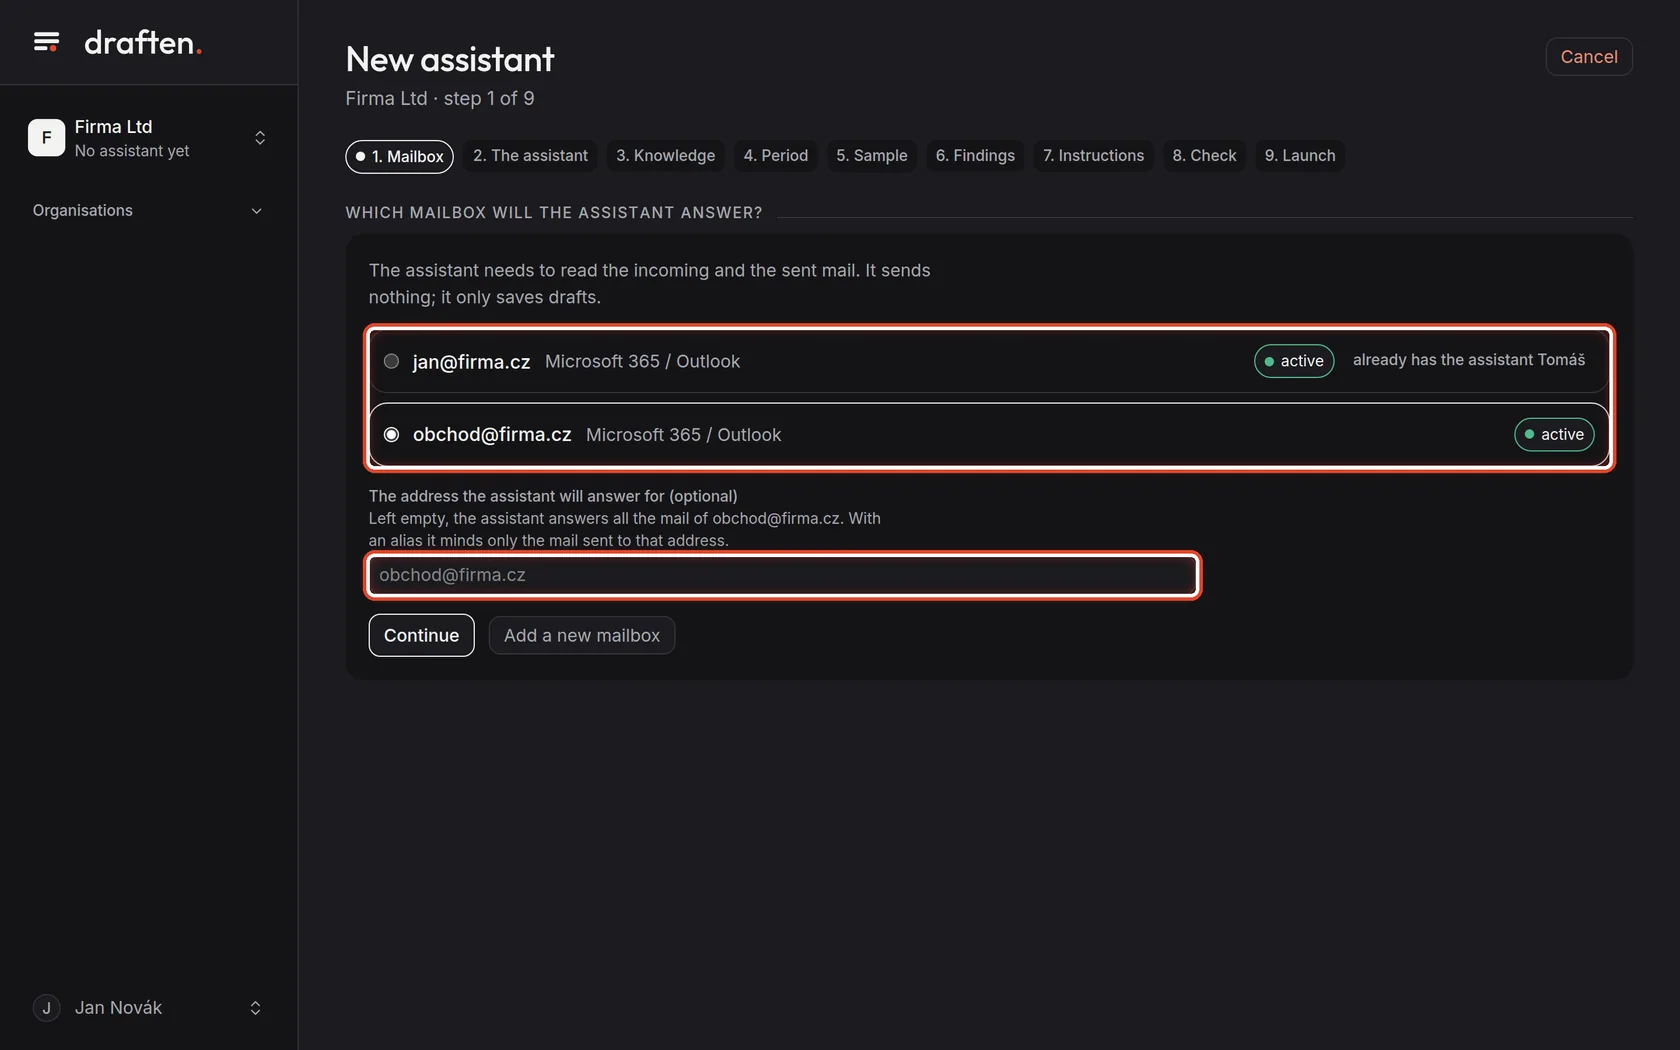
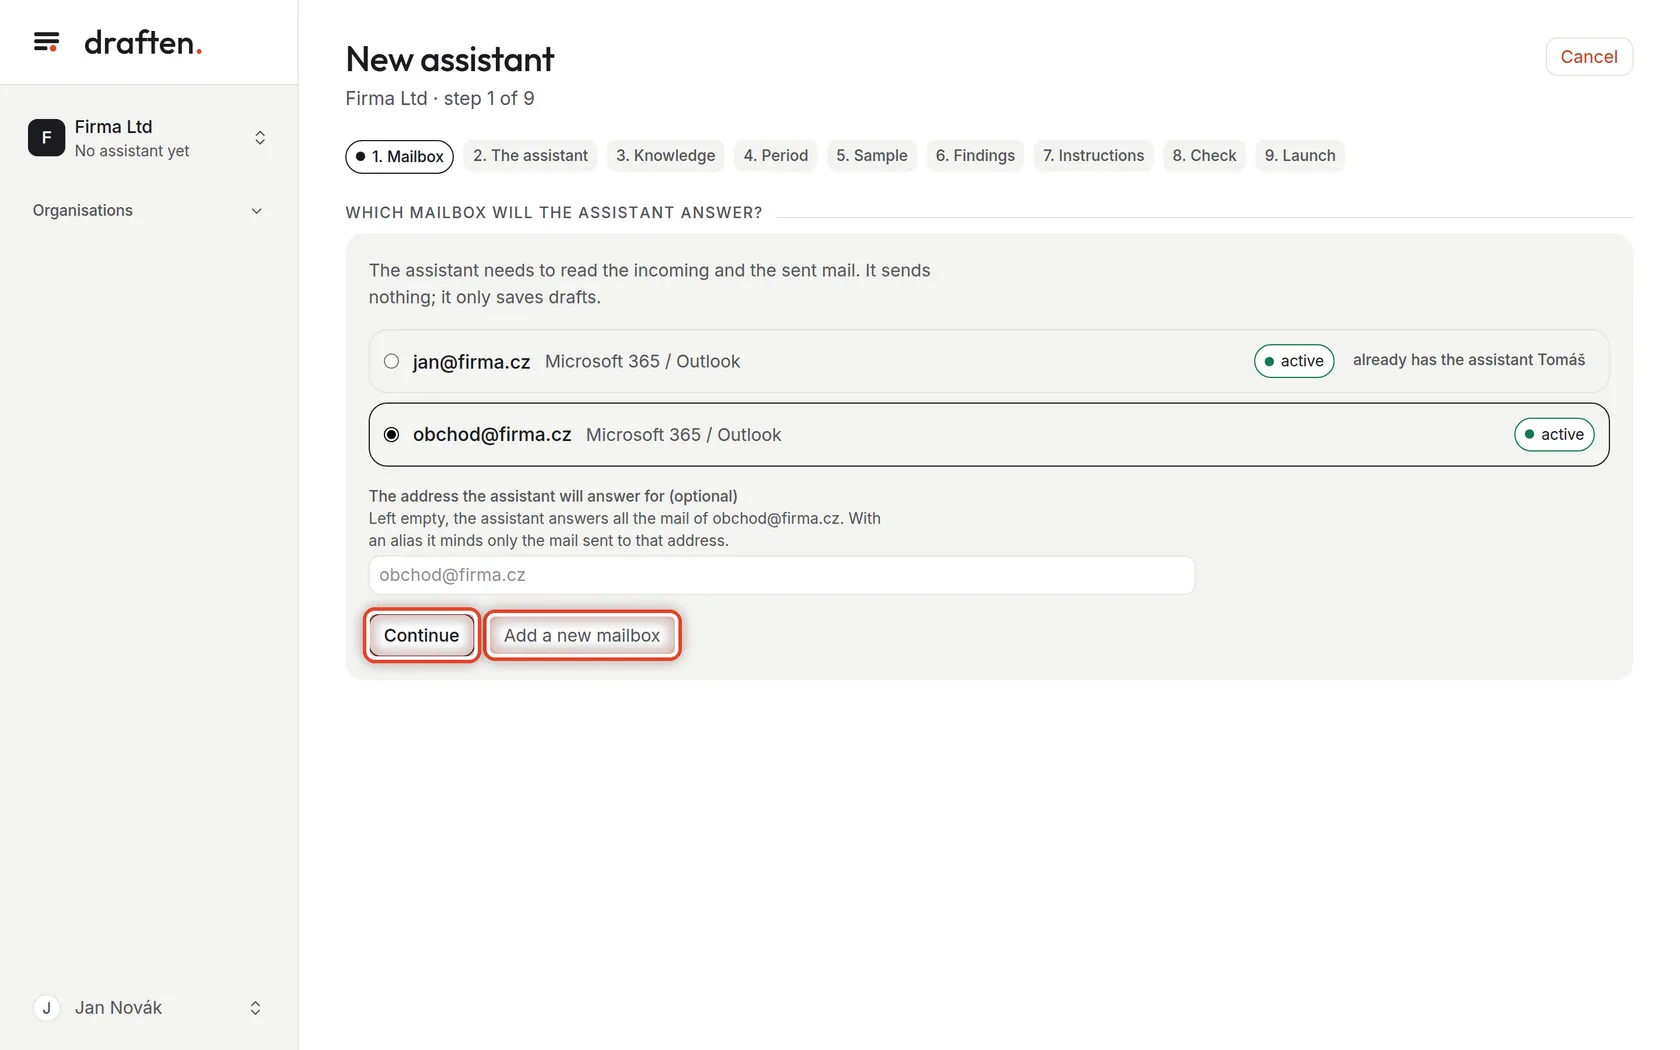
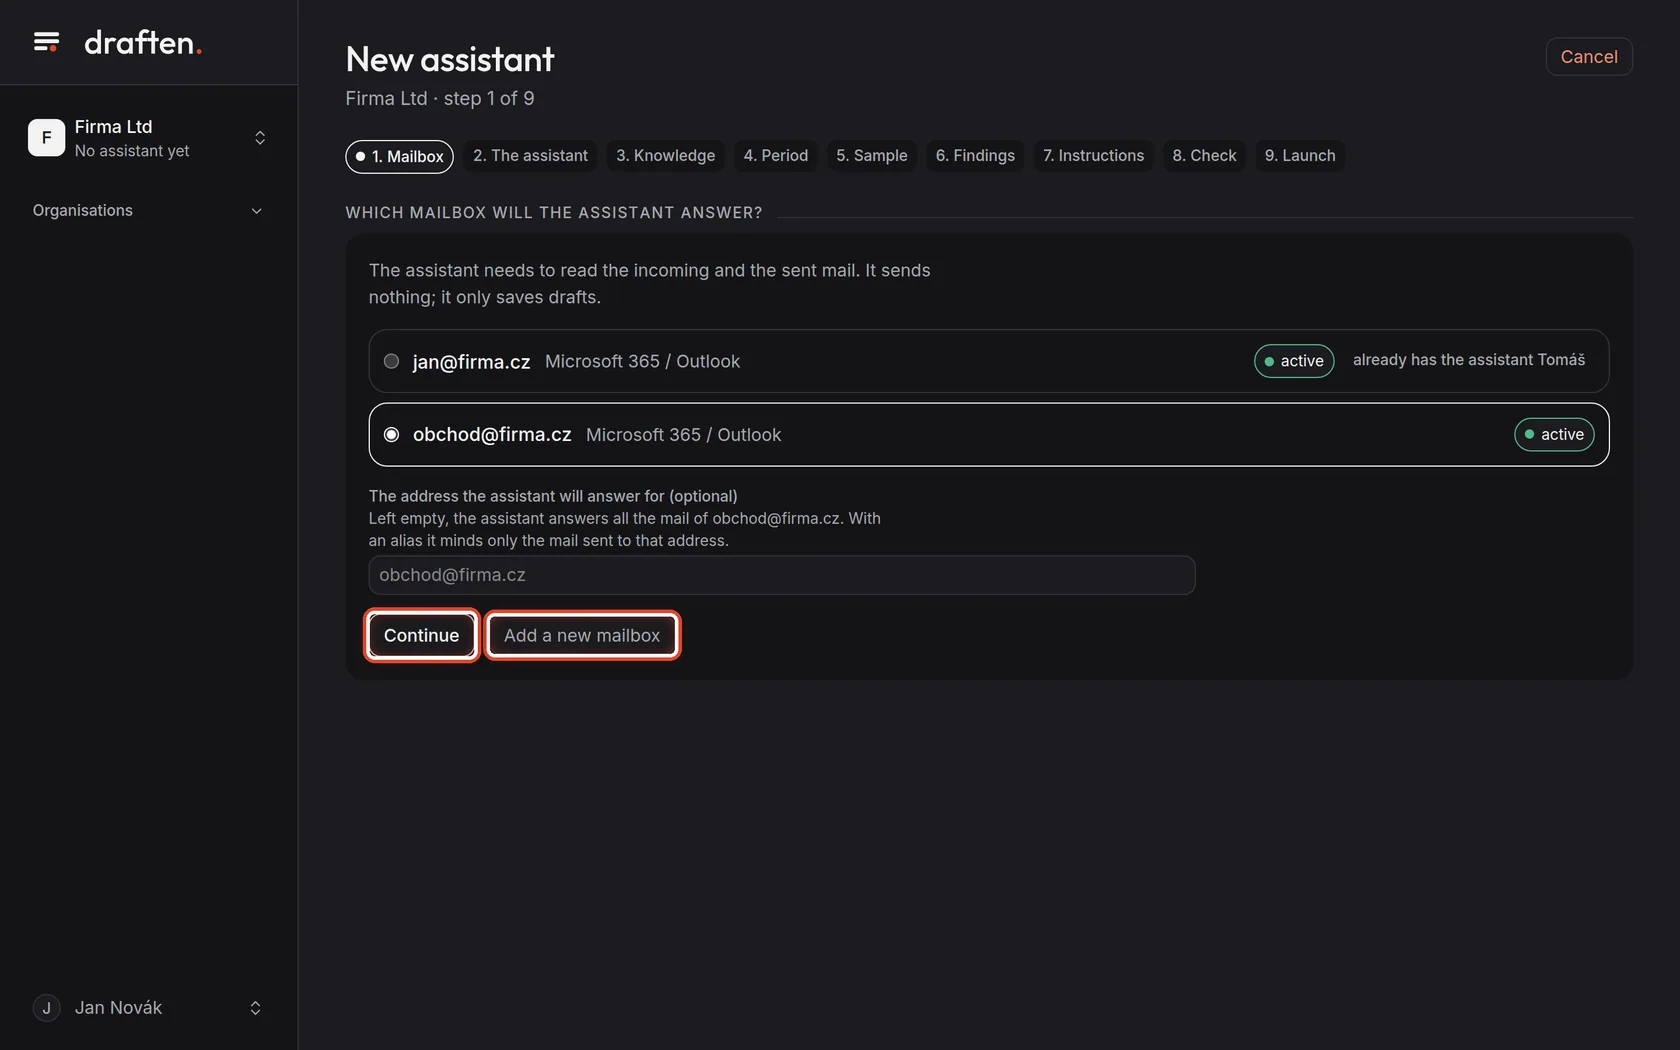
On the screenThe organisation's mailboxes. Each shows whether it is active and whether it already has an assistant.
Do thisClick the mailbox the new assistant will answer. You can make an assistant for a mailbox you own.
NoteLeave the field under the list empty — the assistant then answers all the mail of the mailbox. When the mailbox already has an assistant, you must fill in an address of its own (an alias): the new assistant minds only the mail sent to it.
Step 2 of 19
The mailbox is not in the list?
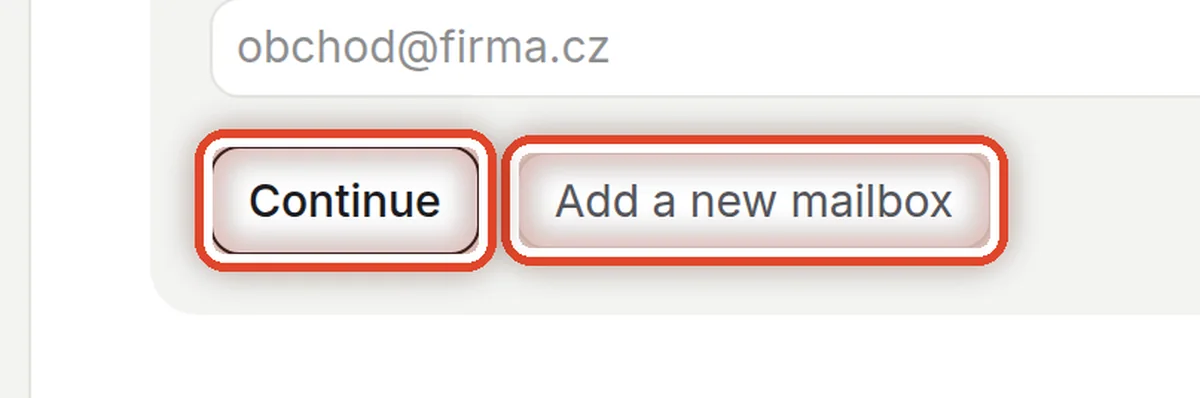
On the screenThe Add a new mailbox button.
Do thisA new mailbox is added by the organisation's owner or a manager (others do not see the button): the address, the display name and the kind of mail. Then click Continue.
NoteA new mailbox is not connected yet. You connect it once the assistant is ready, in Settings → Mailbox and access: you sign in with the mailbox account and allow reading and drafts.
Step 3 of 19
Name the assistant
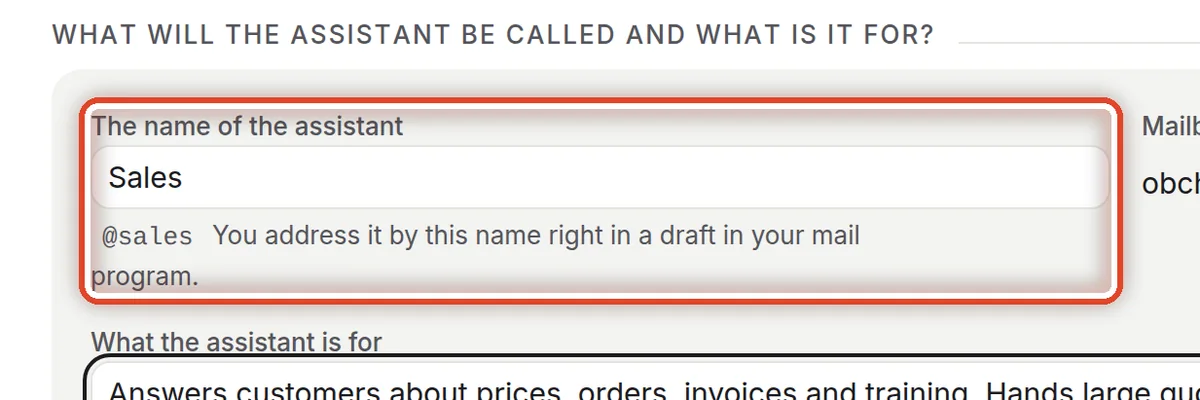
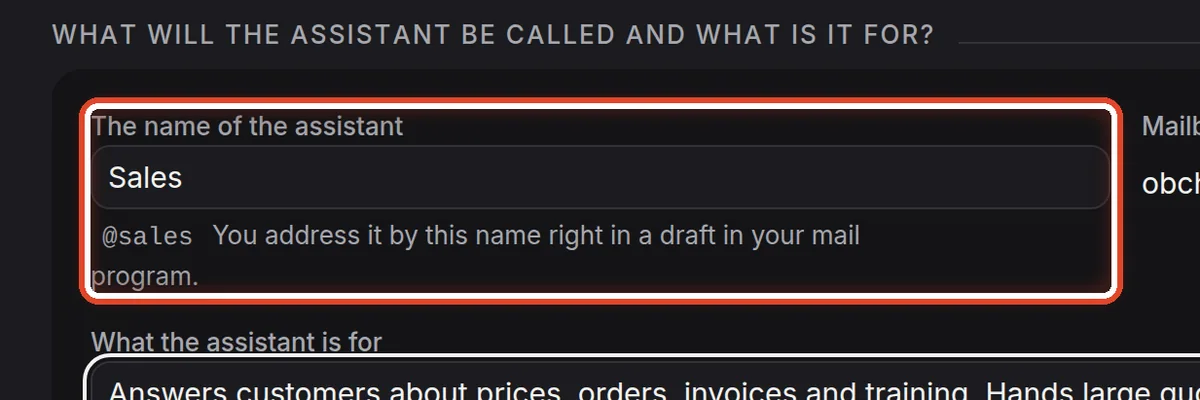
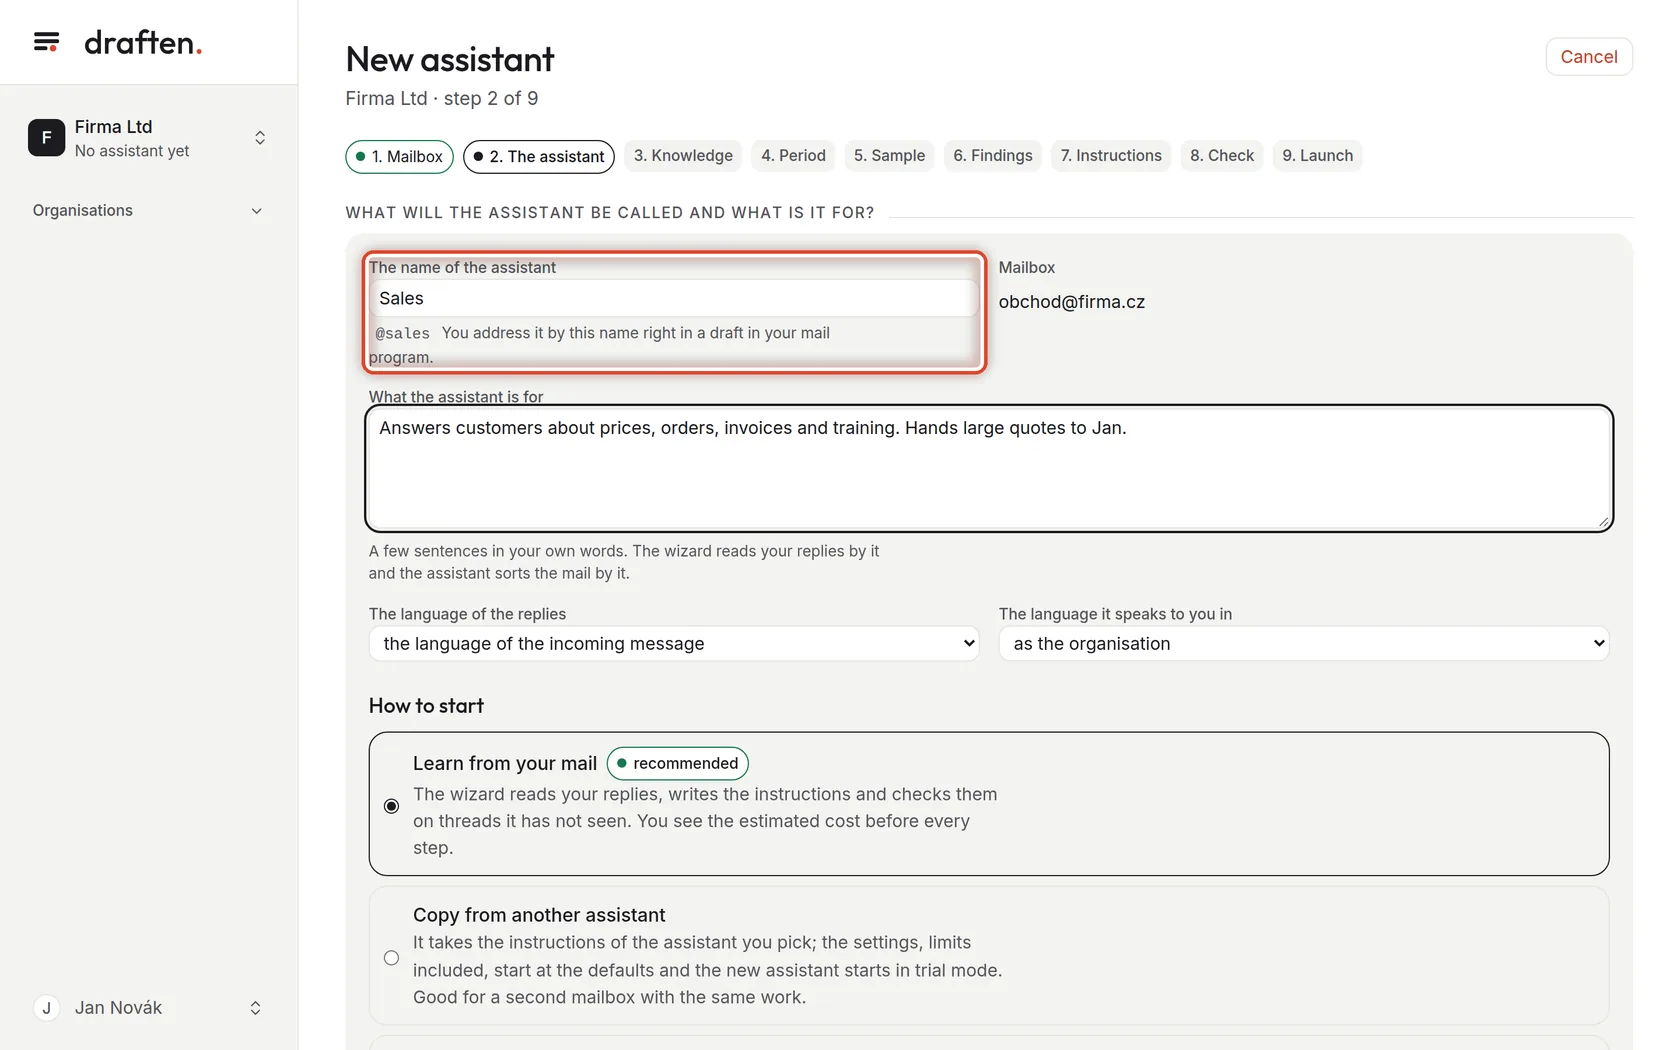
On the screenThe name field and, under it, the handle with an at sign.
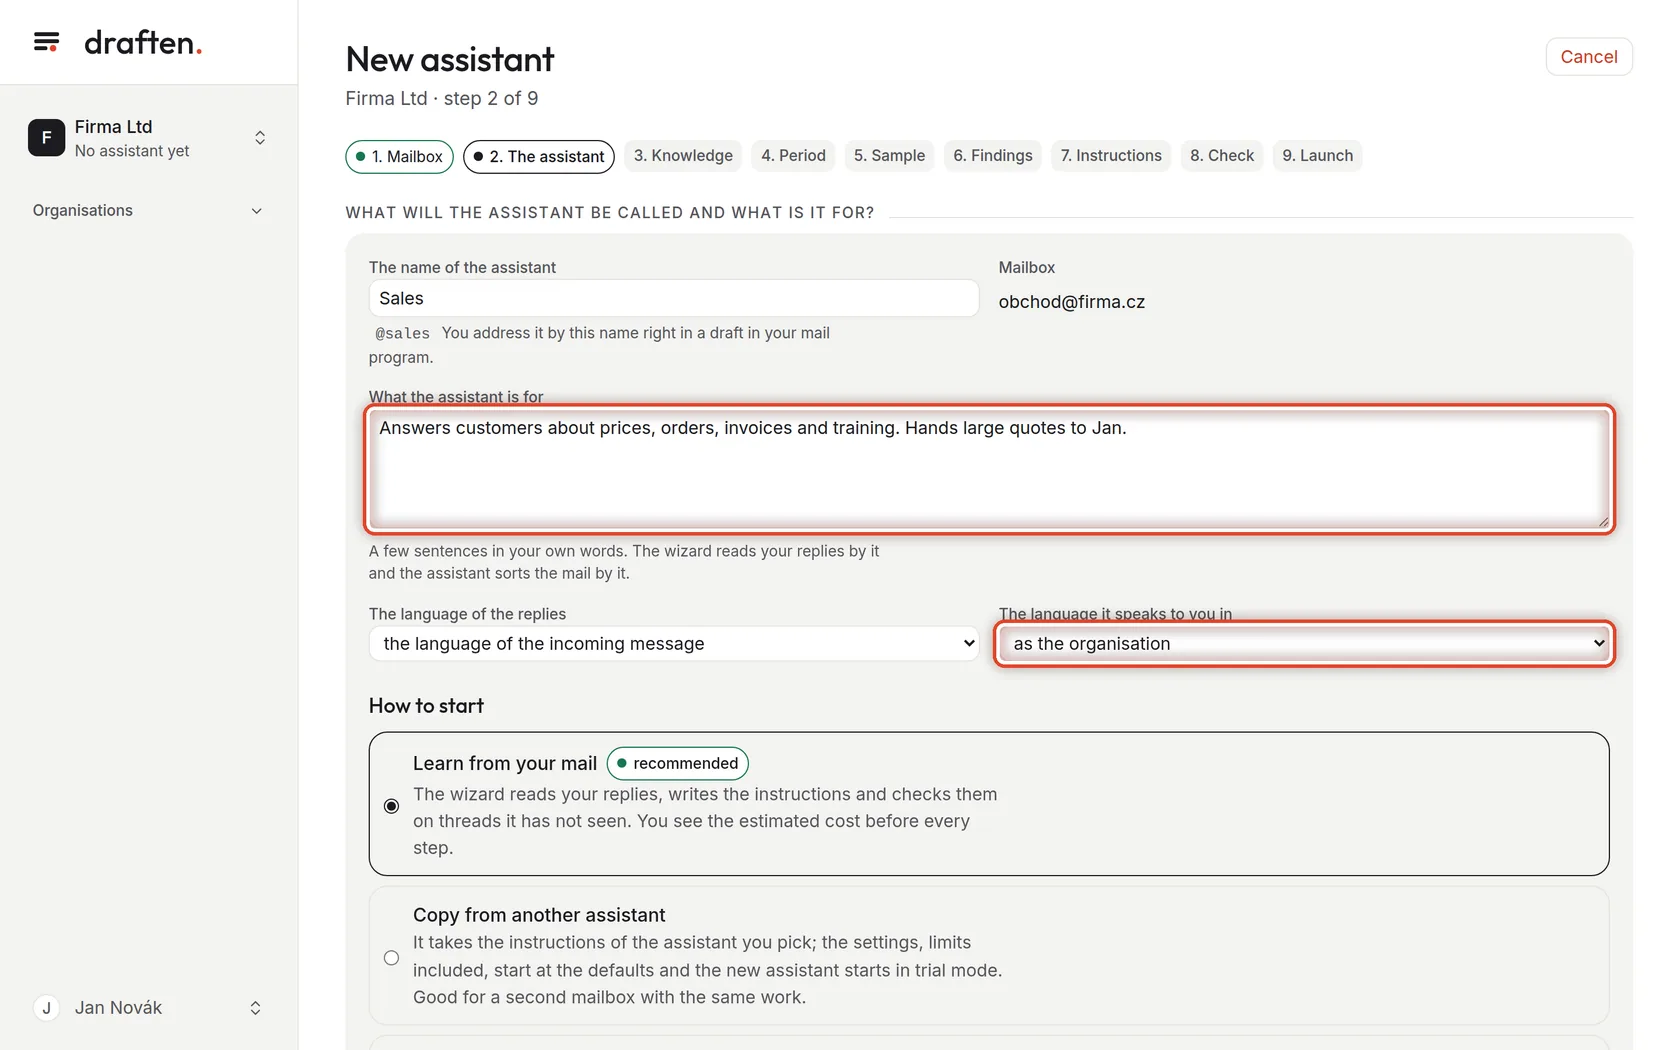
Do thisType a name, for example after the mailbox. Under the field you see the handle at once (here @sales) — the word you address the assistant by right in a draft when you want it revised.
NoteThe handle is set when the assistant is made and never changes, not even when you rename the assistant later.
Step 4 of 19
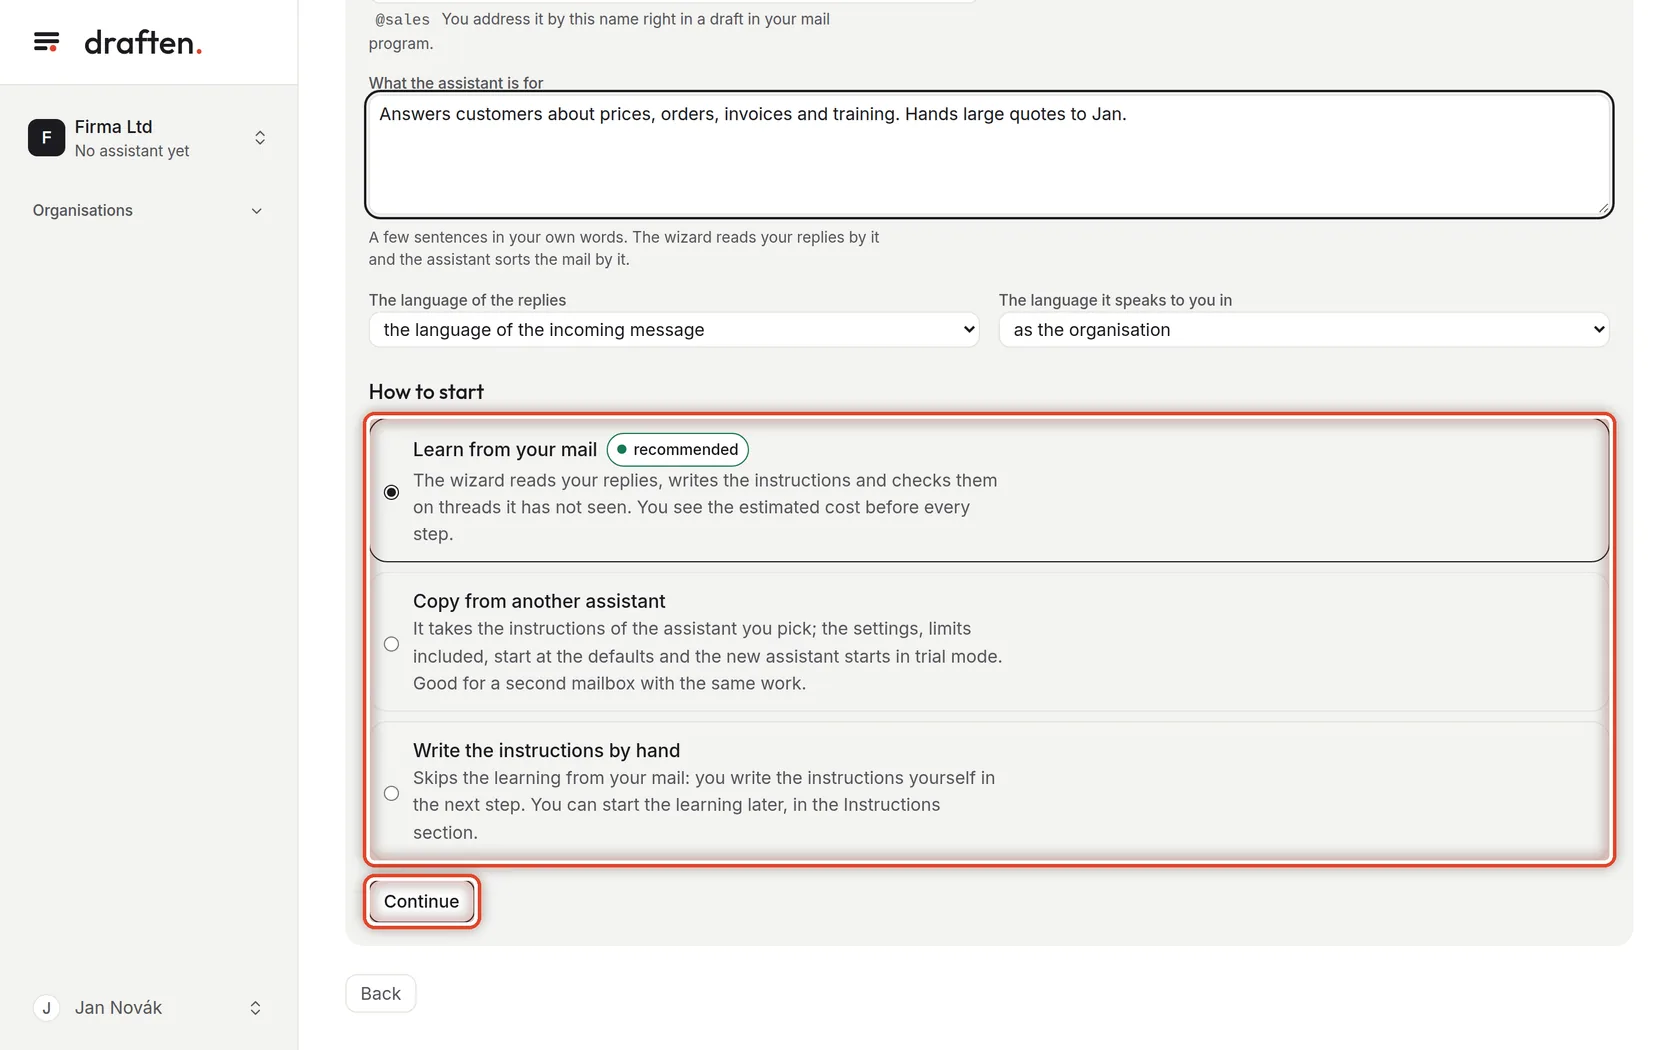
Say what it is for
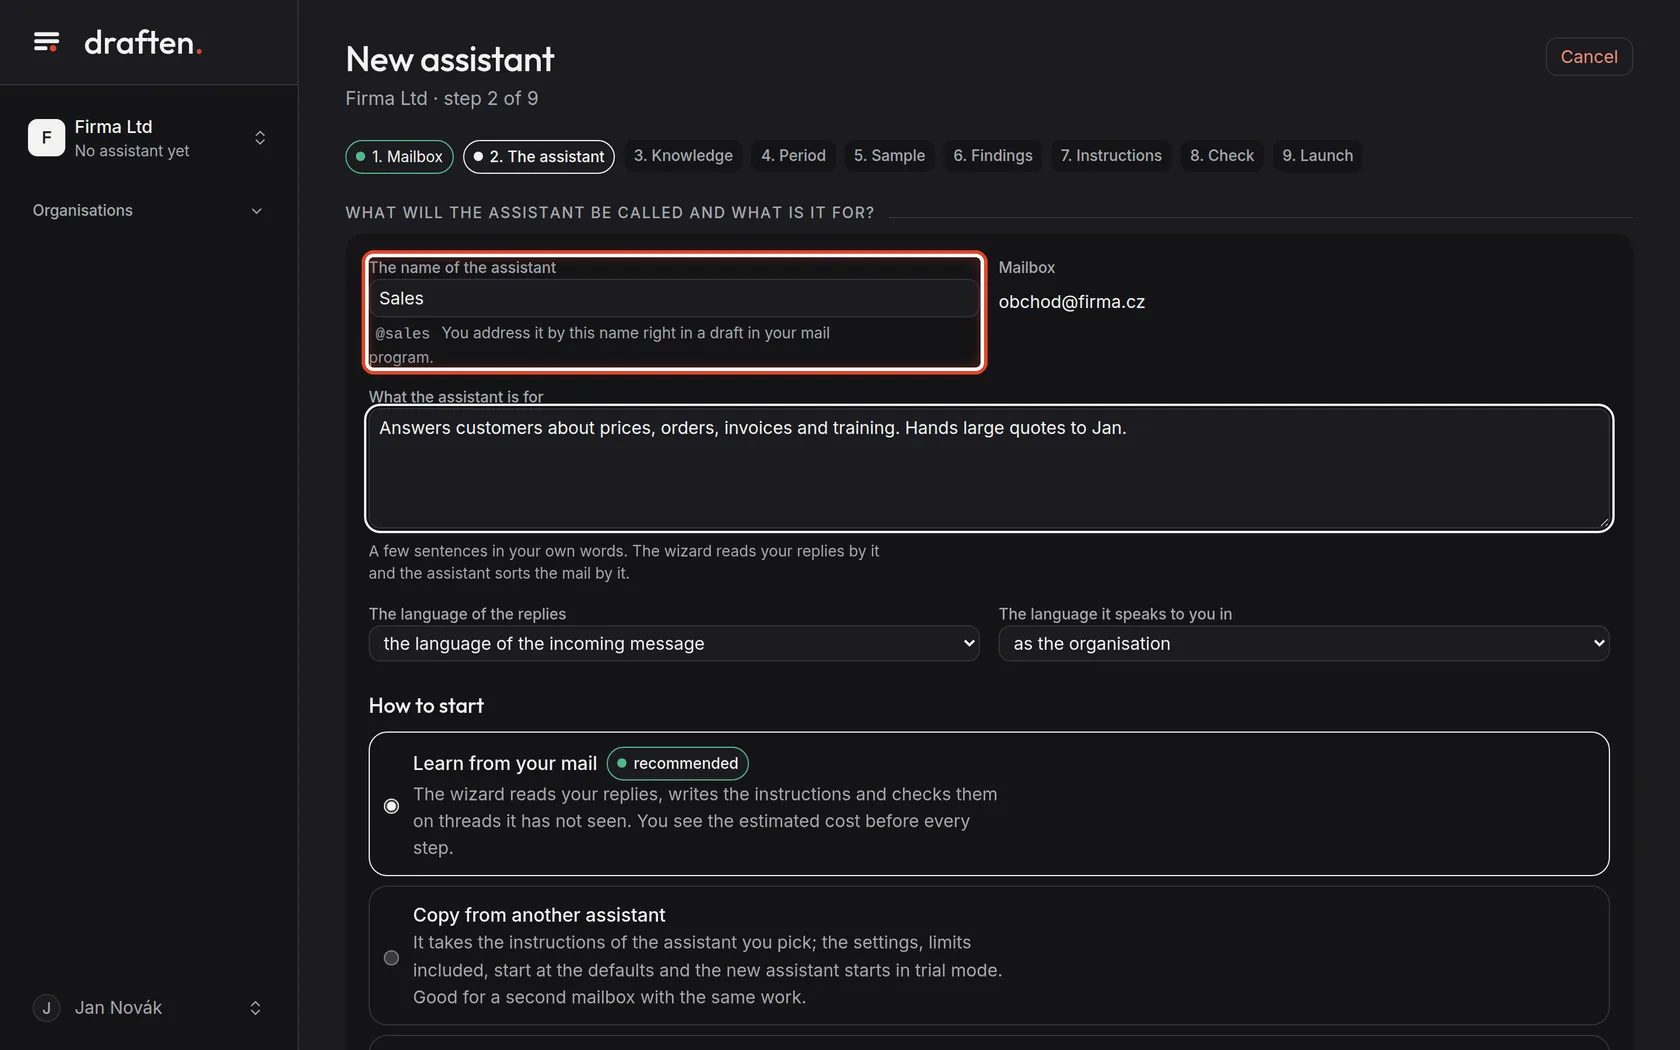
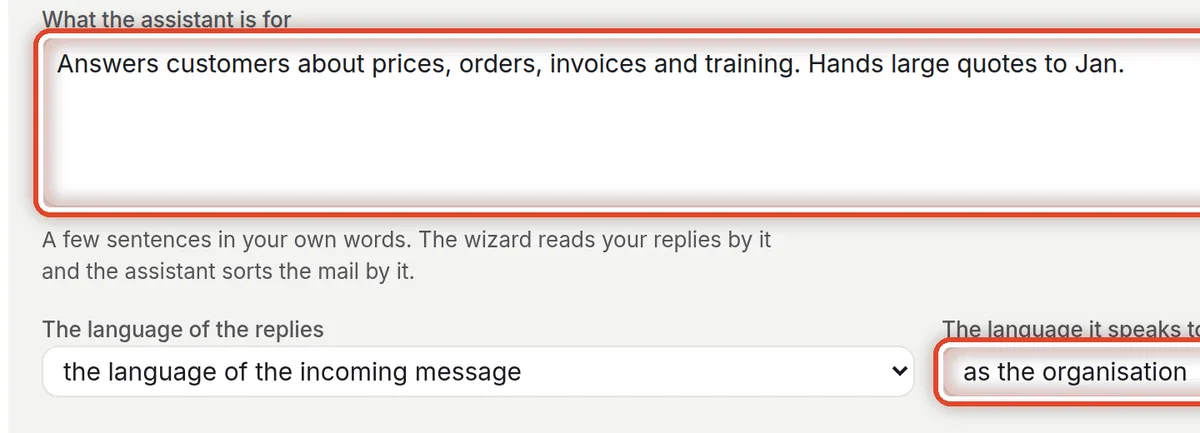
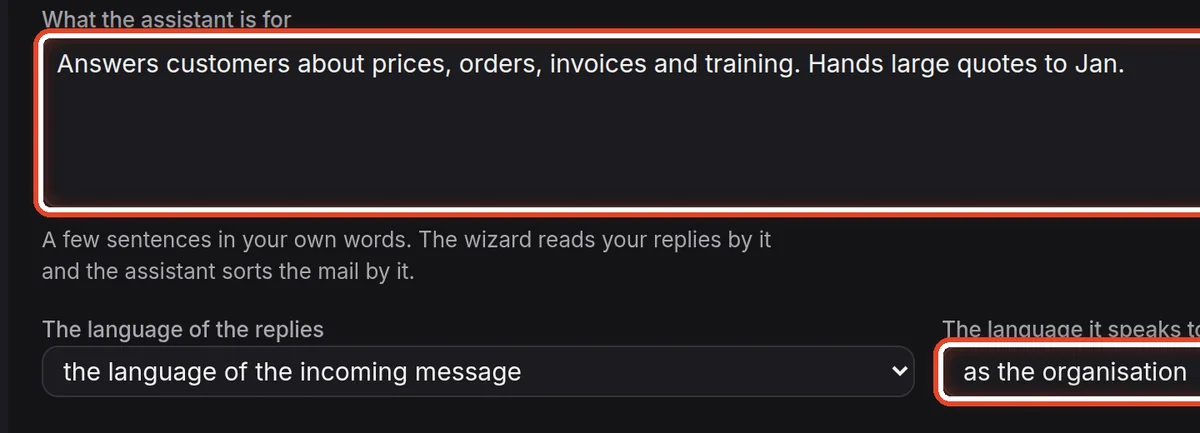
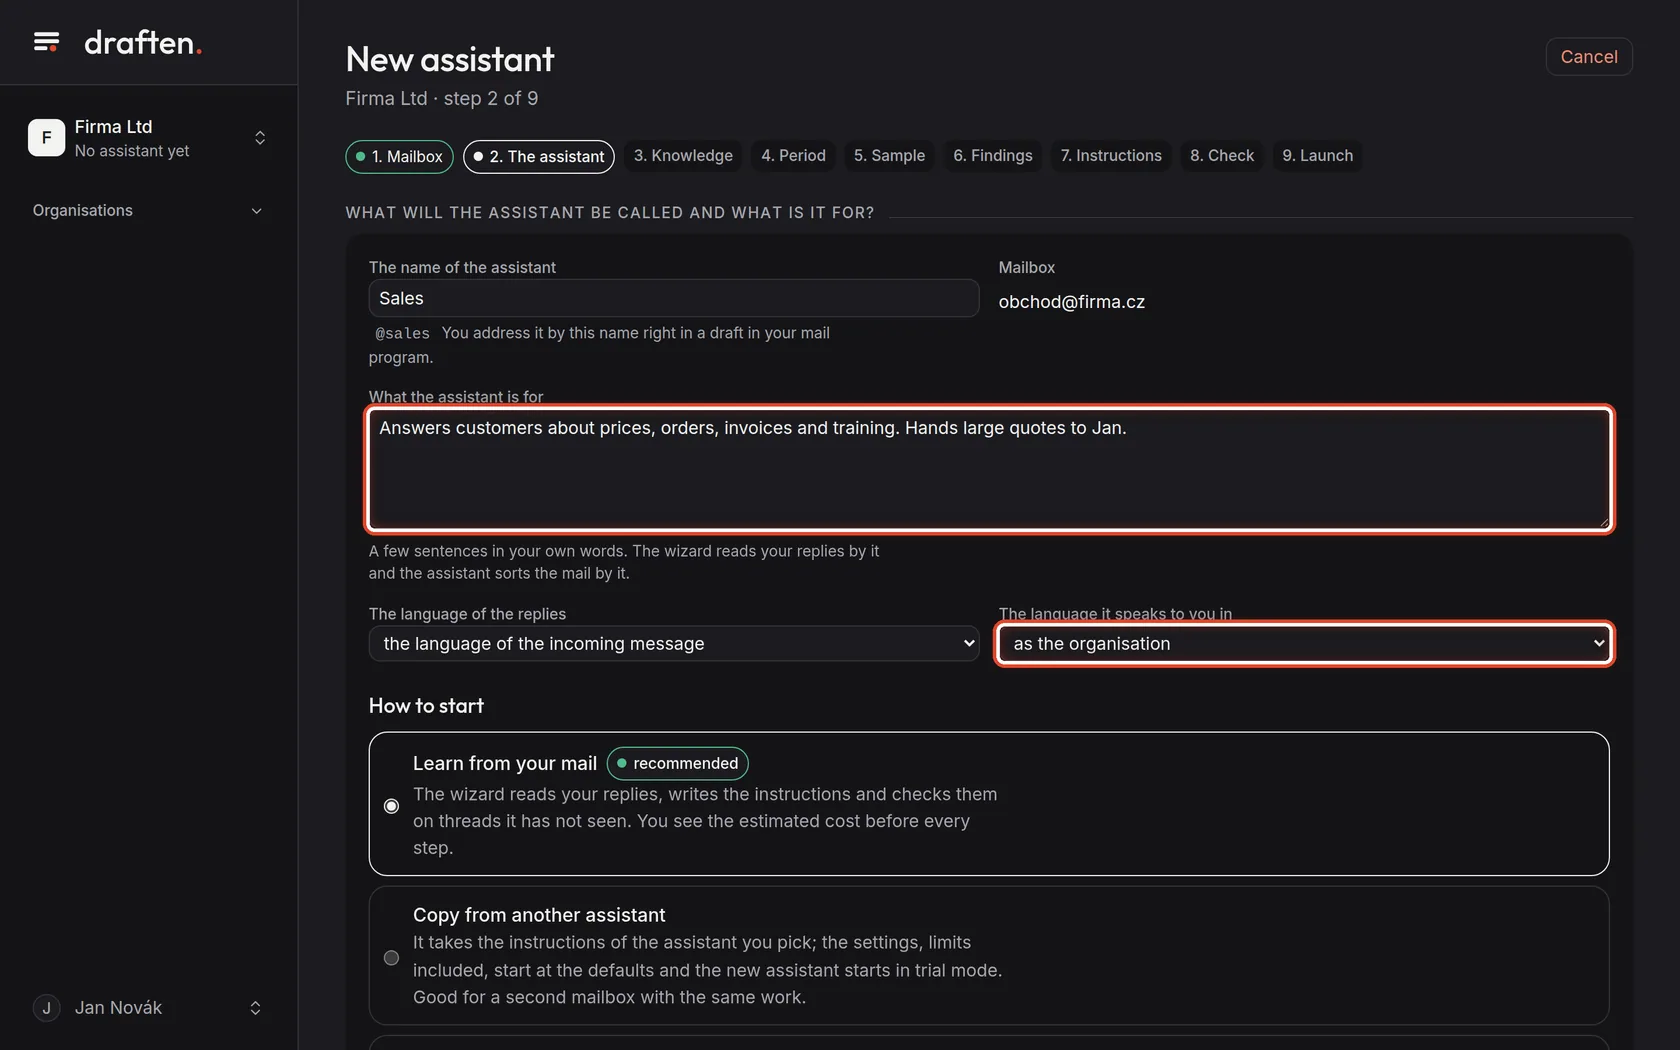
On the screenThe What the assistant is for field and two languages under it.
Do thisA few sentences in your own words: what the assistant answers and what it passes on. The wizard reads your replies by it and the assistant sorts the mail by it. The language of the replies is usually the language of the incoming mail; the language it speaks to you in is for what you read: reasons, lessons and the instructions the wizard writes.
Step 5 of 19
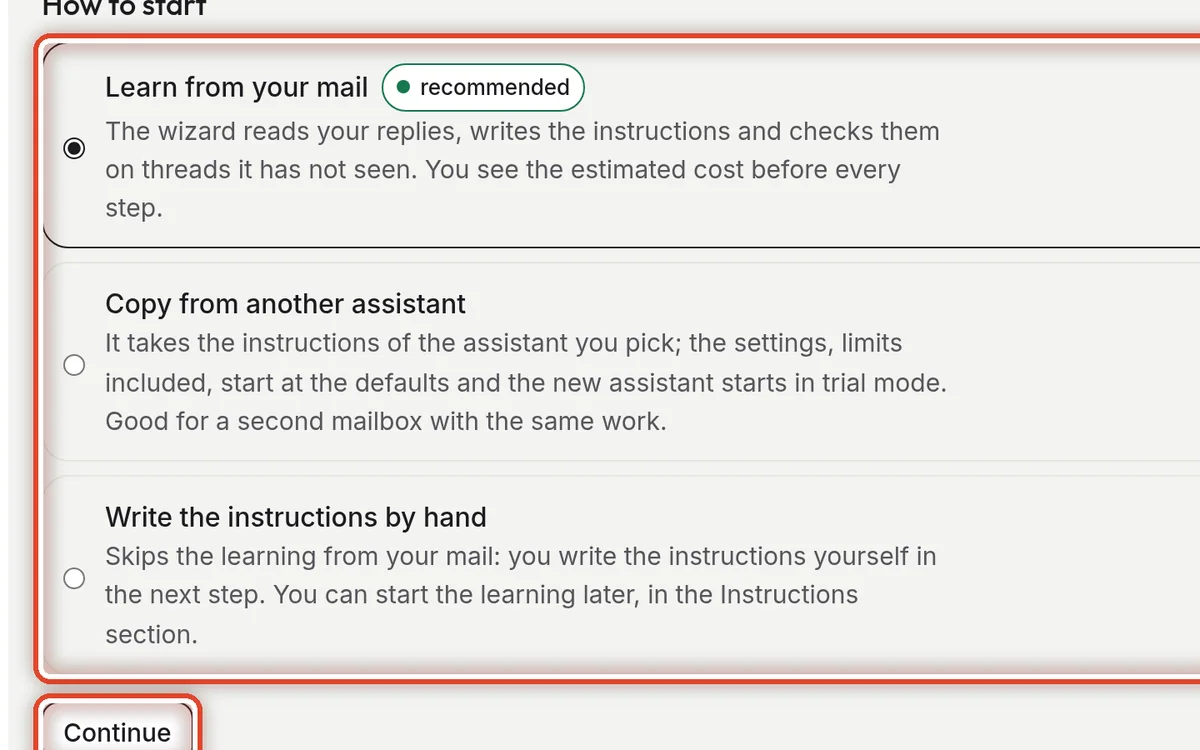
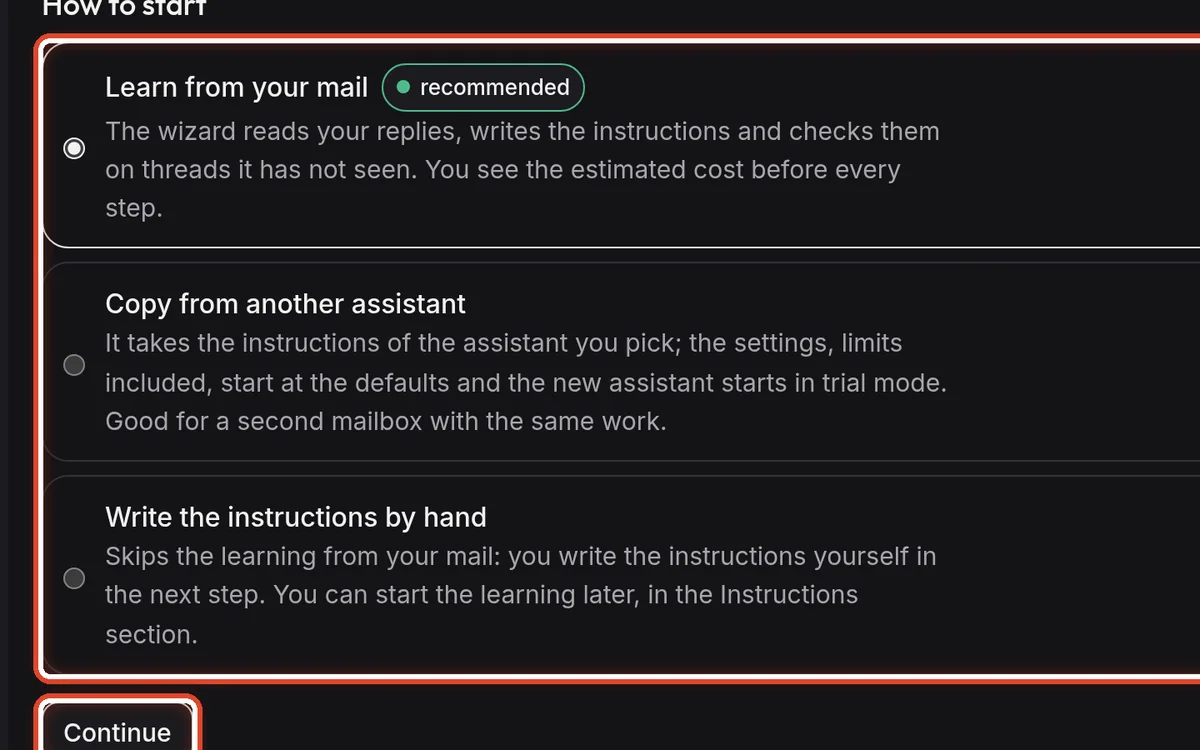
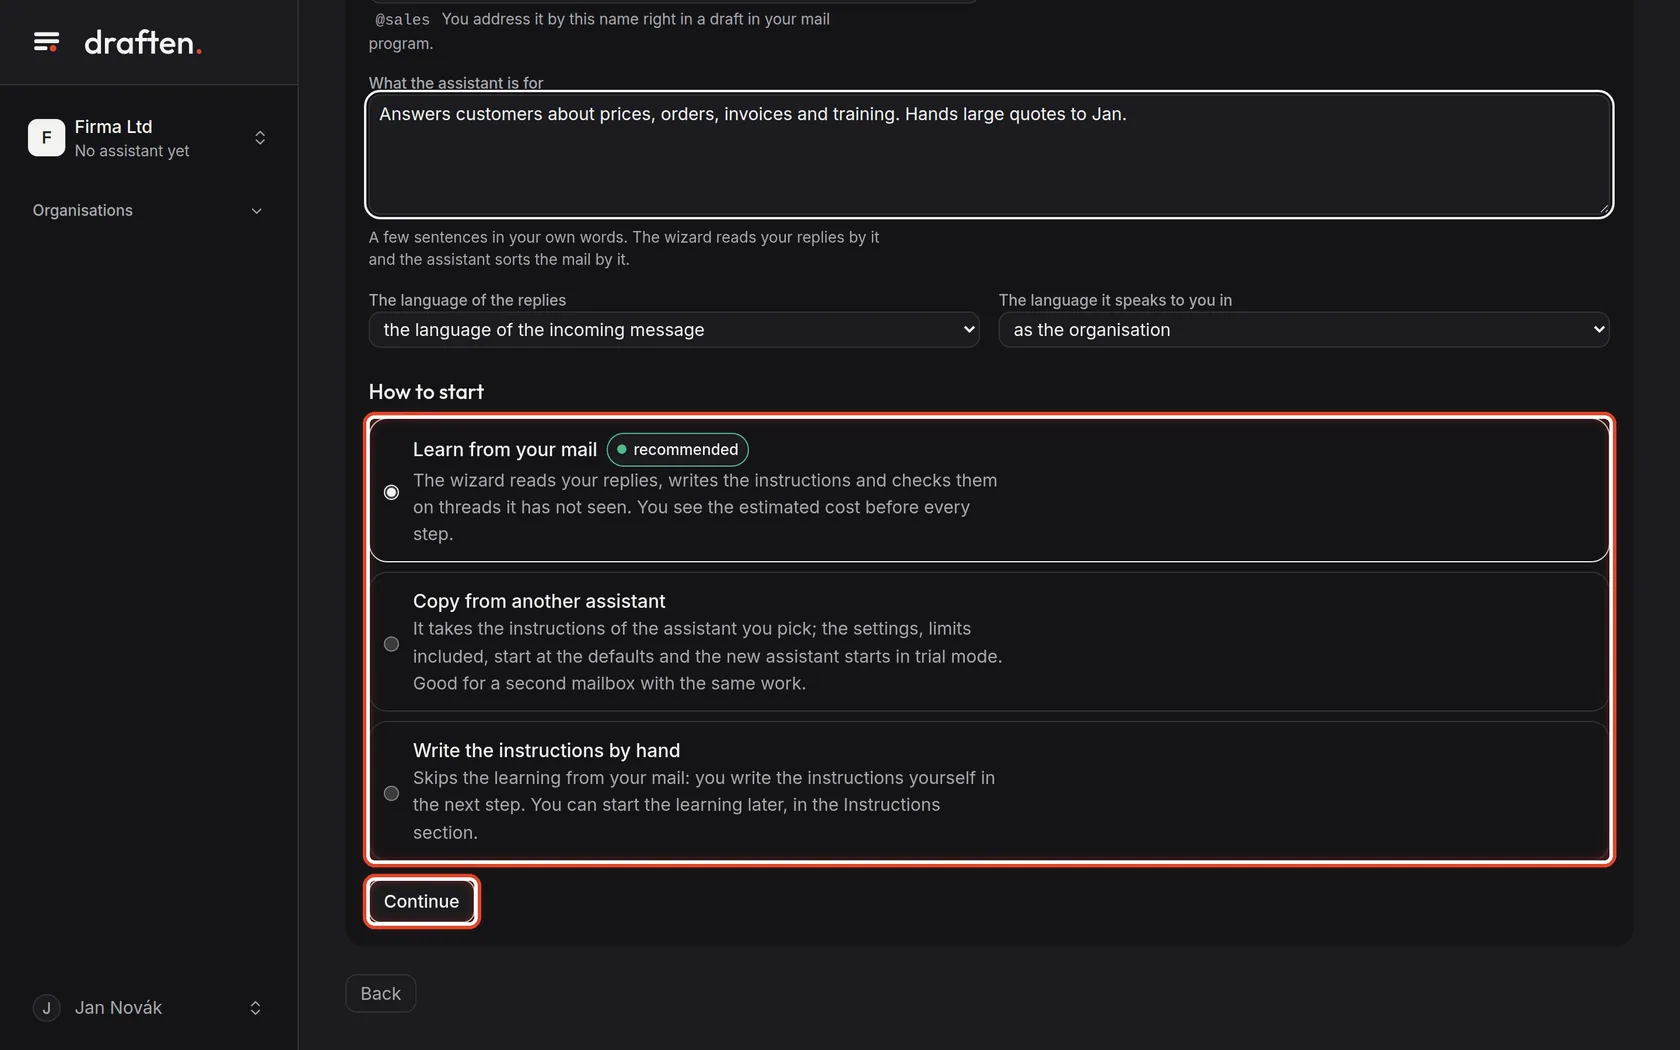
Choose how to start
On the screenThree options under How to start.
Do thisLearn from your mail (recommended): the wizard reads your replies, writes the instructions and checks them. Copy from another assistant: it takes over that assistant's instructions, while the settings, limits included, start at the defaults — good for a second mailbox with the same work. Write the instructions by hand: you skip the learning. Choose and click Continue.
NoteThe guide goes on with learning from your mail. With instructions by hand the wizard has only five steps: mailbox, the assistant, knowledge, instructions and launch.
Step 6 of 19
Add knowledge sources
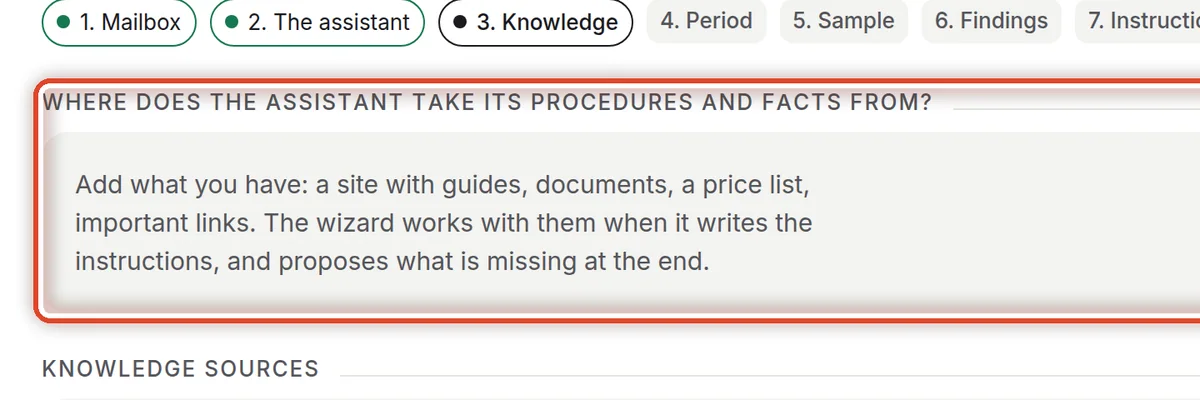
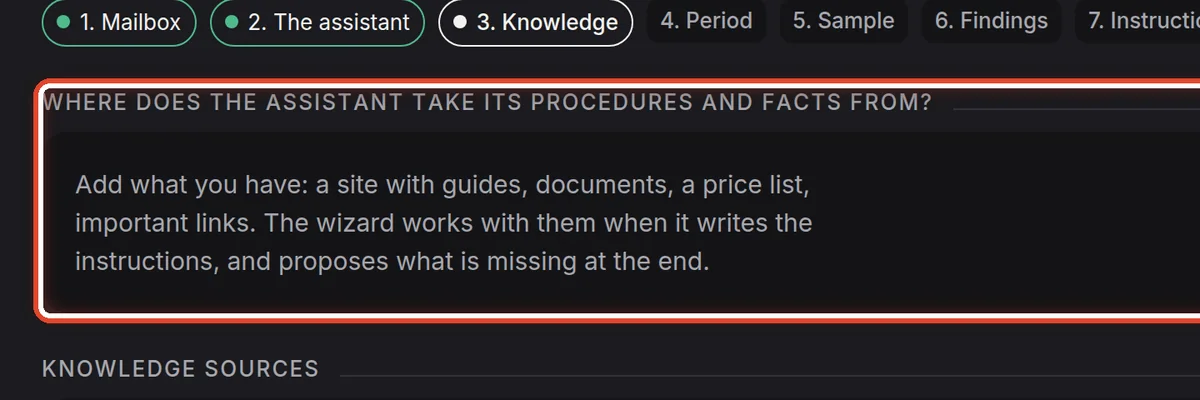
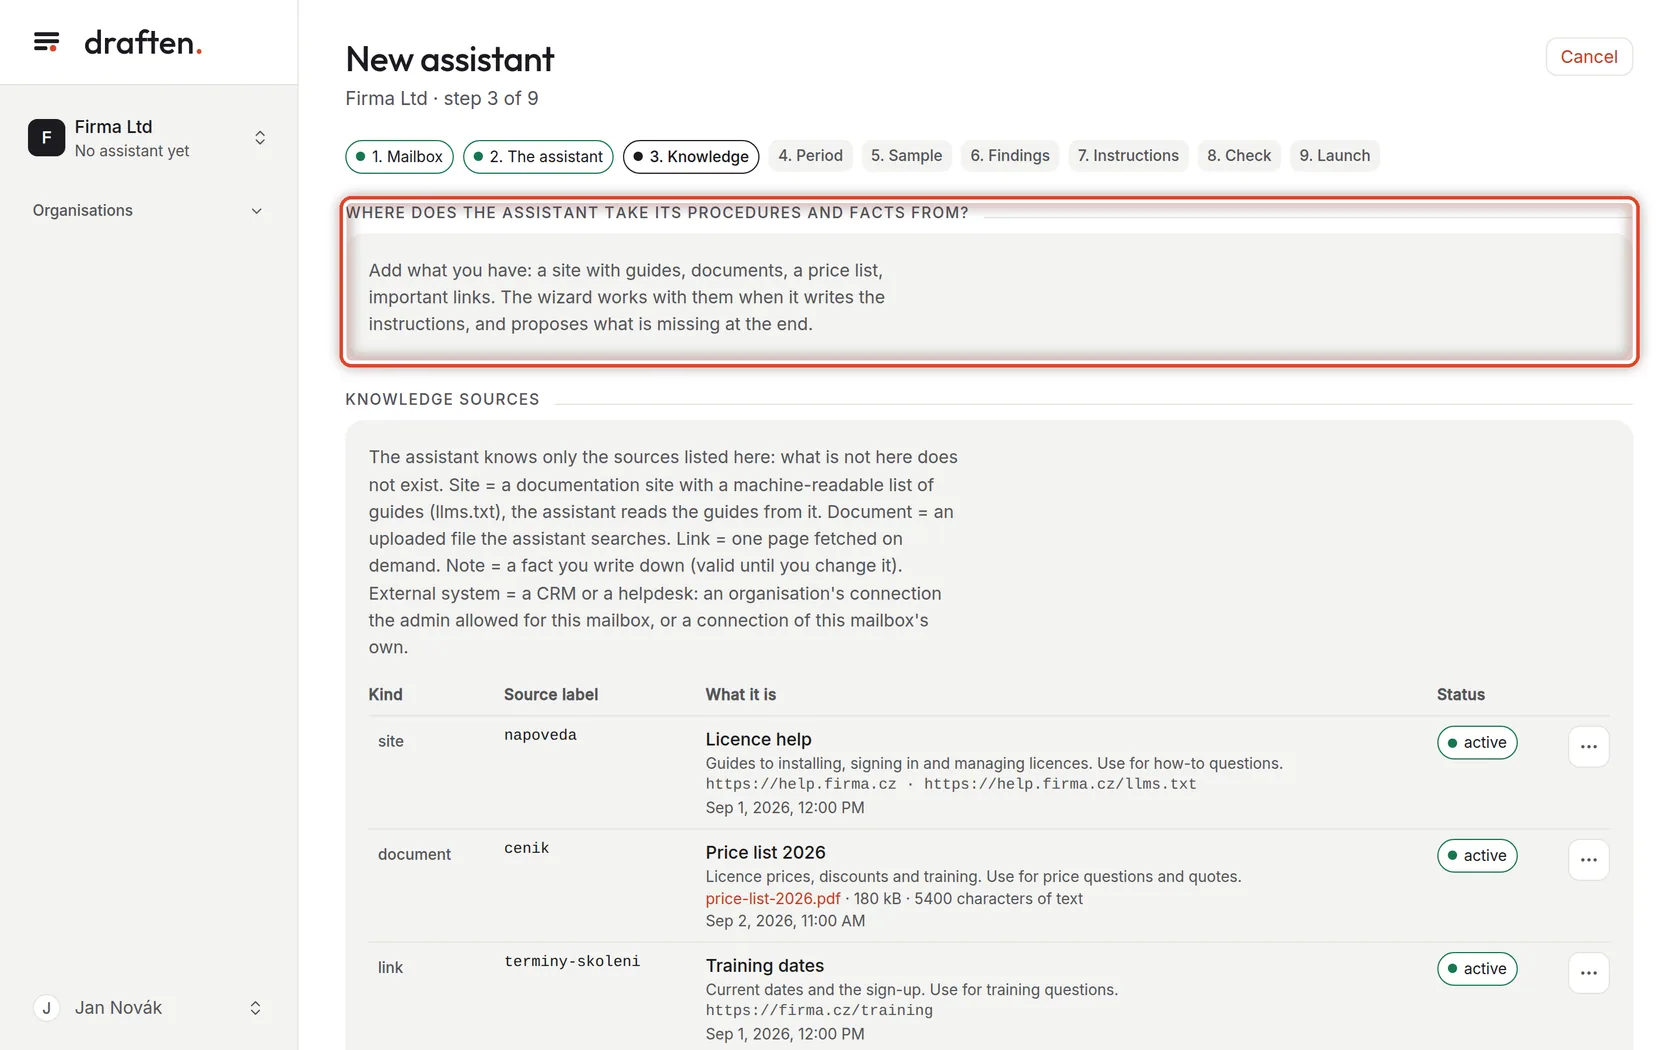
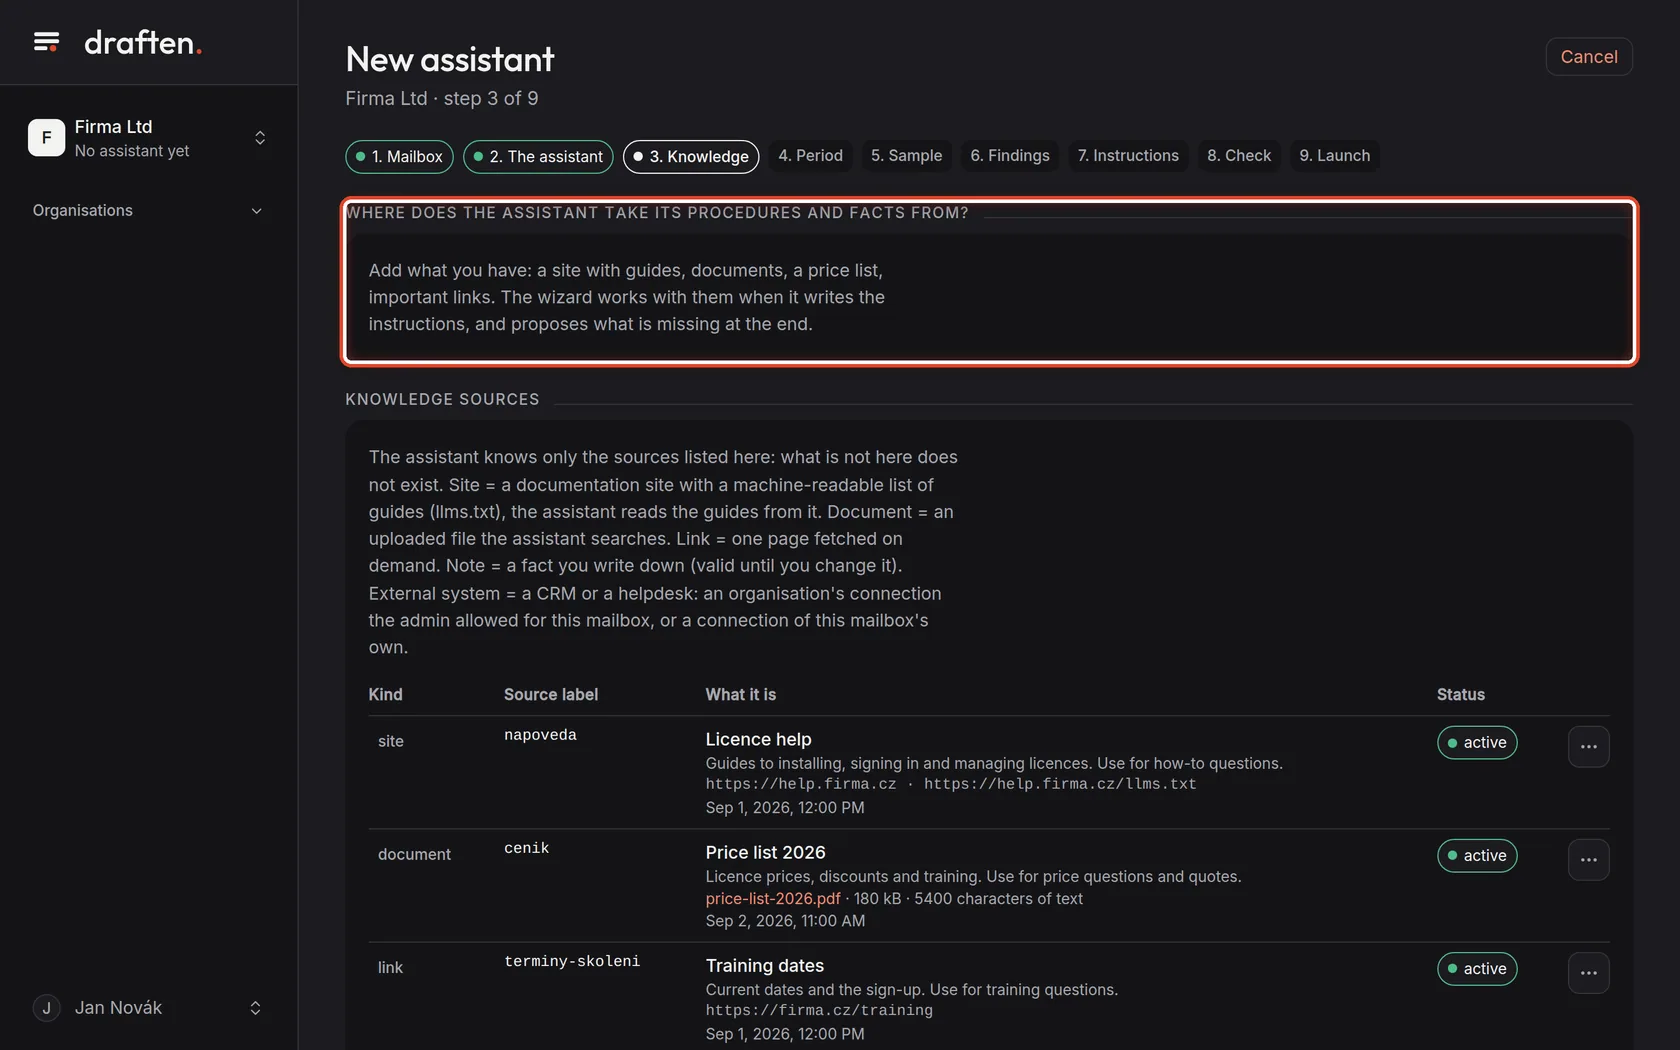
On the screenThe question Where does the assistant take its procedures and facts from? and the list of sources under it.
Do thisAdd what you have: a site with guides, a price list, documents, important links. The assistant knows only what is here. Then click Continue at the bottom.
NoteYou can skip this step and add sources later in Knowledge. Without them, though, the assistant answers only from what it reads in your mail. The kinds of sources are described in Knowledge sources.
Step 7 of 19
Confirm the period
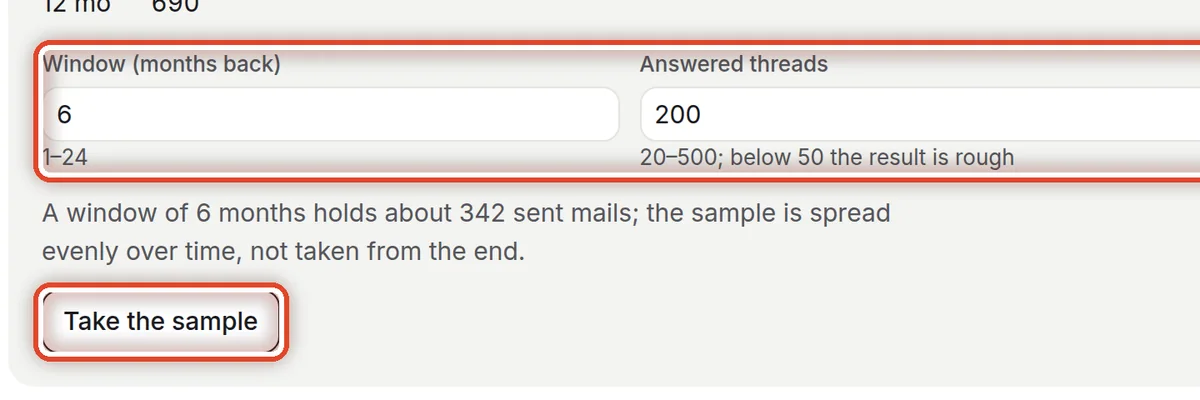
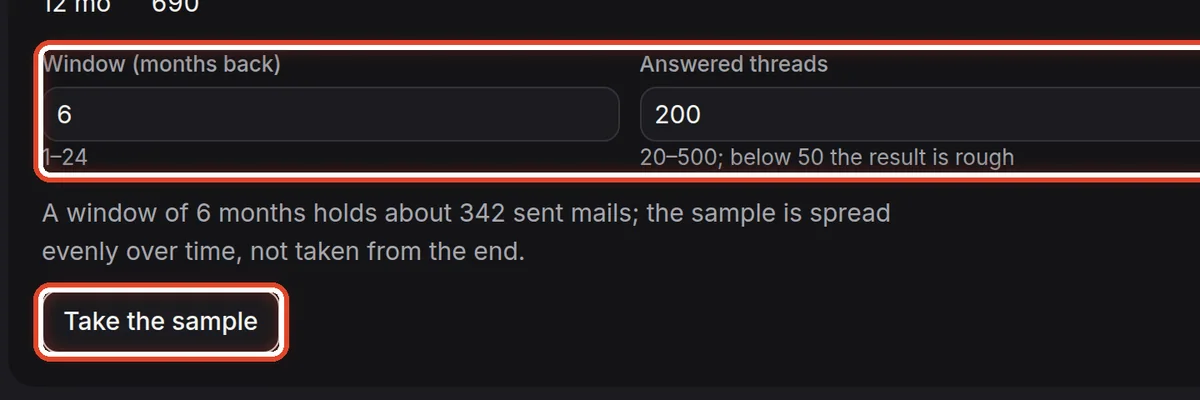
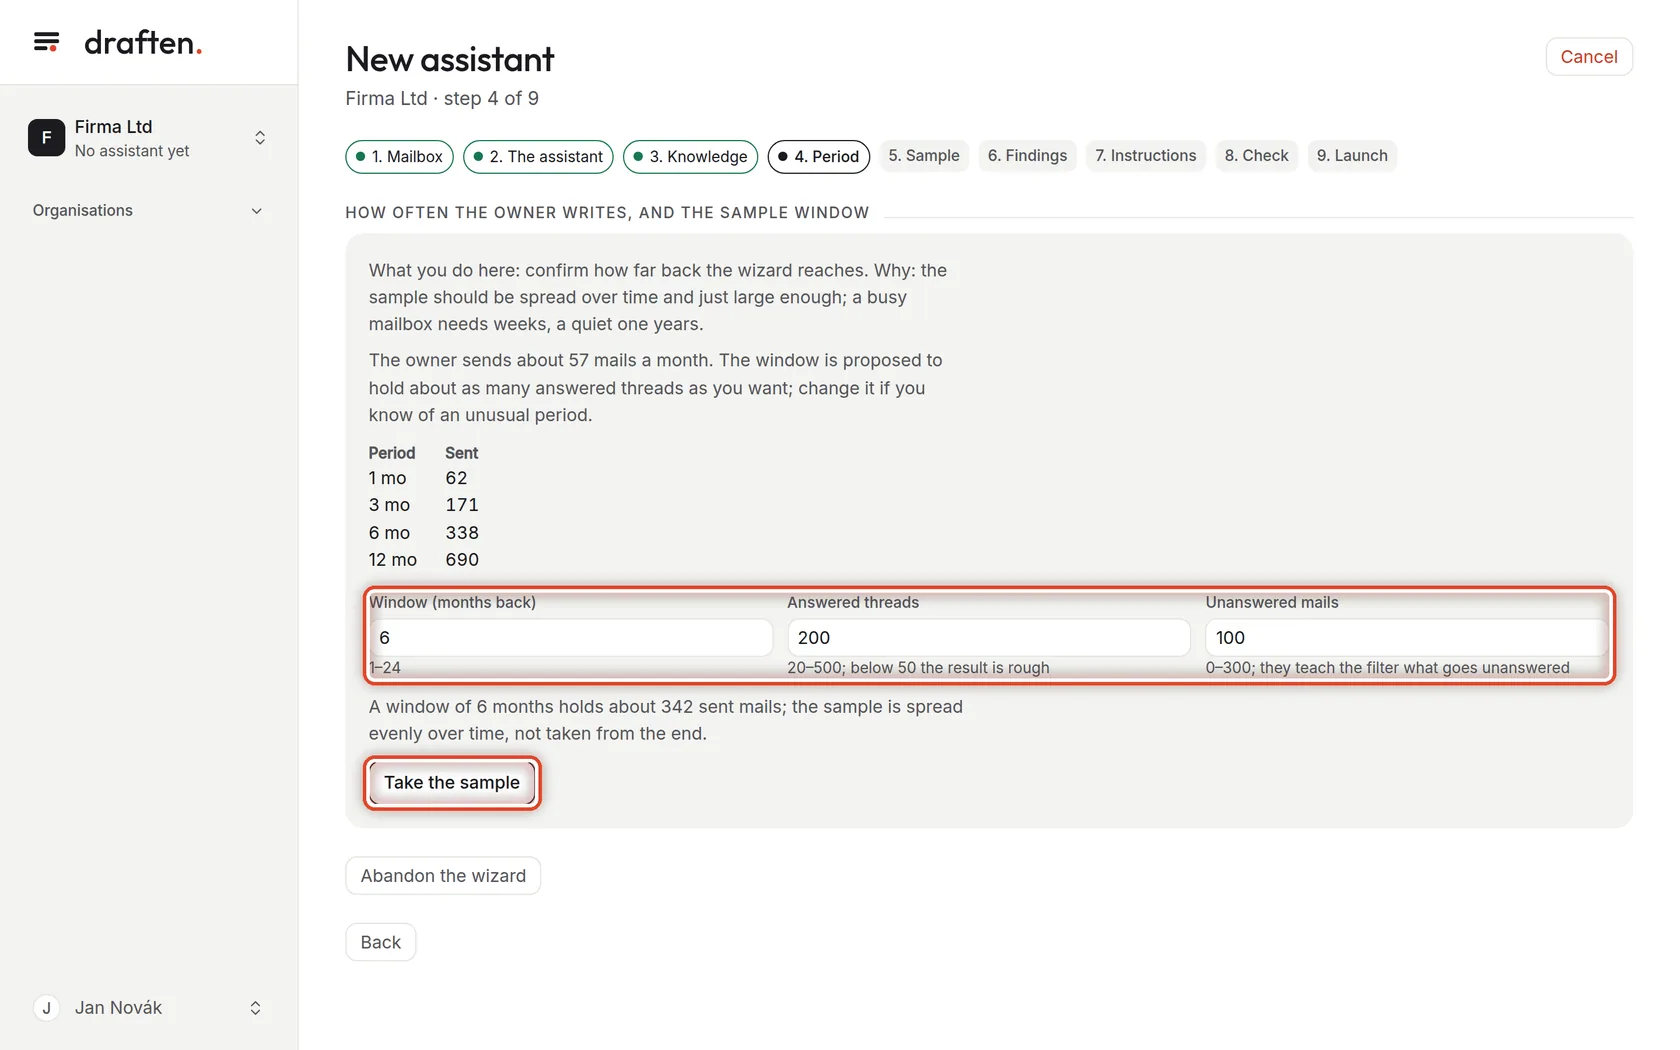
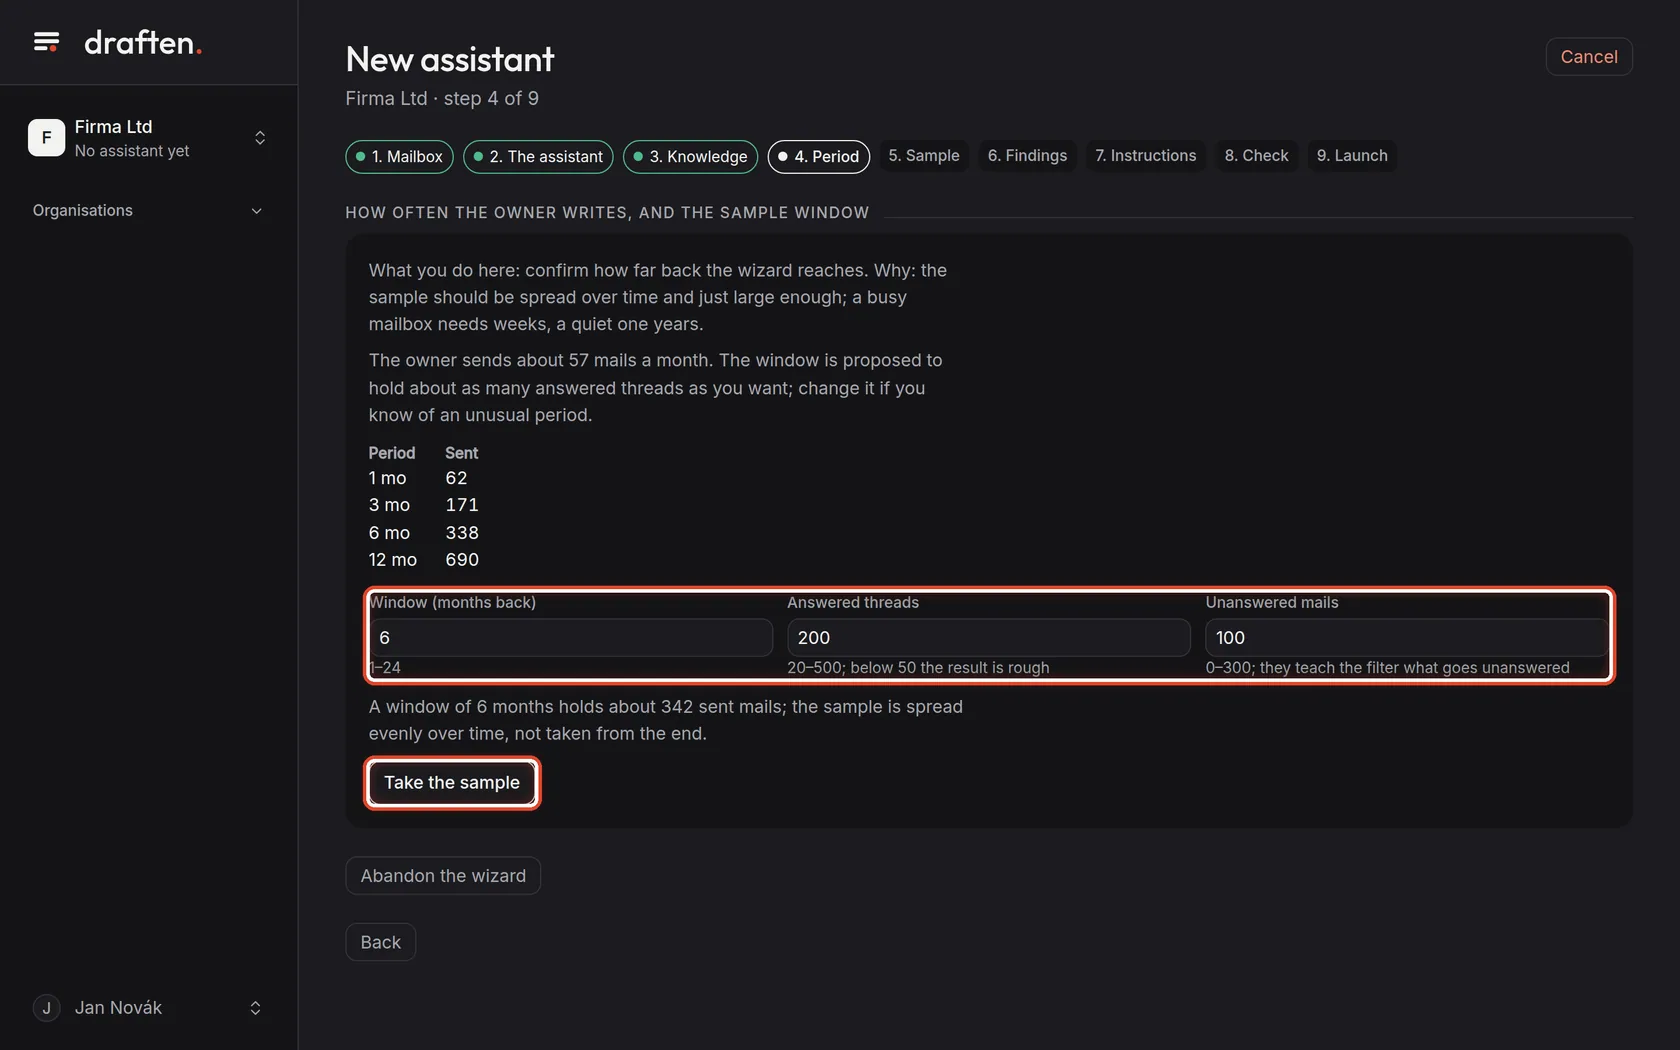
On the screenHow much mail left the mailbox in recent months, and the proposed sample window.
Do thisThe wizard measured how much mail you send and proposed how far back to reach for about 200 answered threads. Unless you know of an unusual period, leave the numbers as they are and click Take the sample.
NoteThis step is free — it works with counts only, without a language model.
Step 8 of 19
Check the sample
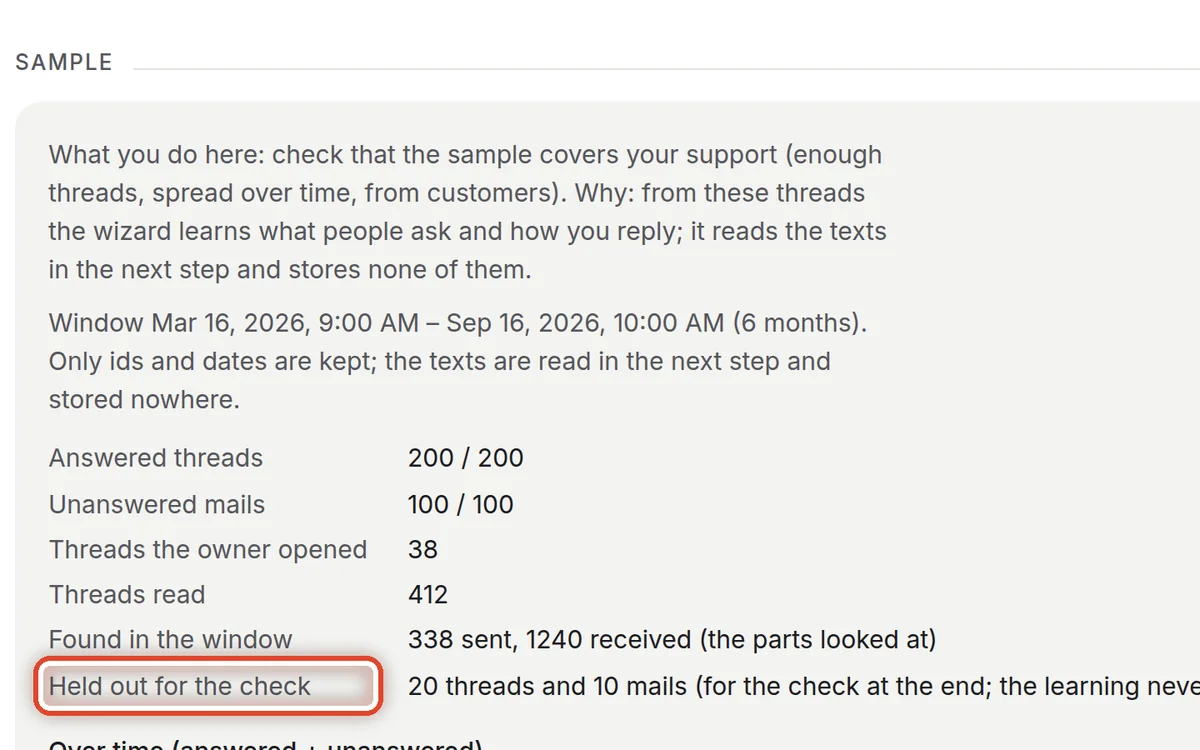
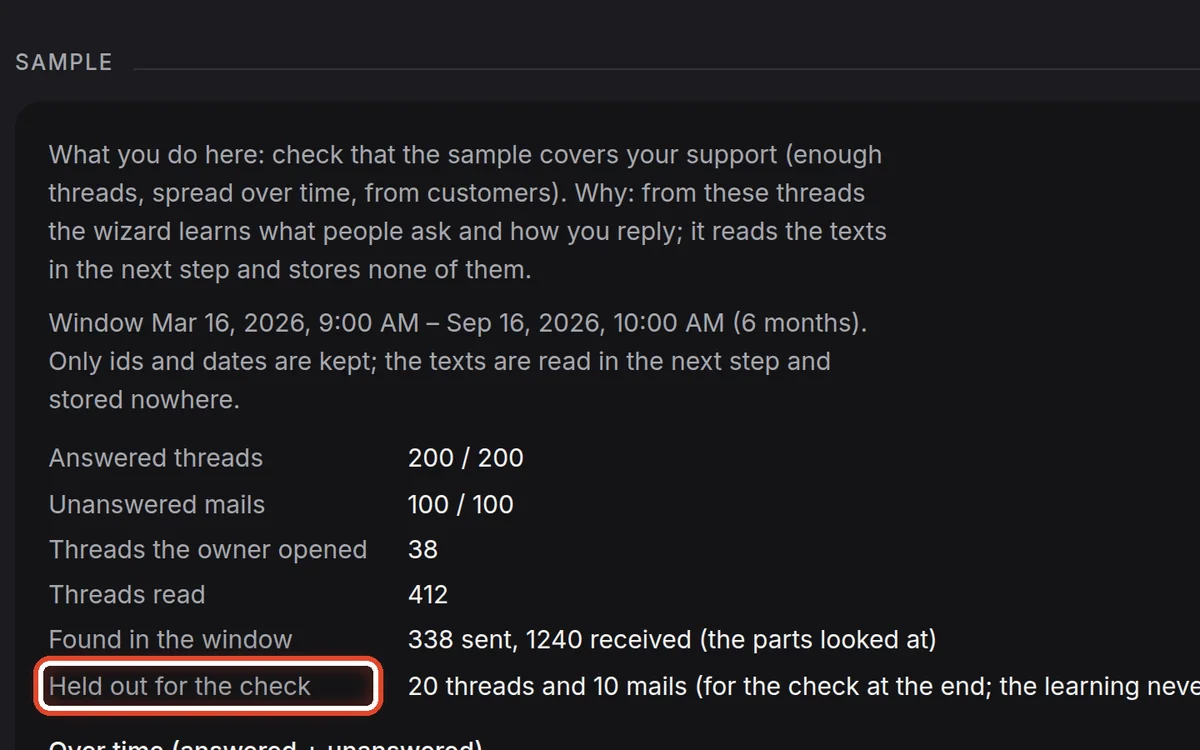
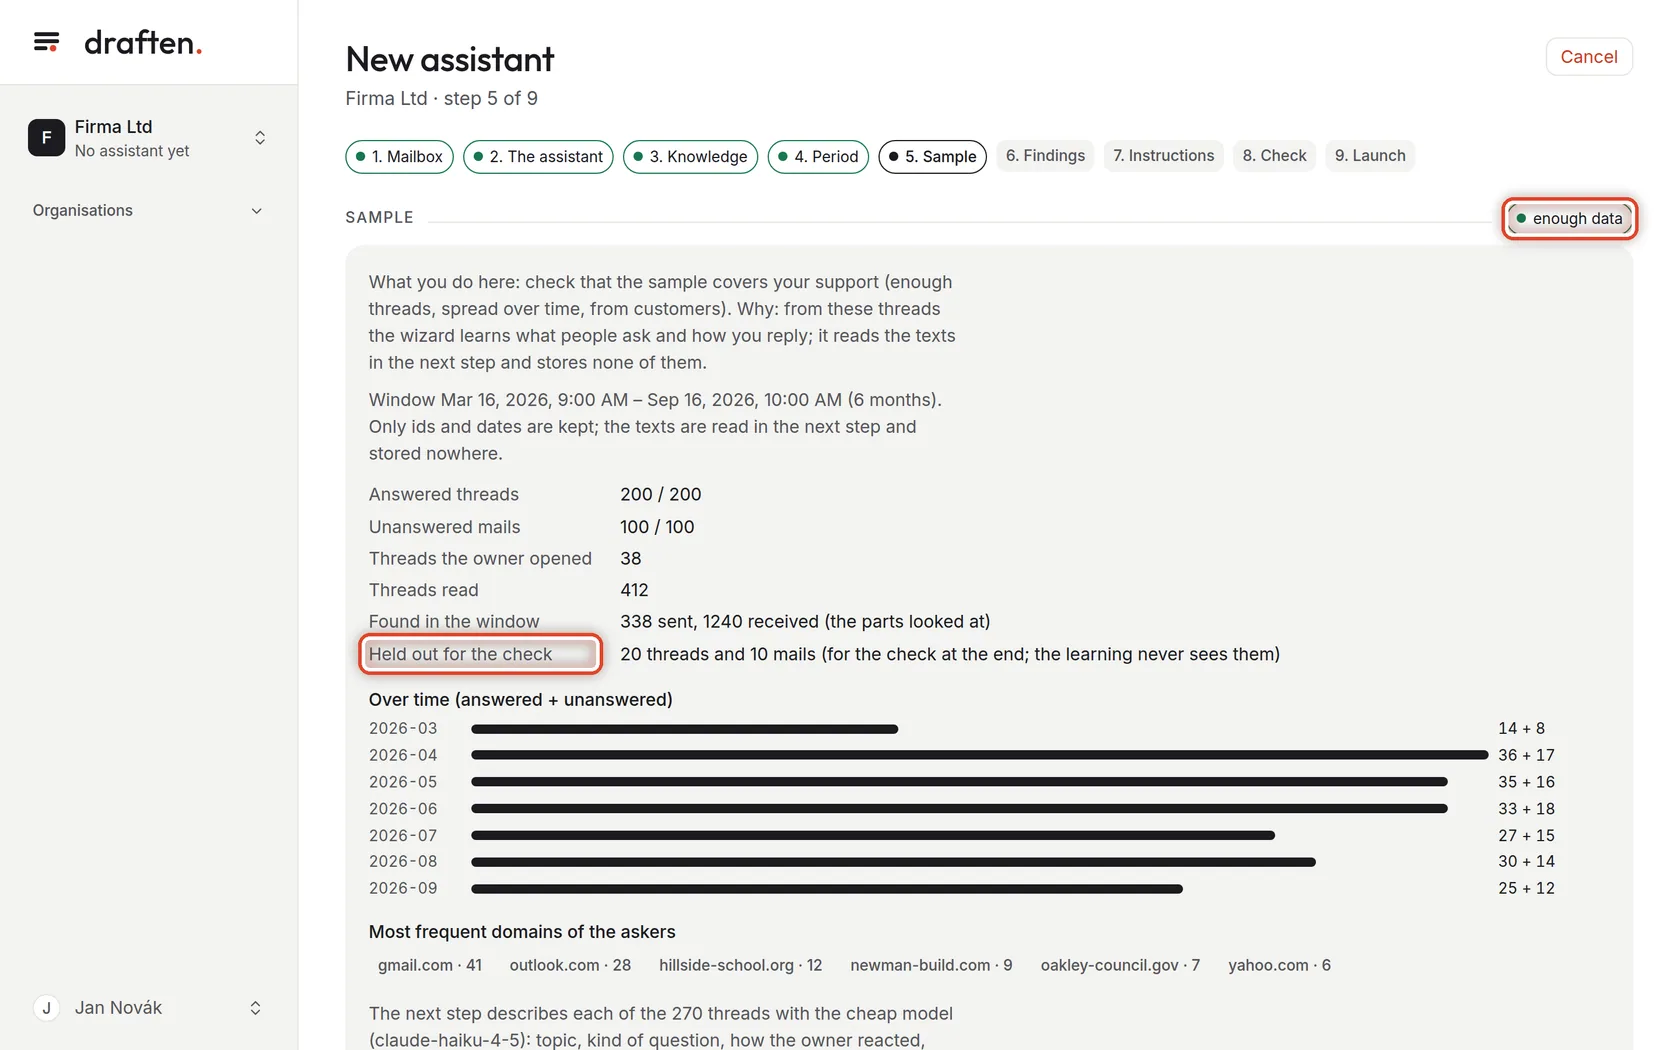
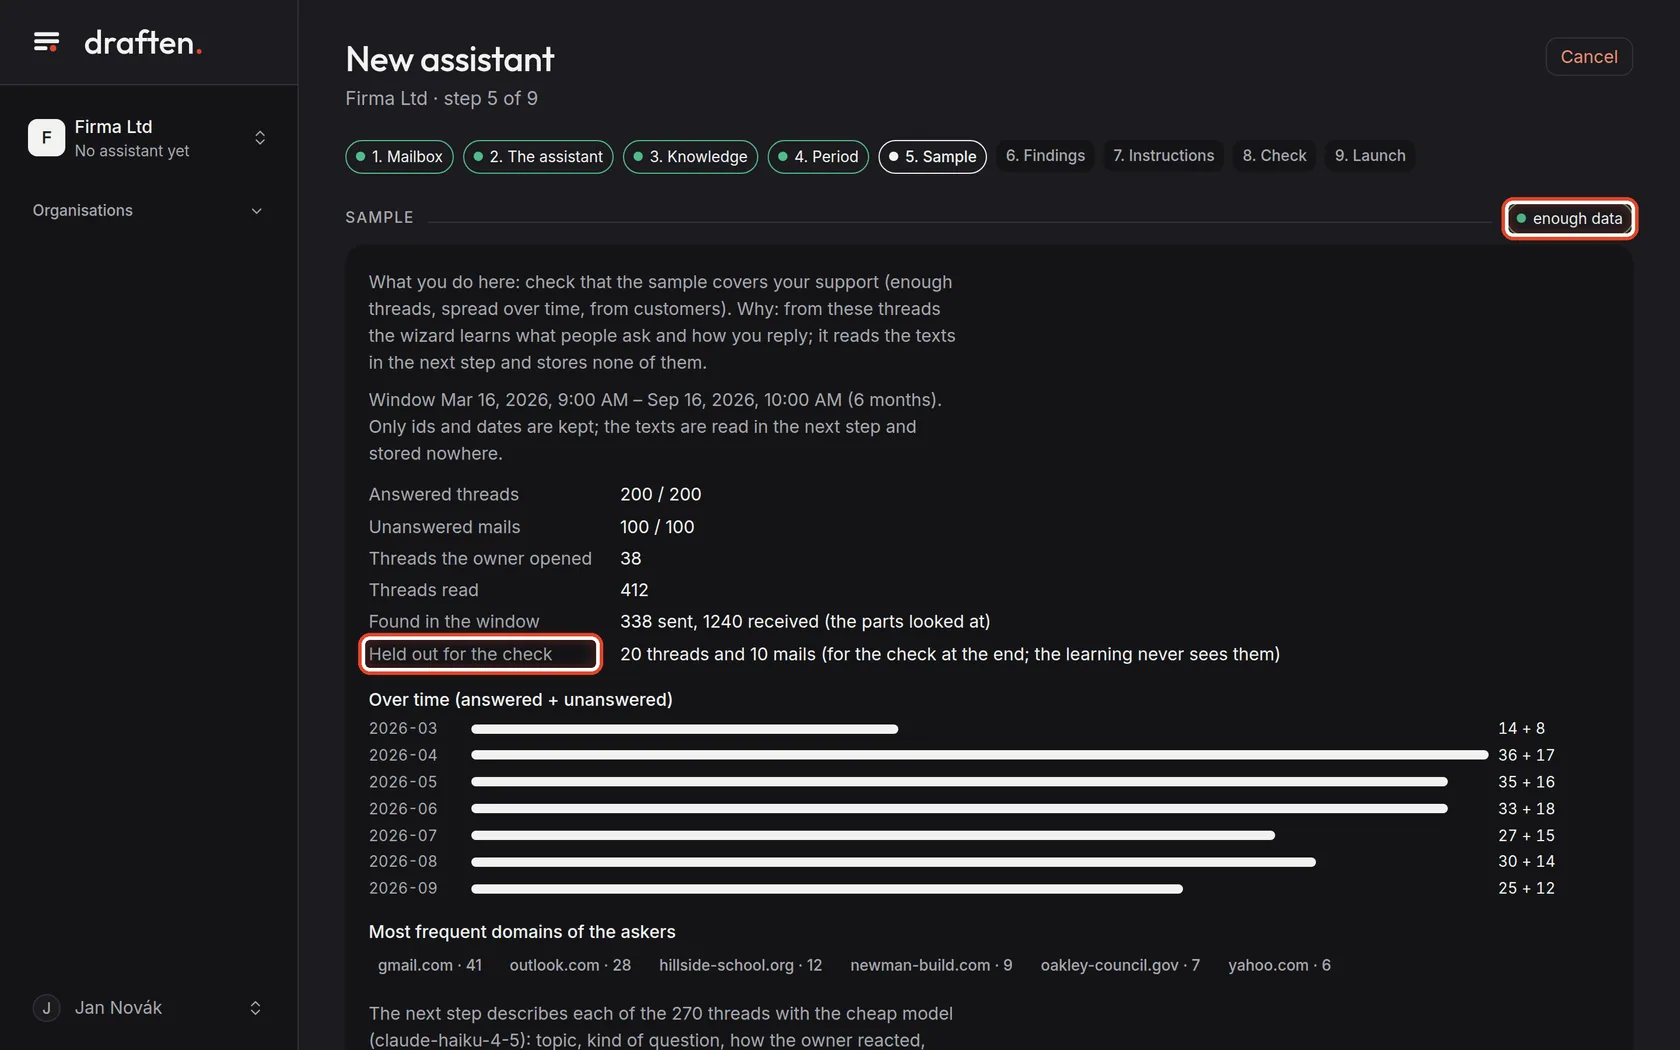
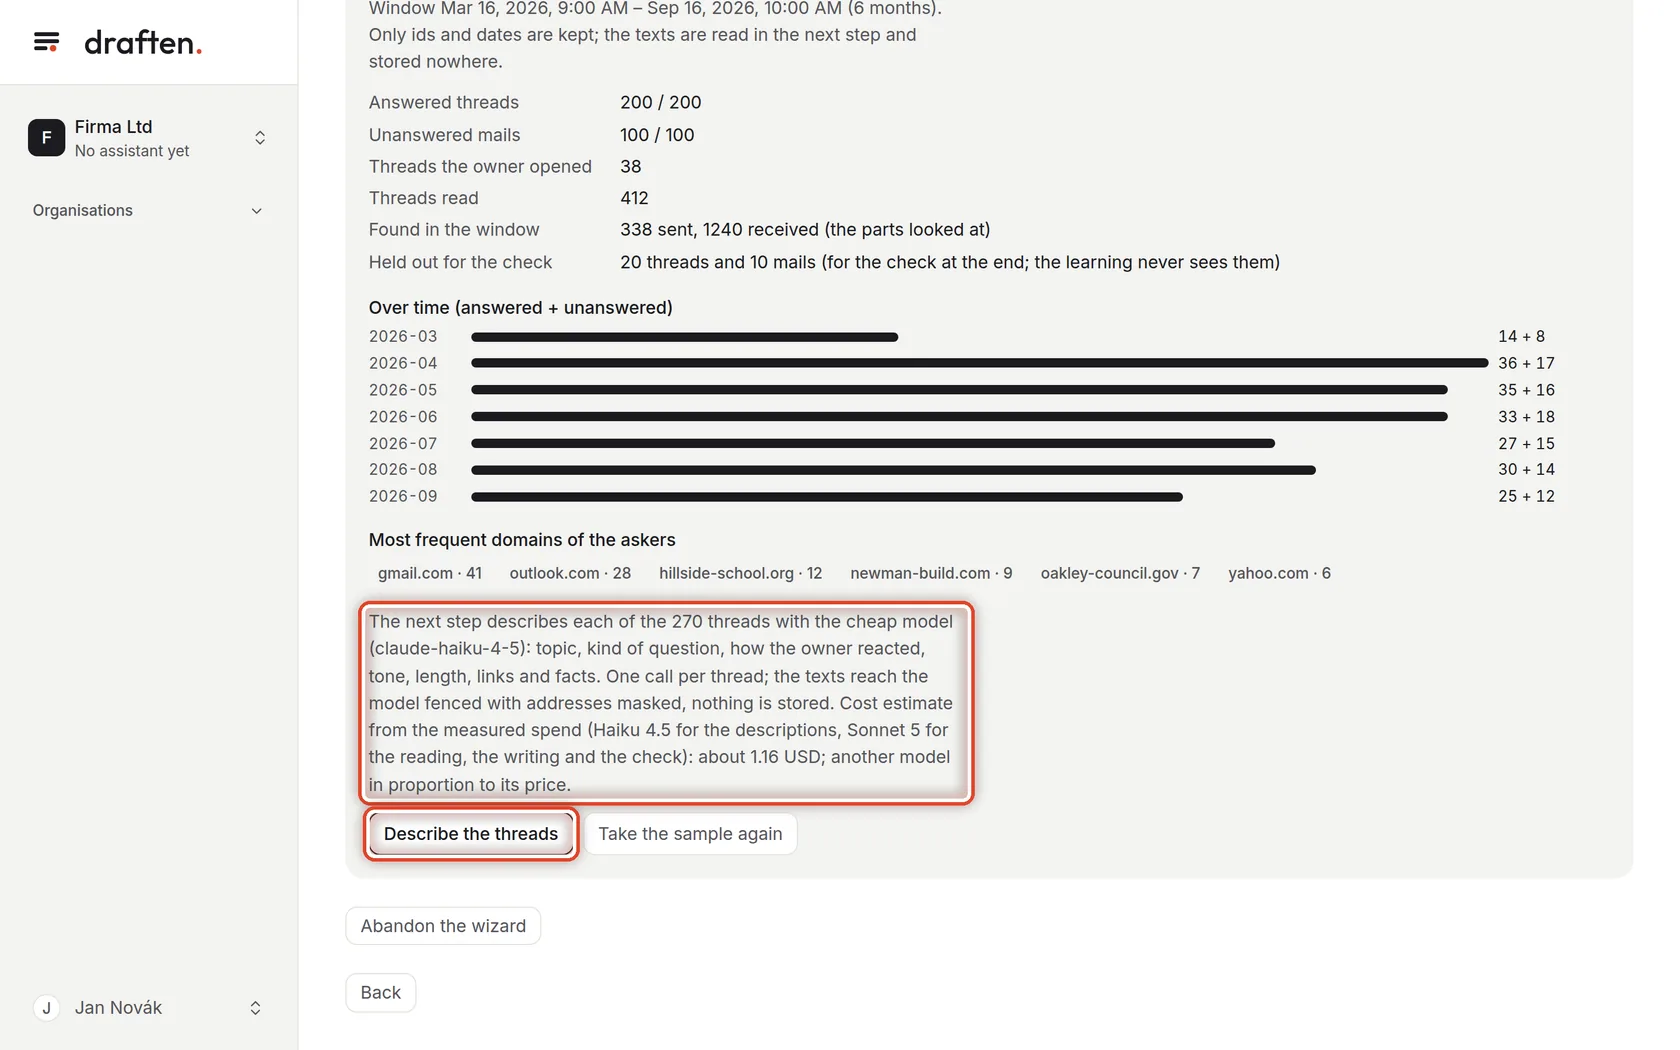
On the screenThe Sample card with the enough data label and a summary of the threads picked.
Do thisEnough data means the sample will do. Below you see how many threads the wizard picked, how they spread over time and who they come from.
NoteSome threads are held out: the learning never sees them. The wizard uses them only at the end, to check whether the instructions work.
Step 9 of 19
Have the threads described
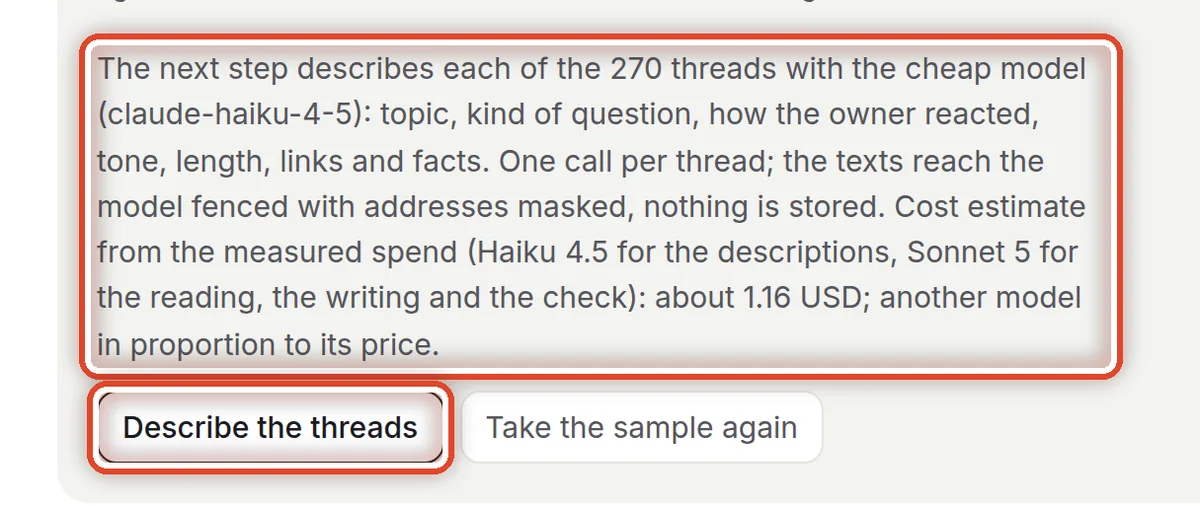
On the screenUnder the summary, the cost estimate and the Describe the threads button.
Do thisClick Describe the threads. The cheap model notes for each thread its topic, how you reacted, the tone, the length, links and facts. It takes a while; you see the progress on the page.
NoteYou always see the cost estimate before a step that costs money. The texts of the mail are stored nowhere.
Step 10 of 19
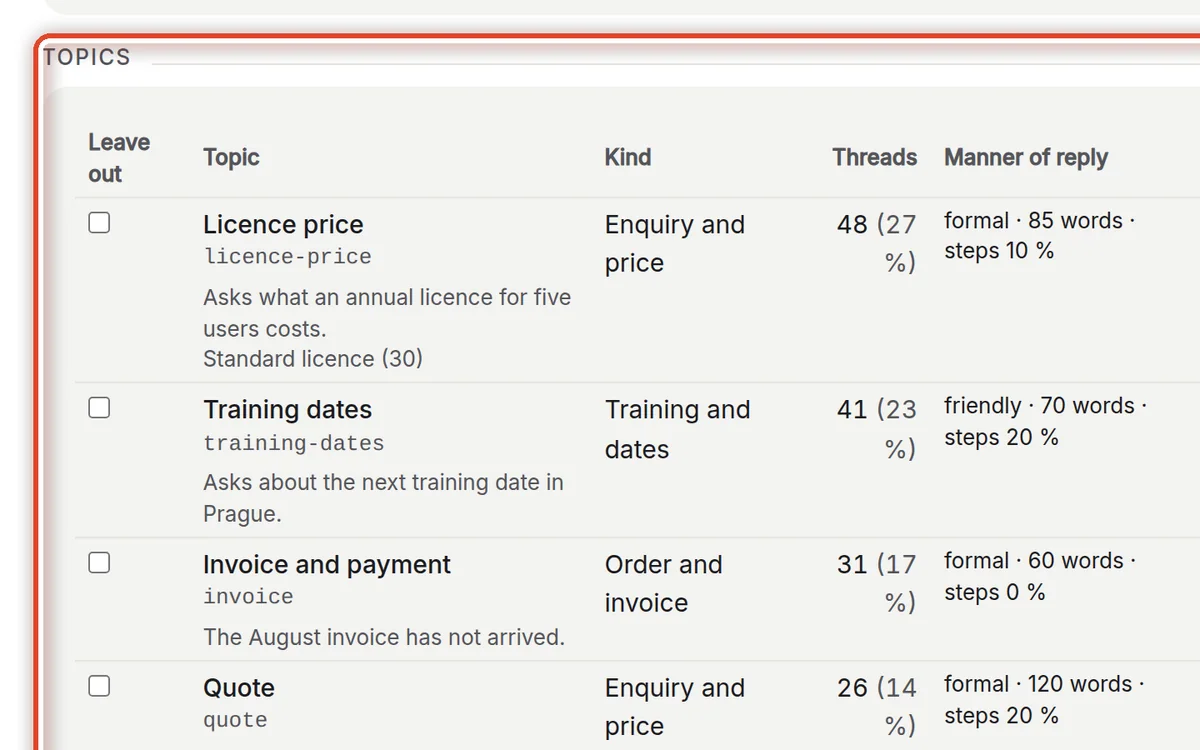
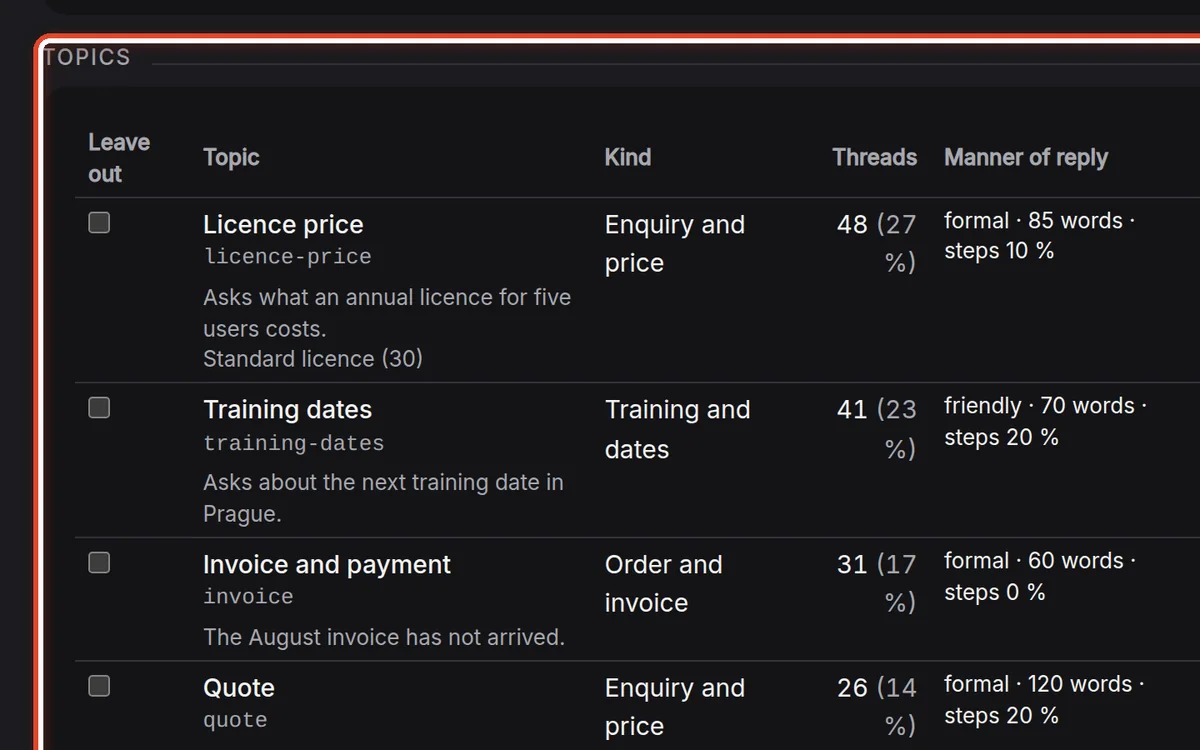
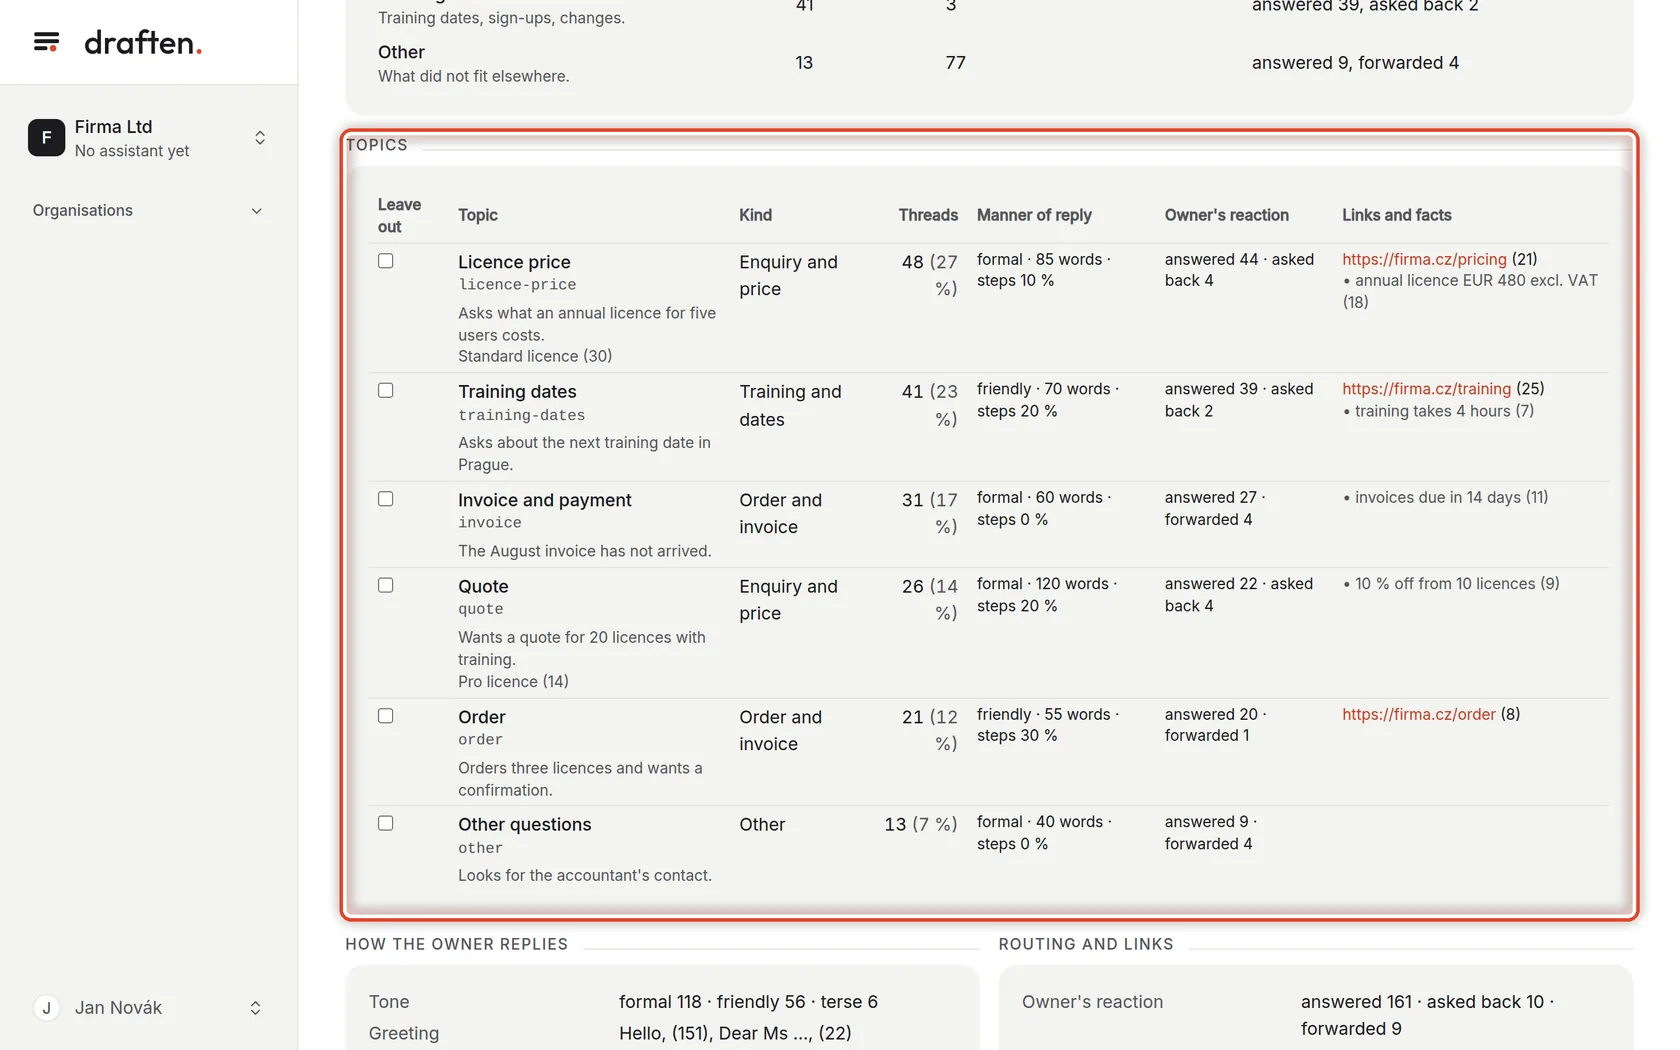
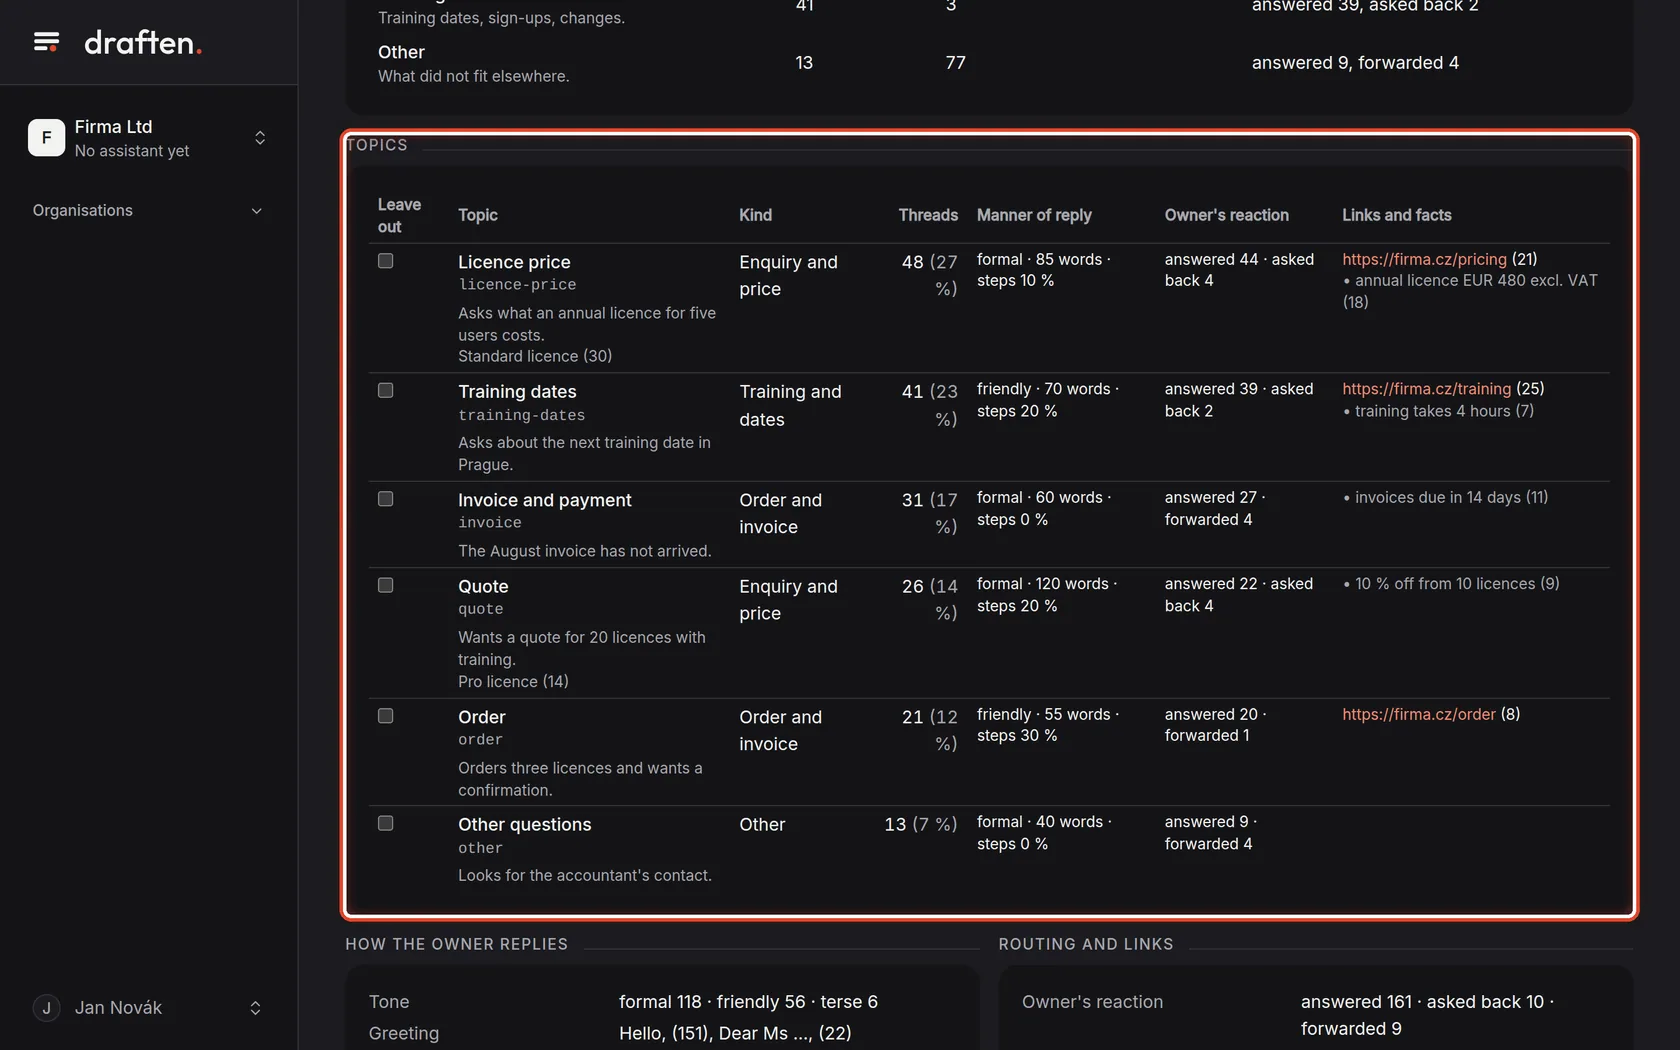
Go through the topics
On the screenThe Topics table: what people ask, how many such threads there were and how you replied.
Do thisCheck that the picture is right. Ticking the first column leaves out only what is not work for the assistant — forwarded mail or private matters.
NoteDo not leave out a topic the assistant must not answer on its own. Write it into the notes in the next step and it becomes a hand-over rule.
Step 11 of 19
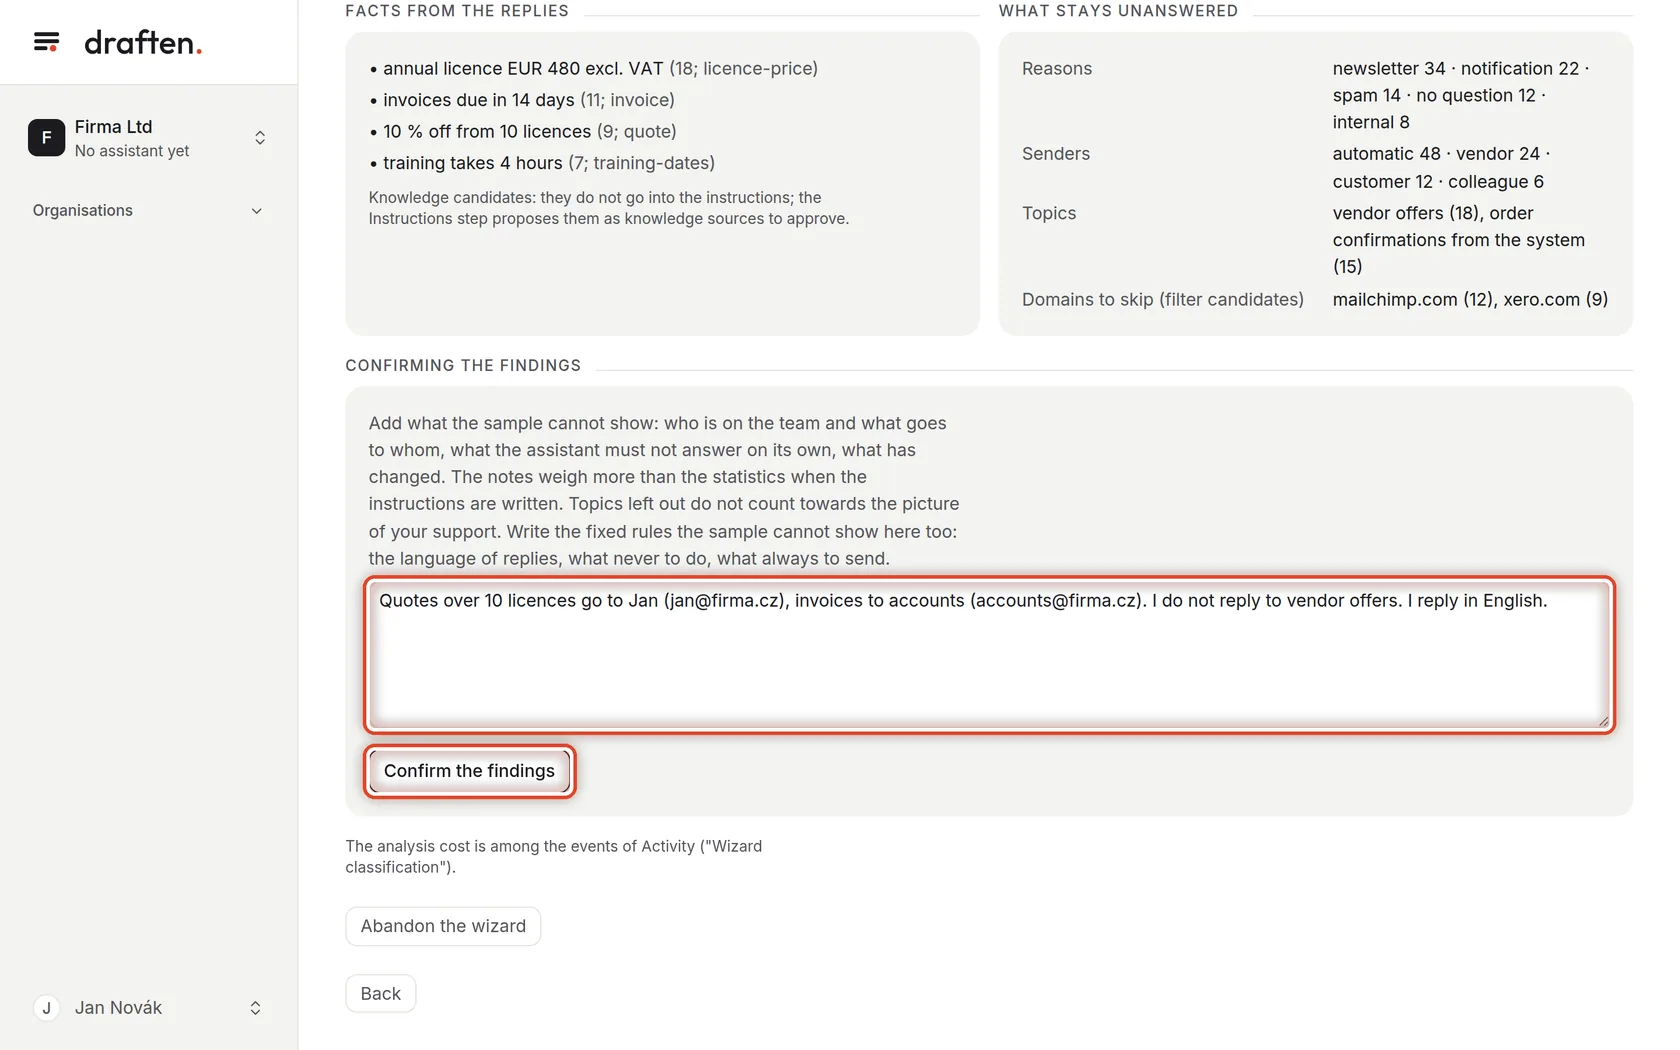
Add notes and confirm
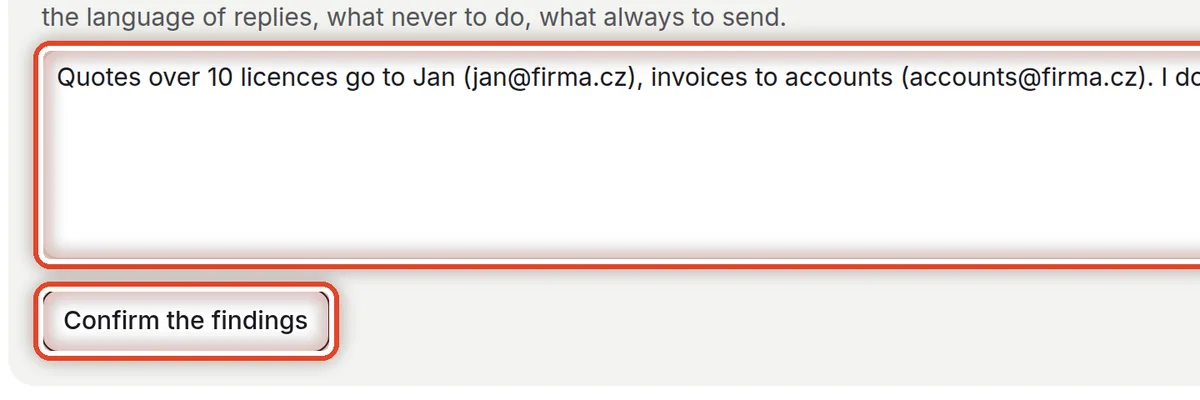
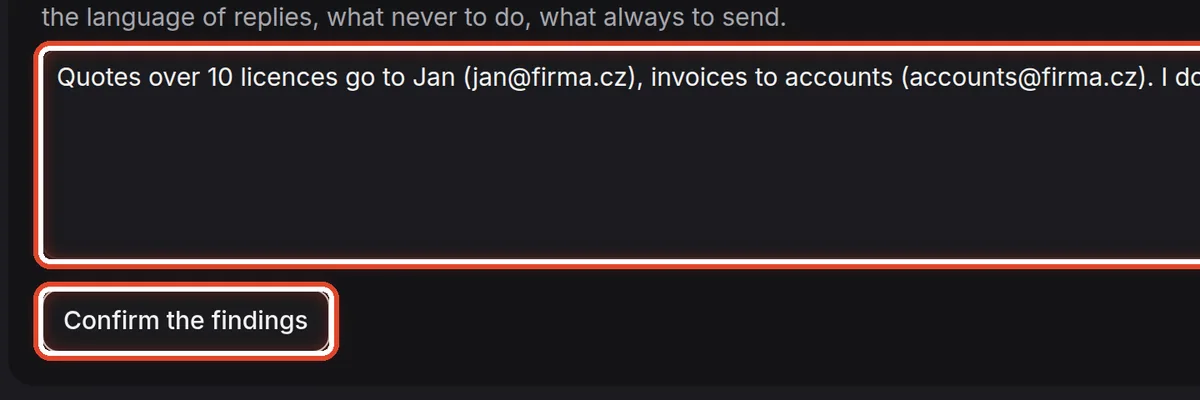
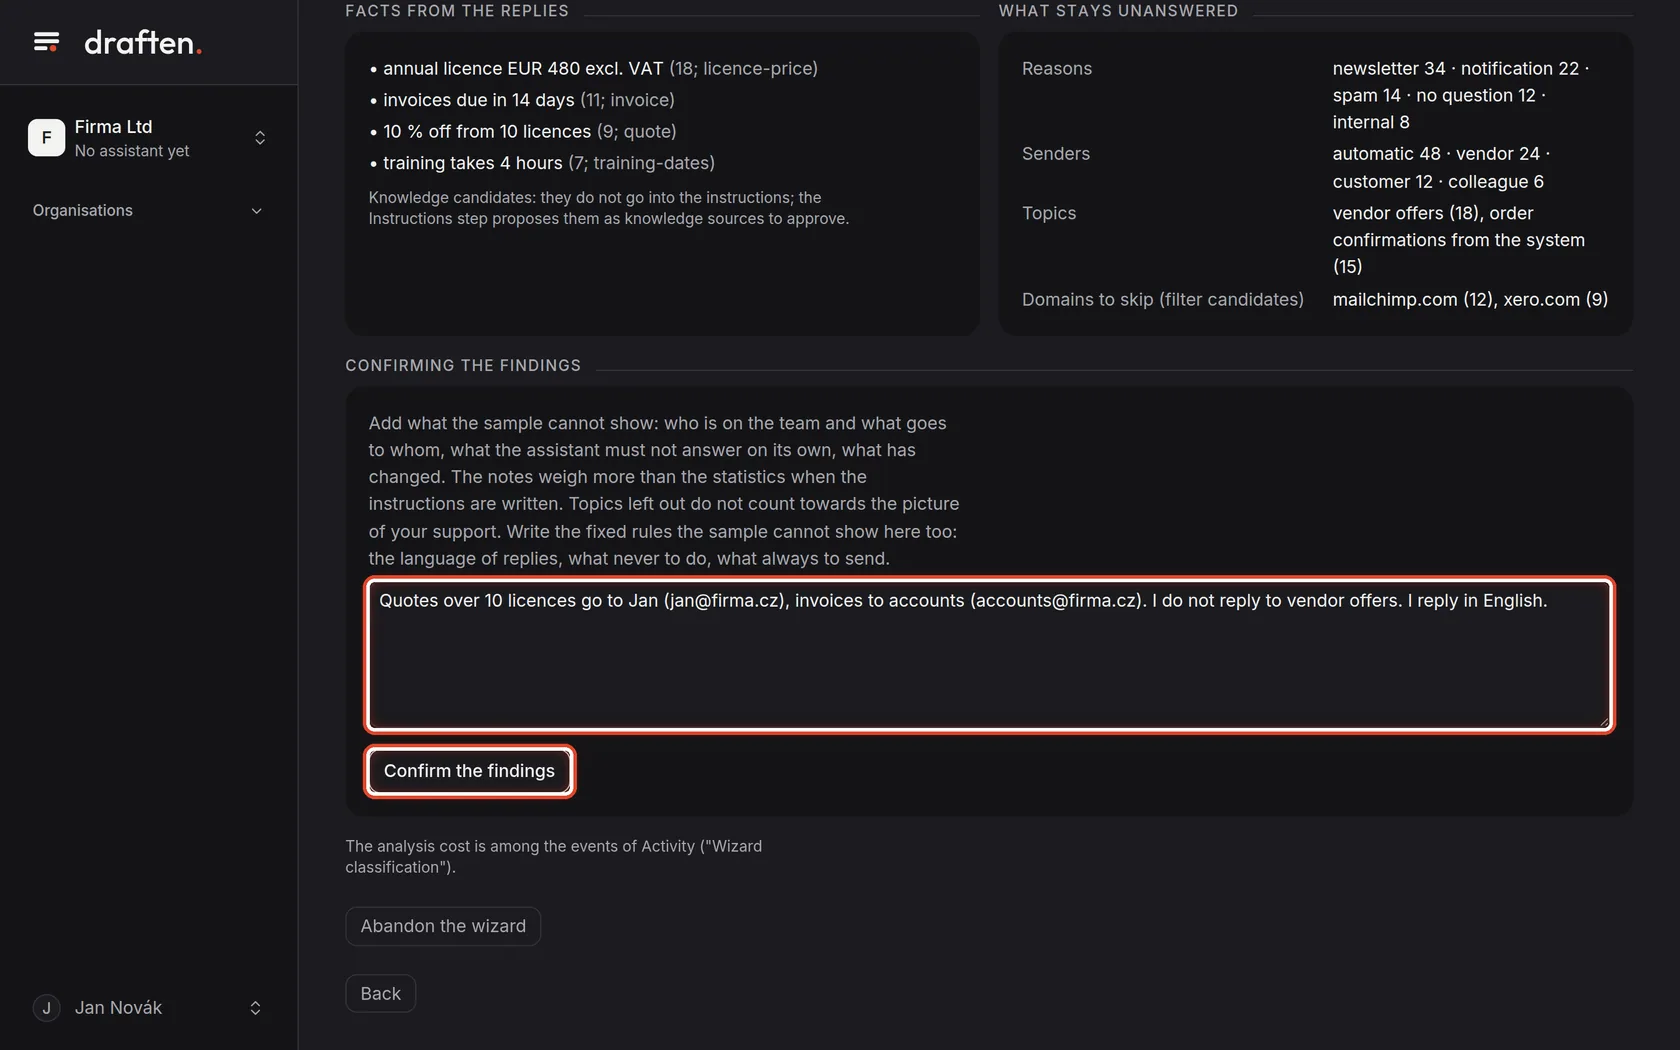
On the screenThe Confirming the findings card with a field for notes.
Do thisWrite what the sample cannot show: who on the team handles what and what goes to whom, what the assistant must not answer, which language to write in. Then click Confirm the findings.
NoteThe notes weigh more than the sample's statistics when the instructions are written.
Step 12 of 19
Have the instructions written
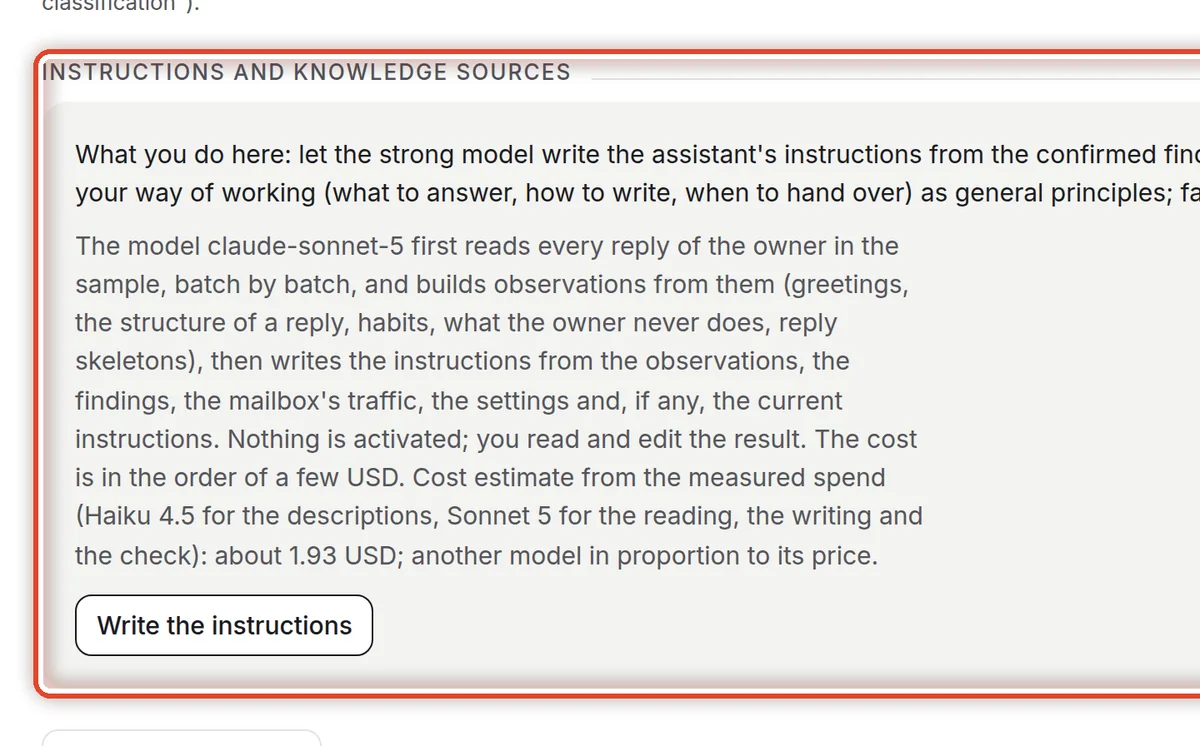
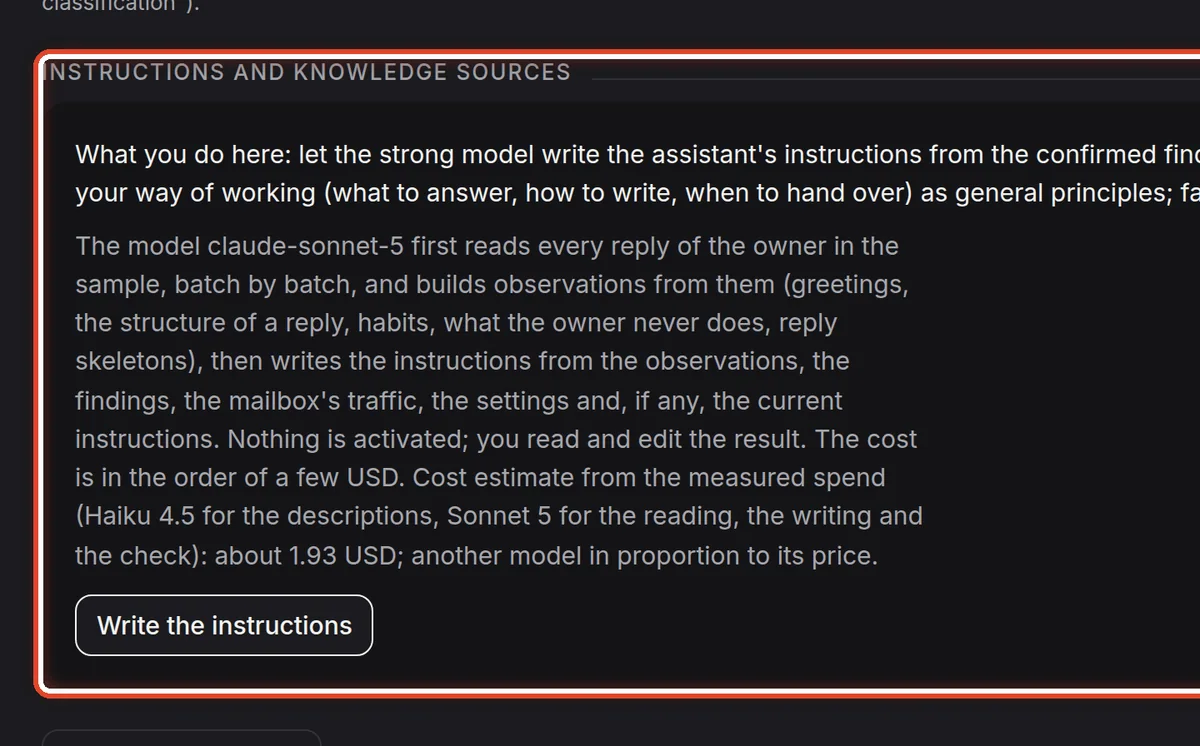
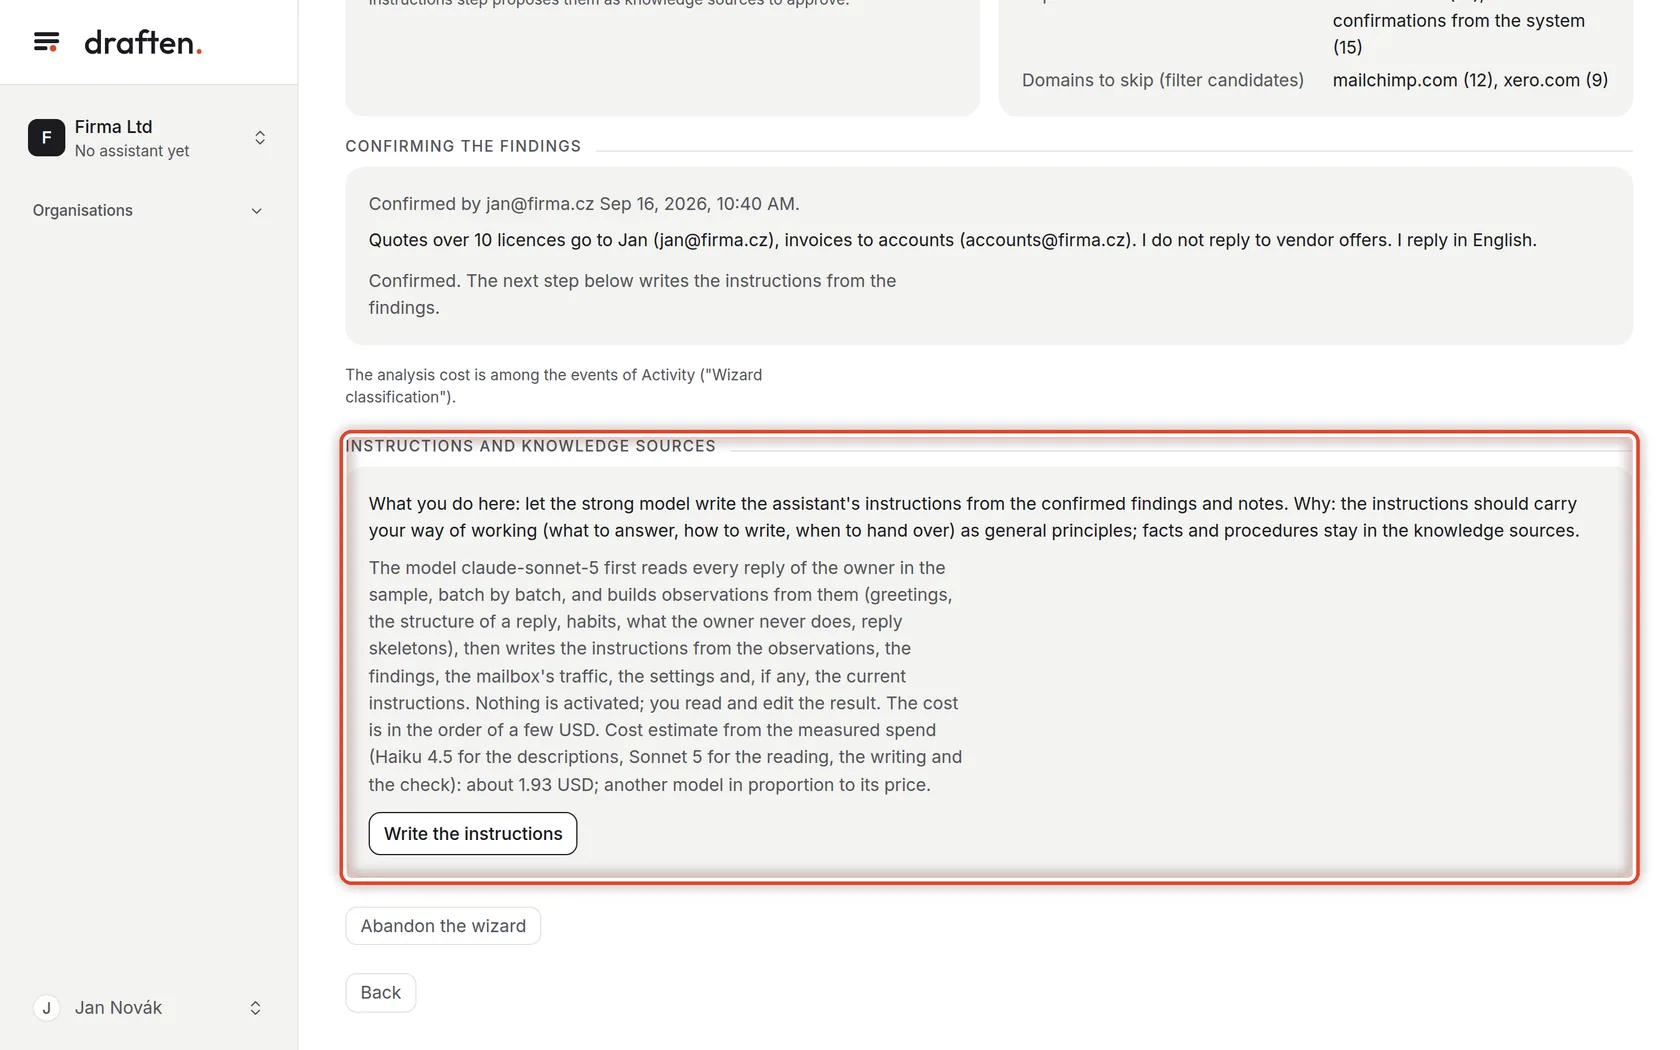
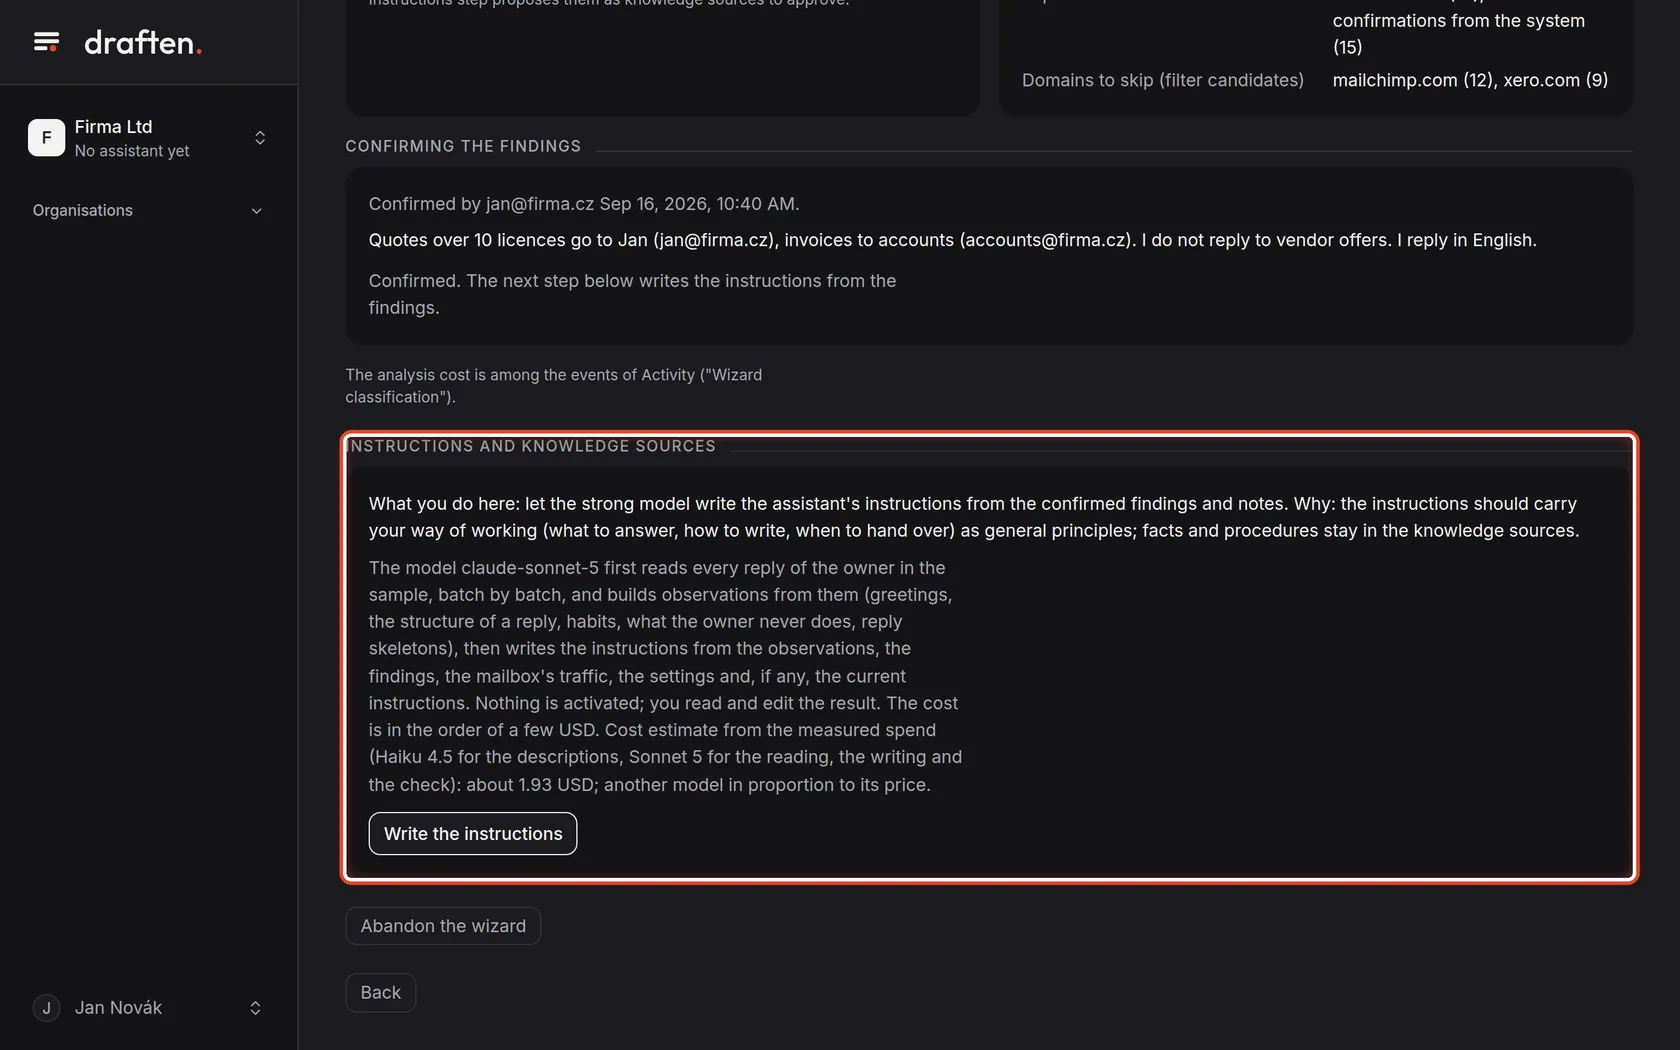
On the screenUnder the confirmation, the Instructions and knowledge sources card with a cost estimate.
Do thisClick Write the instructions. The strong model reads your replies in the sample and writes the assistant's instructions from them, the findings and your notes. Nothing is applied yet.
Step 13 of 19
Read the instructions
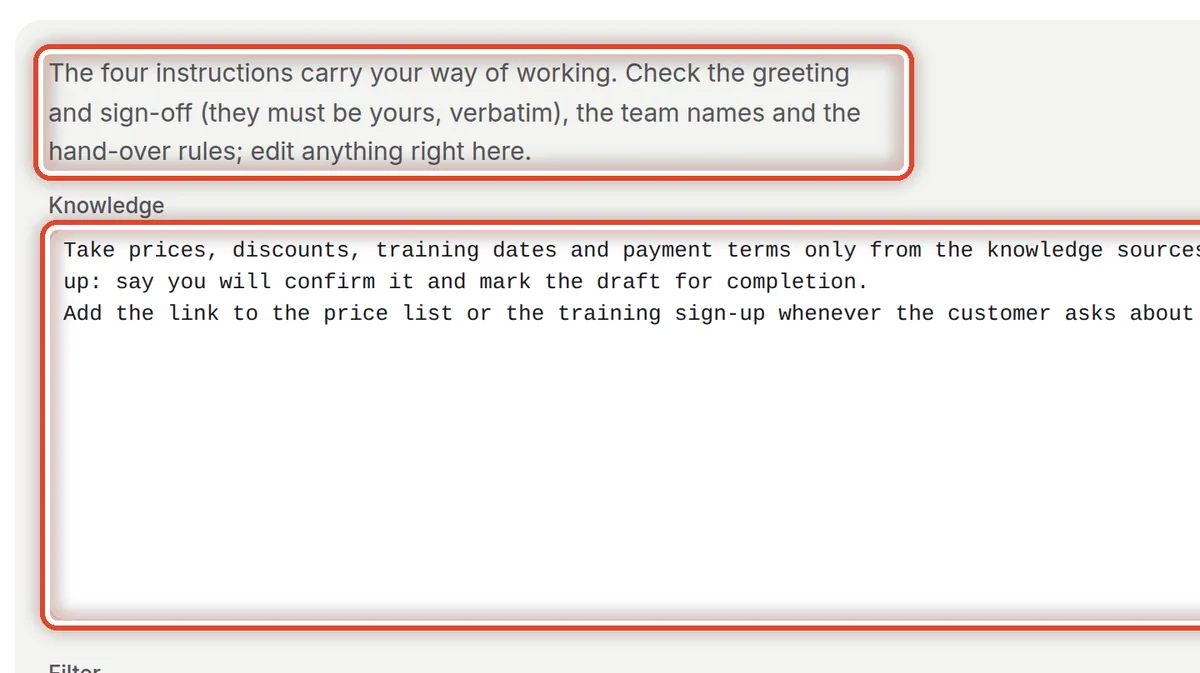
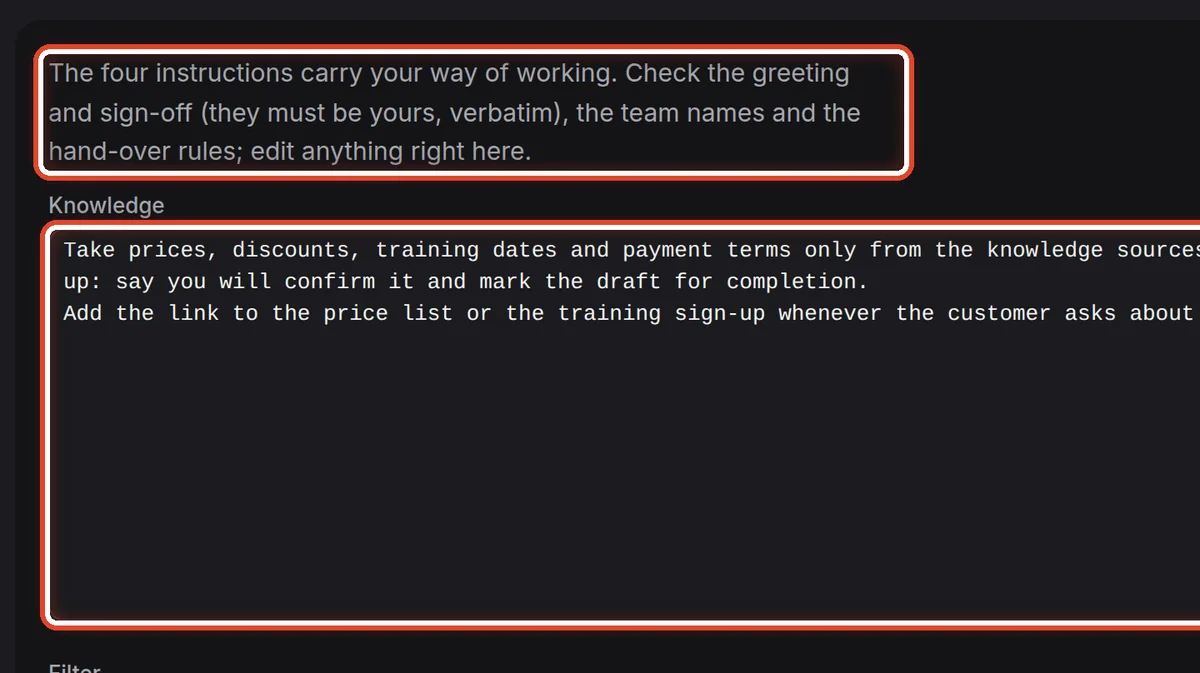
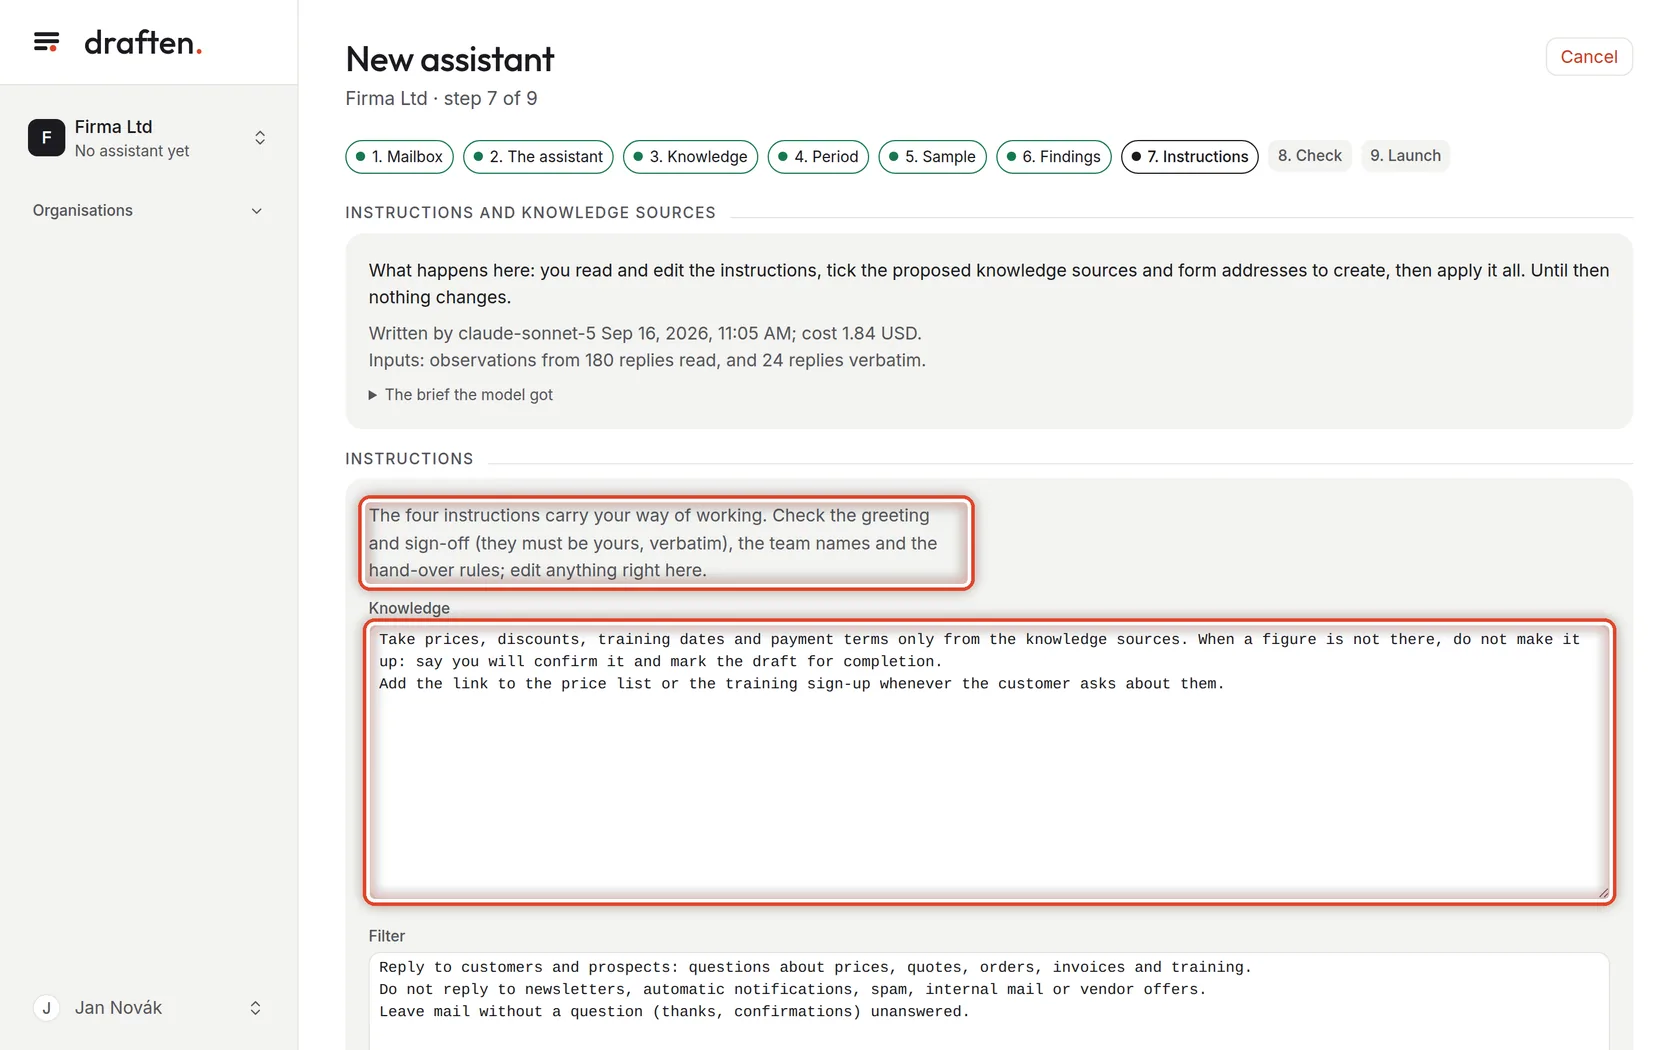
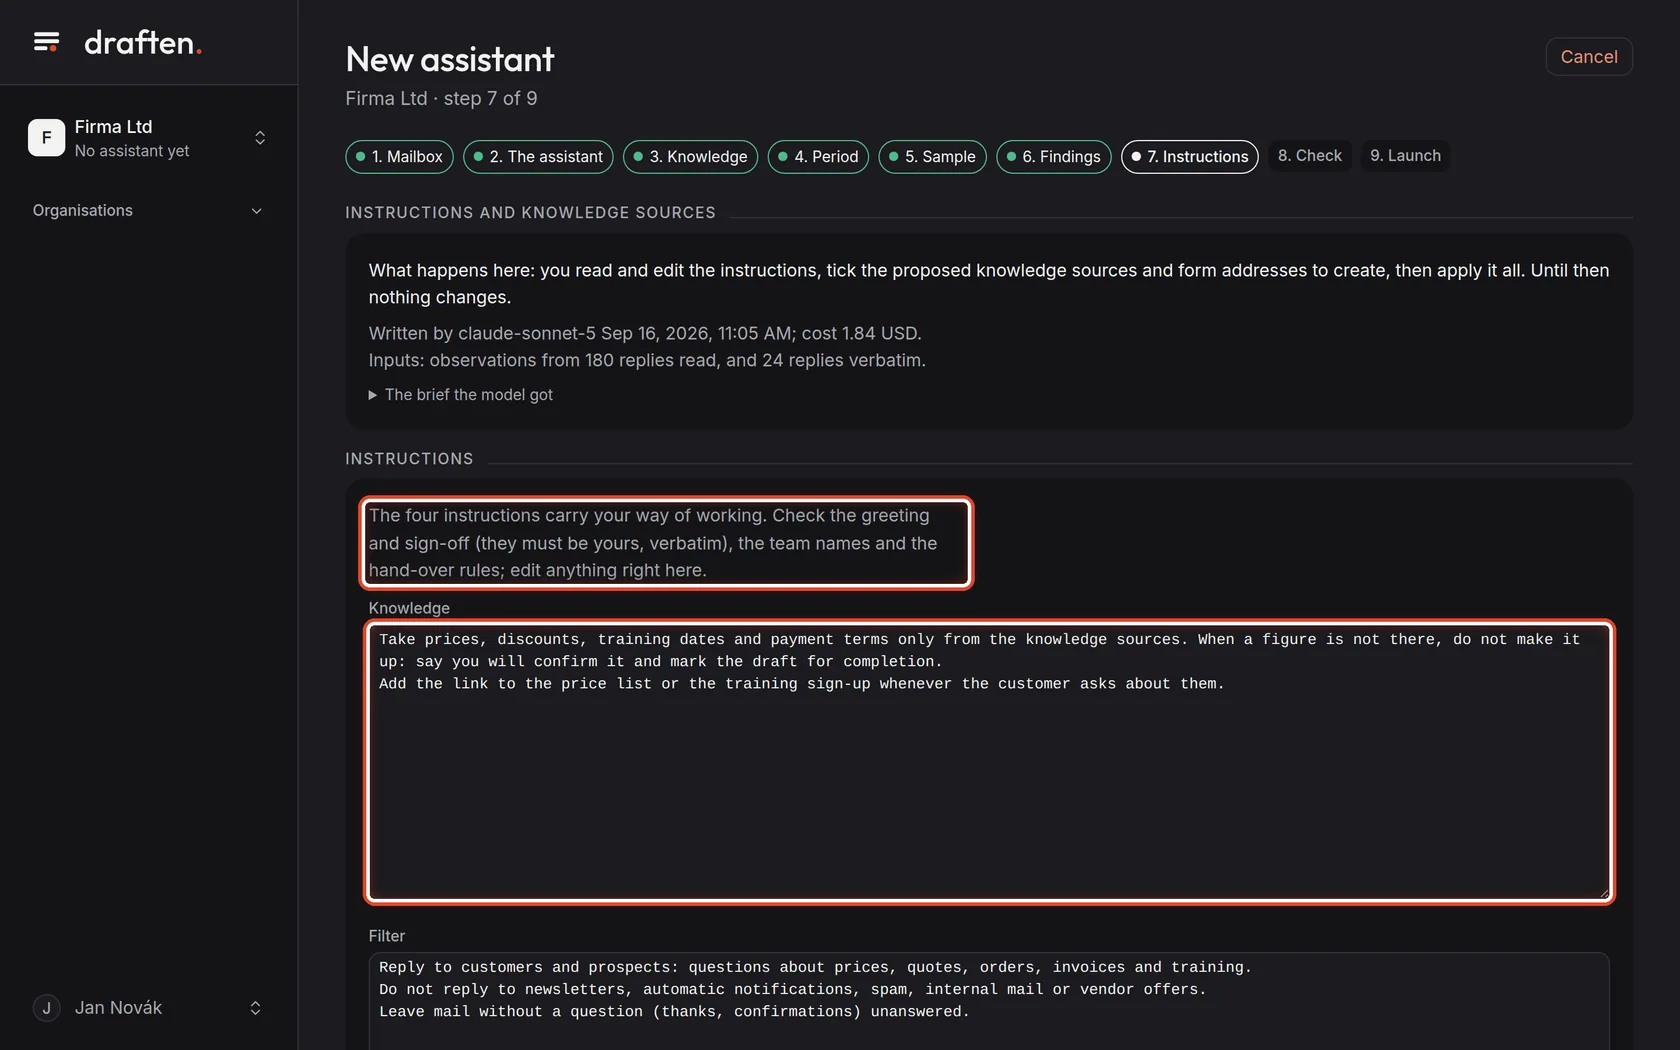
On the screenThe Instructions card with four fields: Knowledge, Filter, Style and Routing.
Do thisThe instructions describe your way of working: where to take facts from, what to answer, how to write and when to hand over. Check the greeting and sign-off, the team names and the hand-over rules above all. Edit anything right in the field.
NoteWhat each instruction does is explained in Instructions.
Step 14 of 19
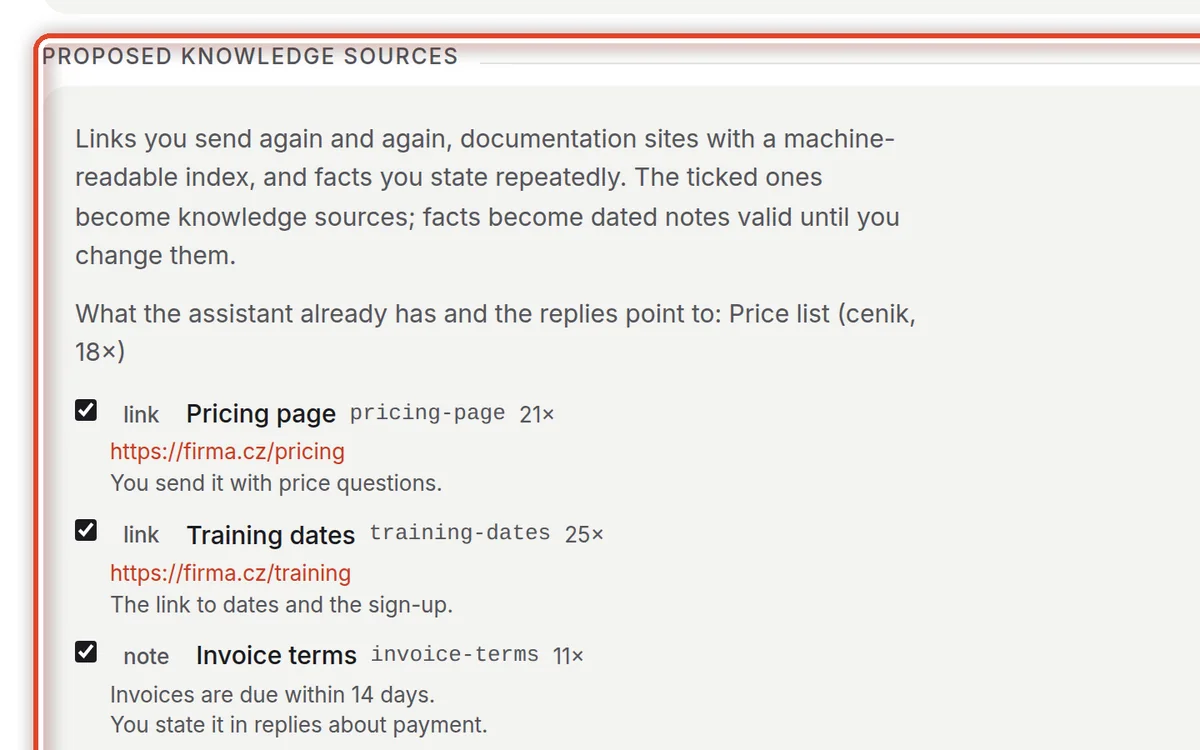
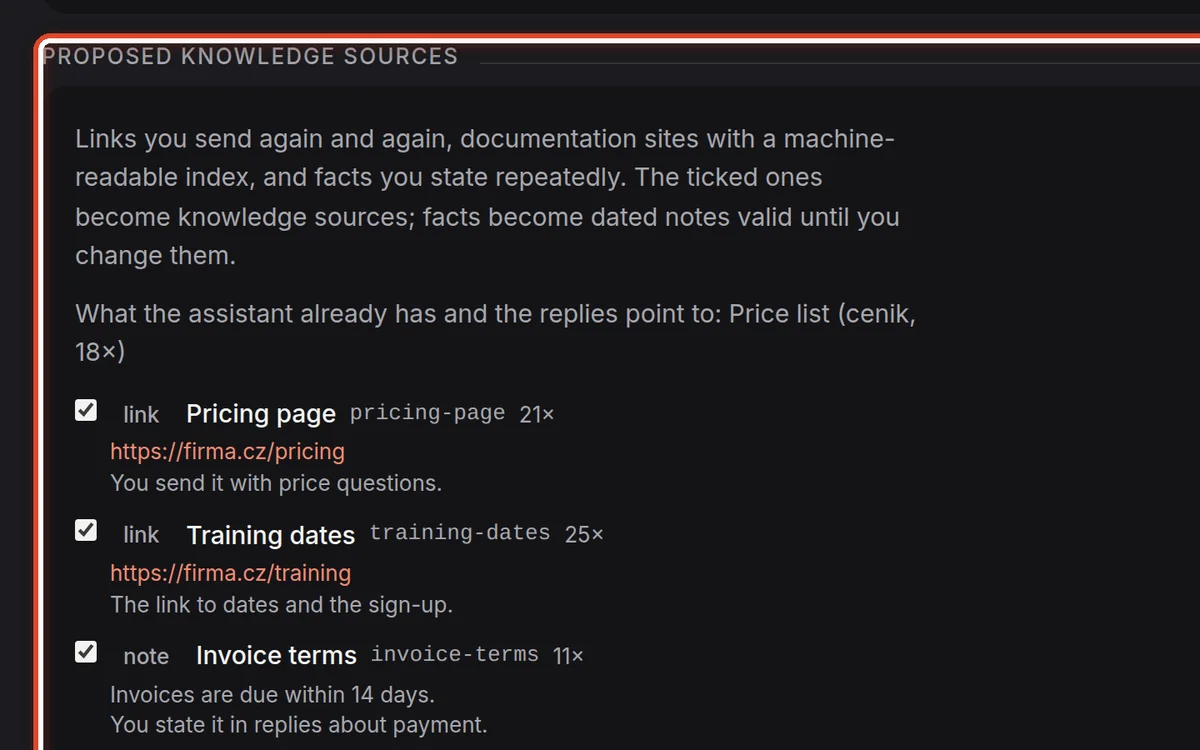
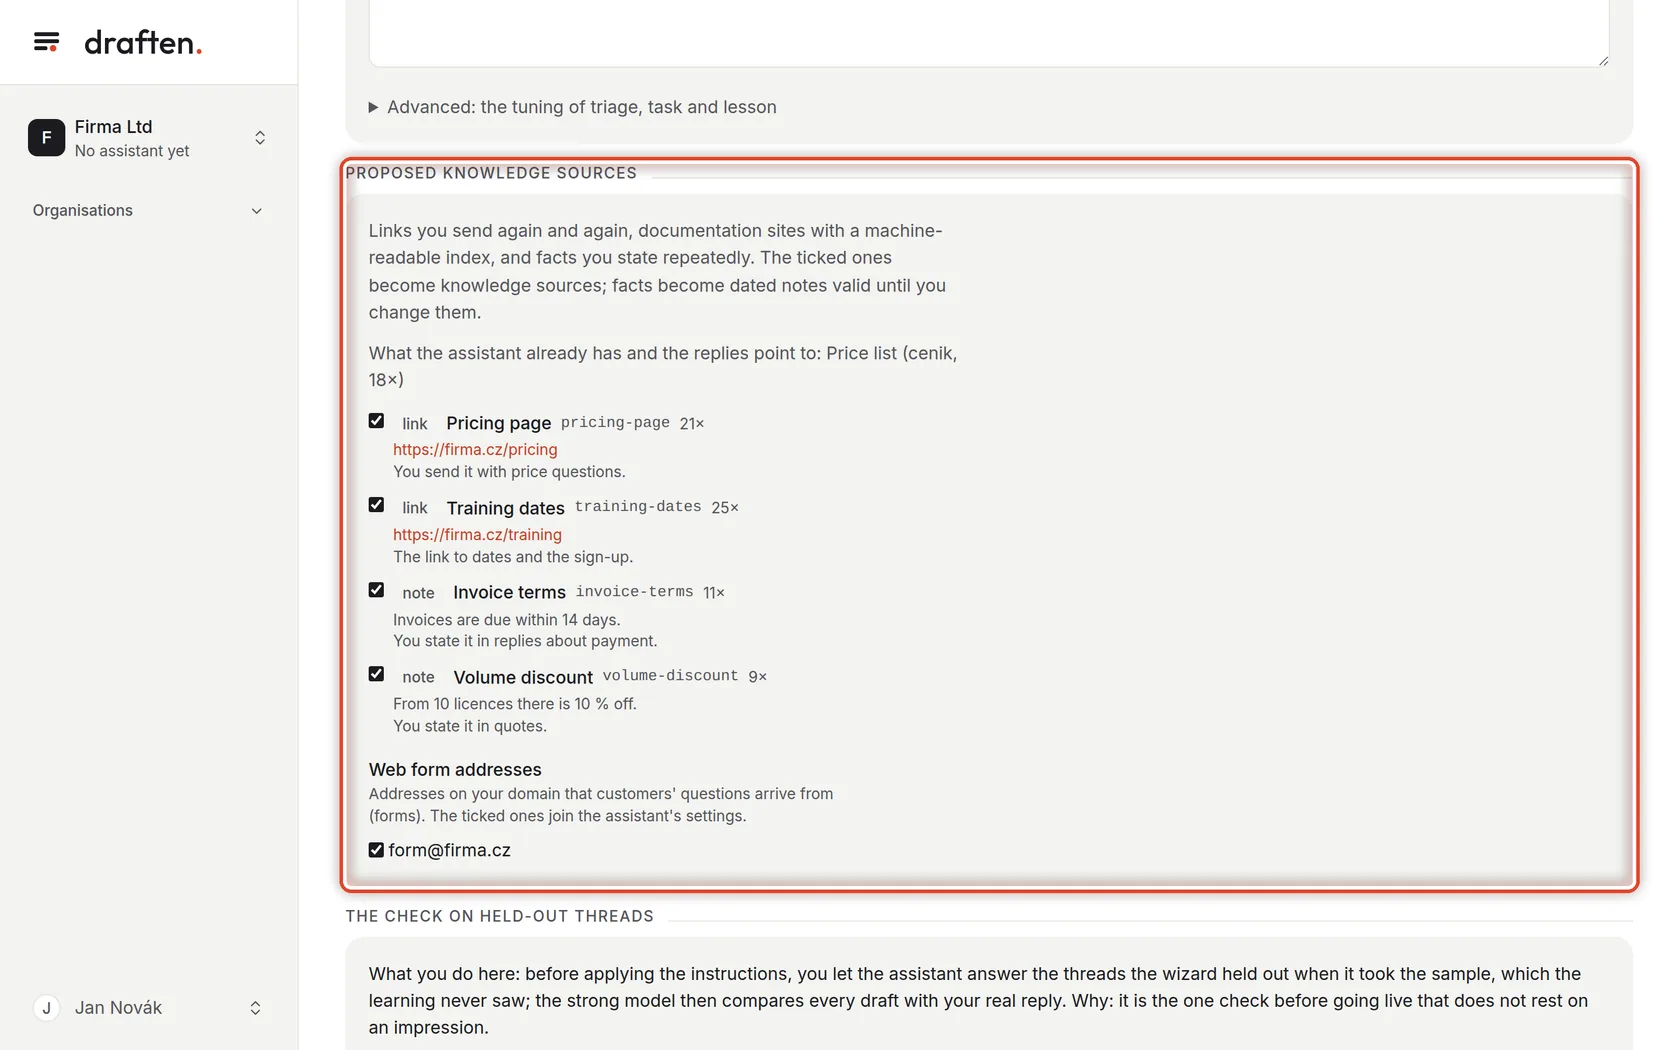
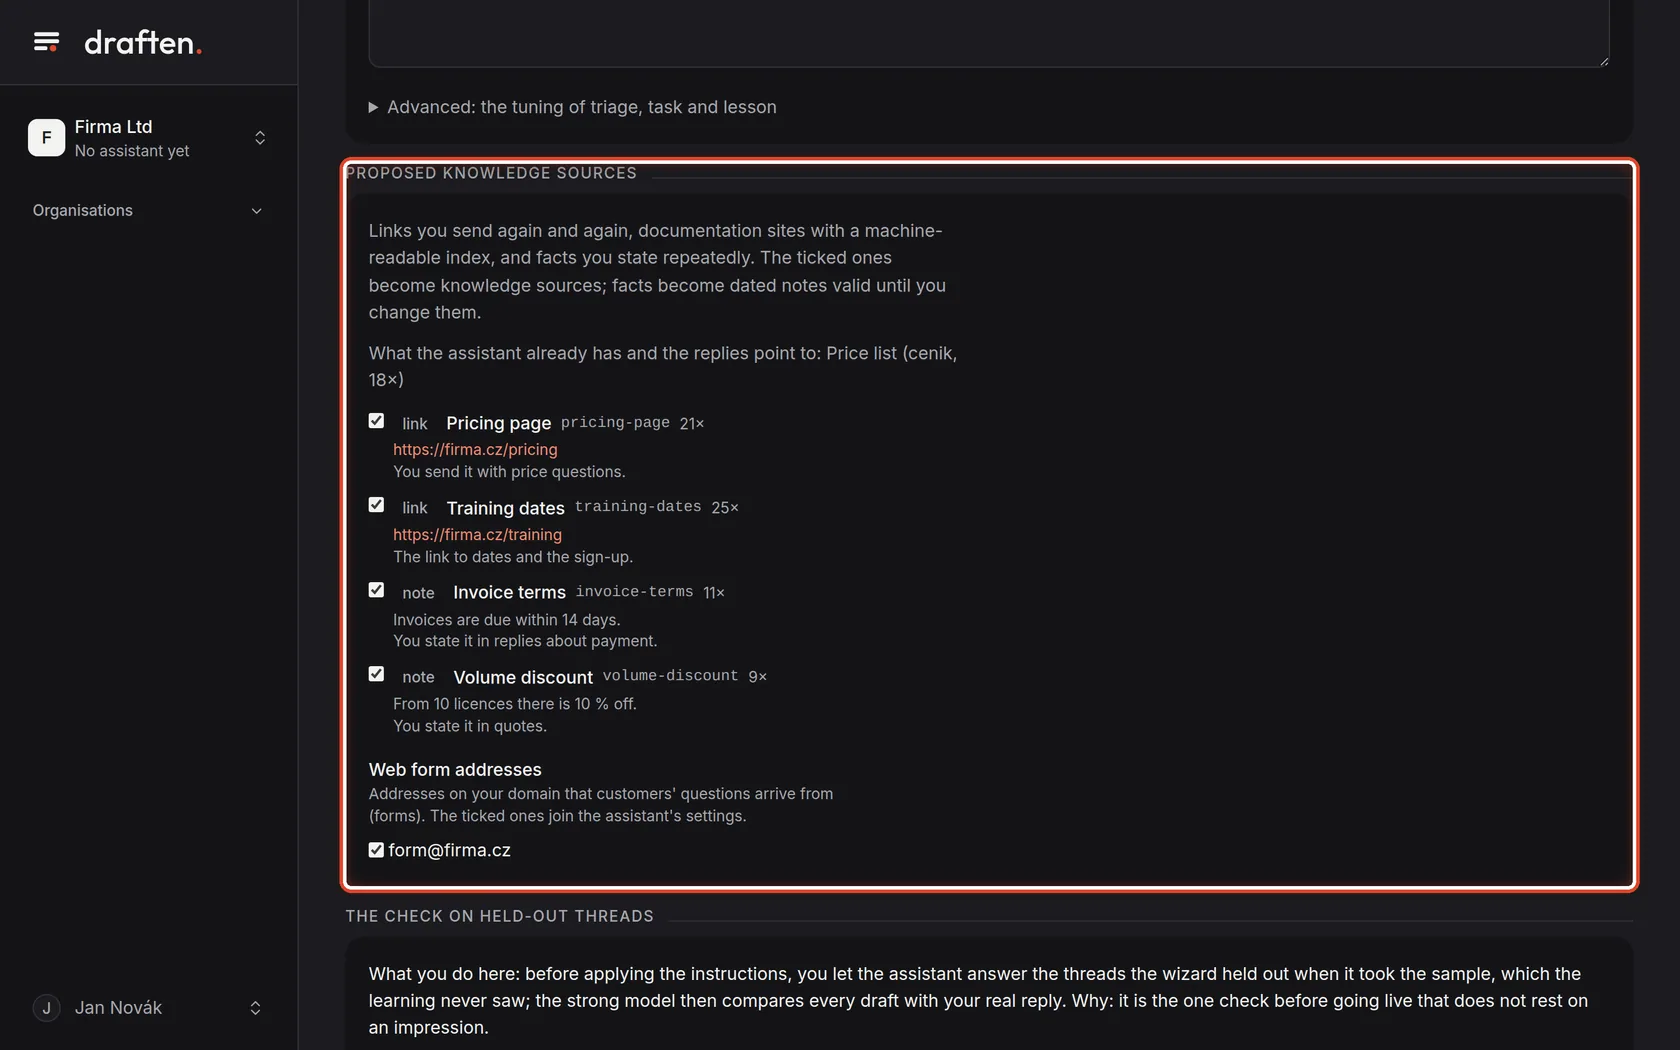
Pick the proposed sources
On the screenThe Proposed knowledge sources card with tick boxes.
Do thisThe wizard proposed the links you send again and again and the facts you state repeatedly. The ticked ones become knowledge sources; untick what you do not want.
Step 15 of 19
Try the instructions
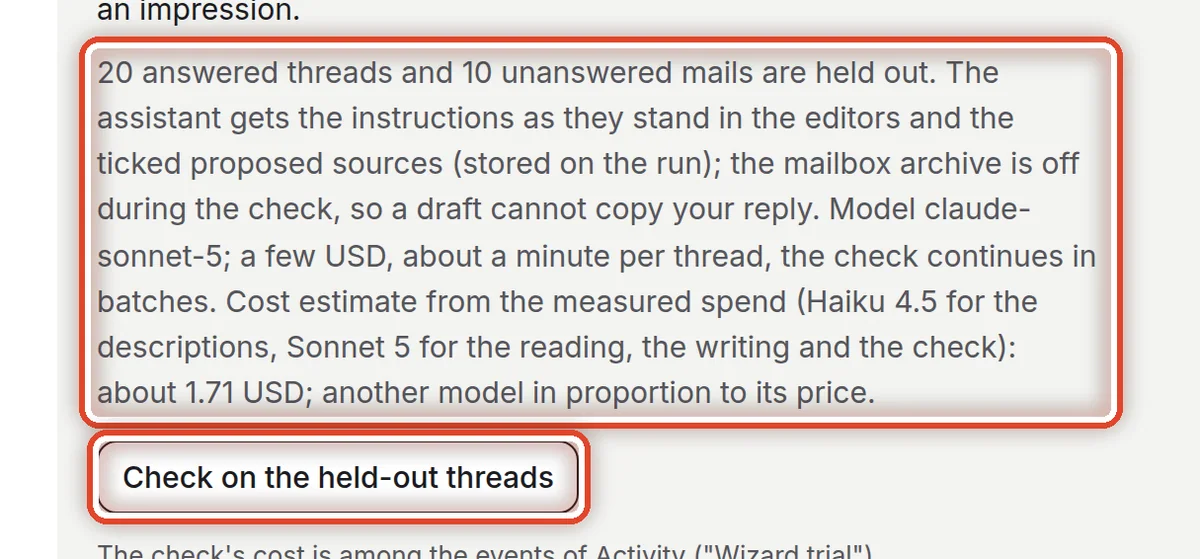
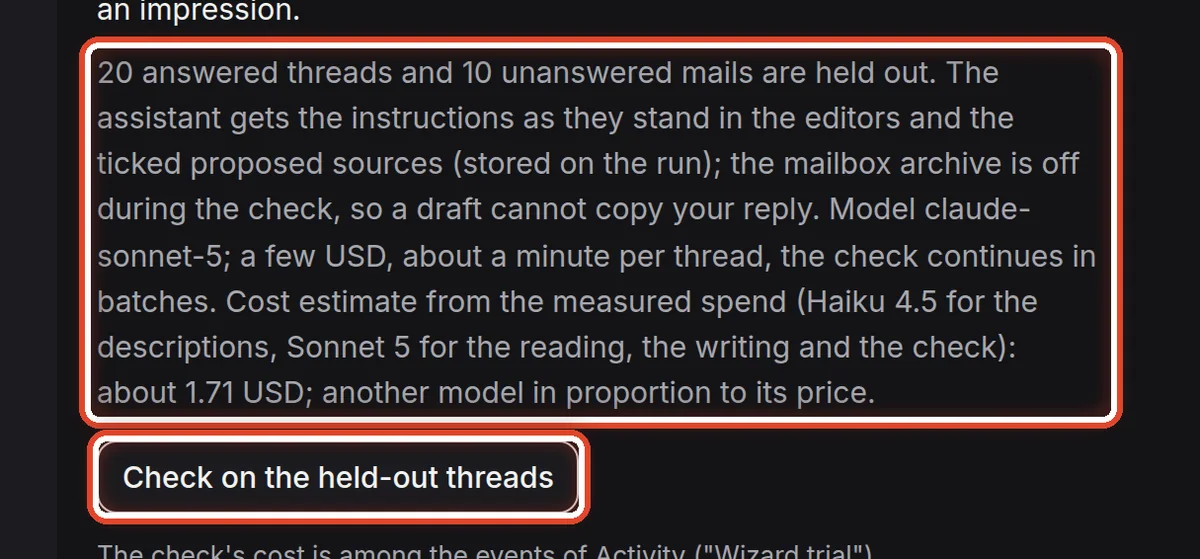
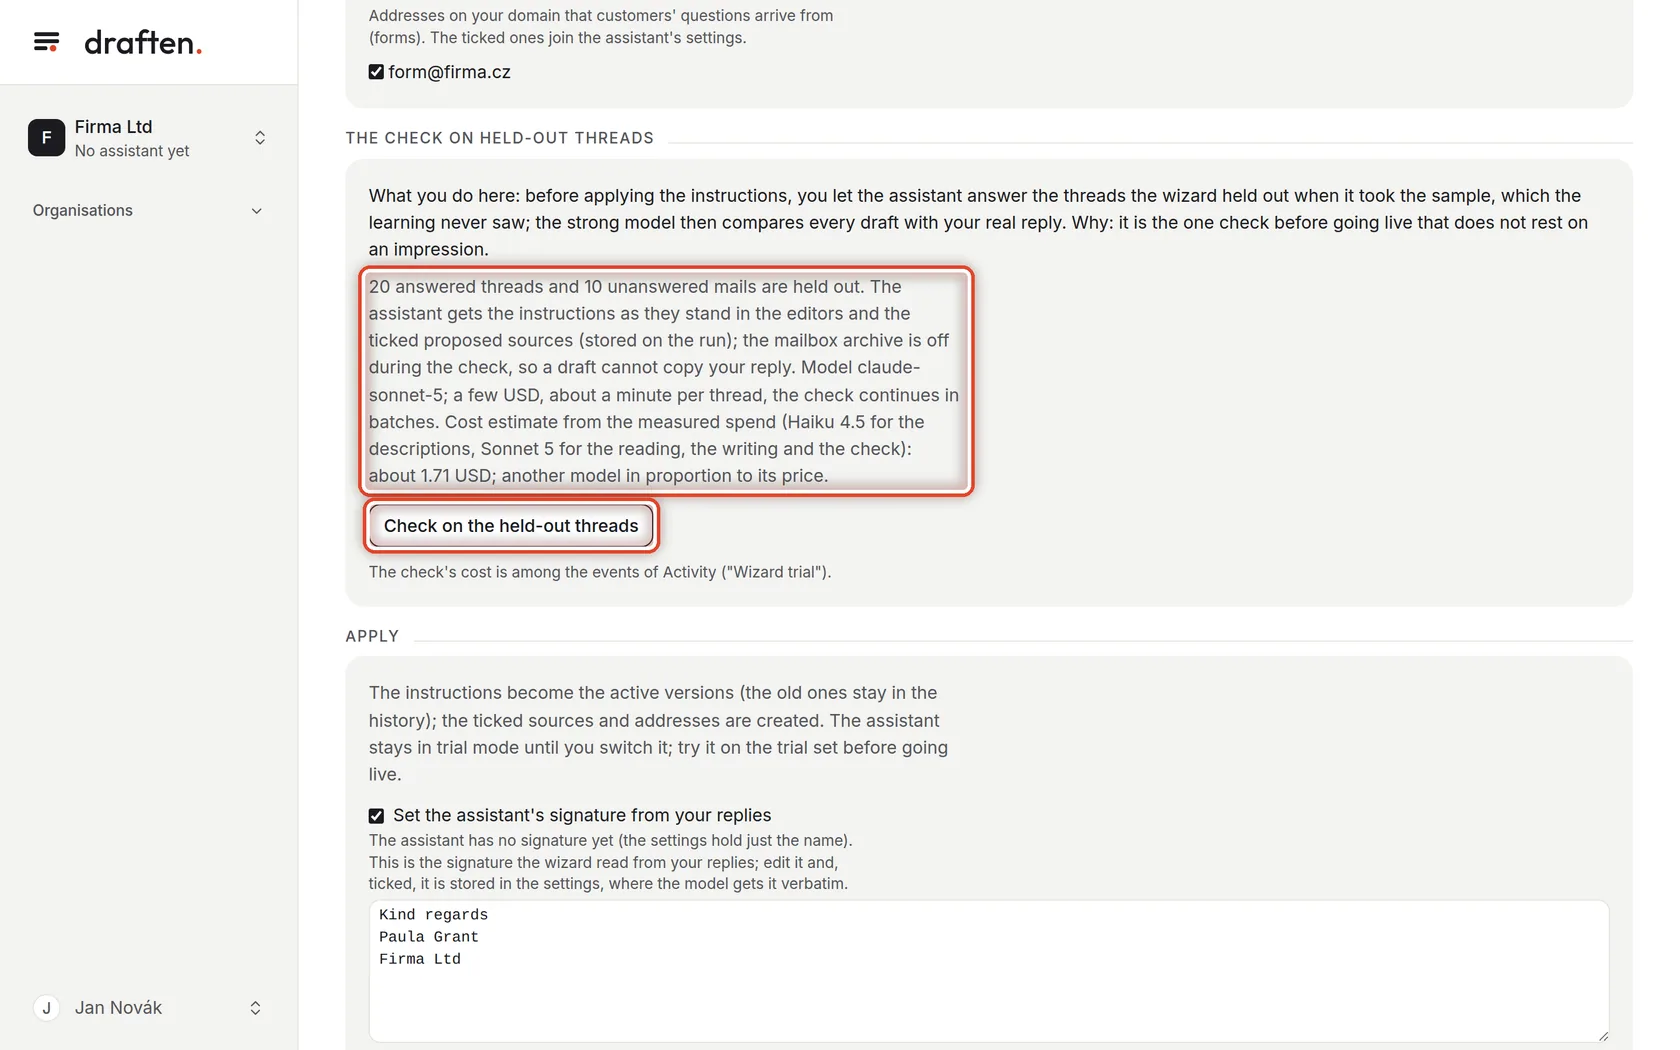
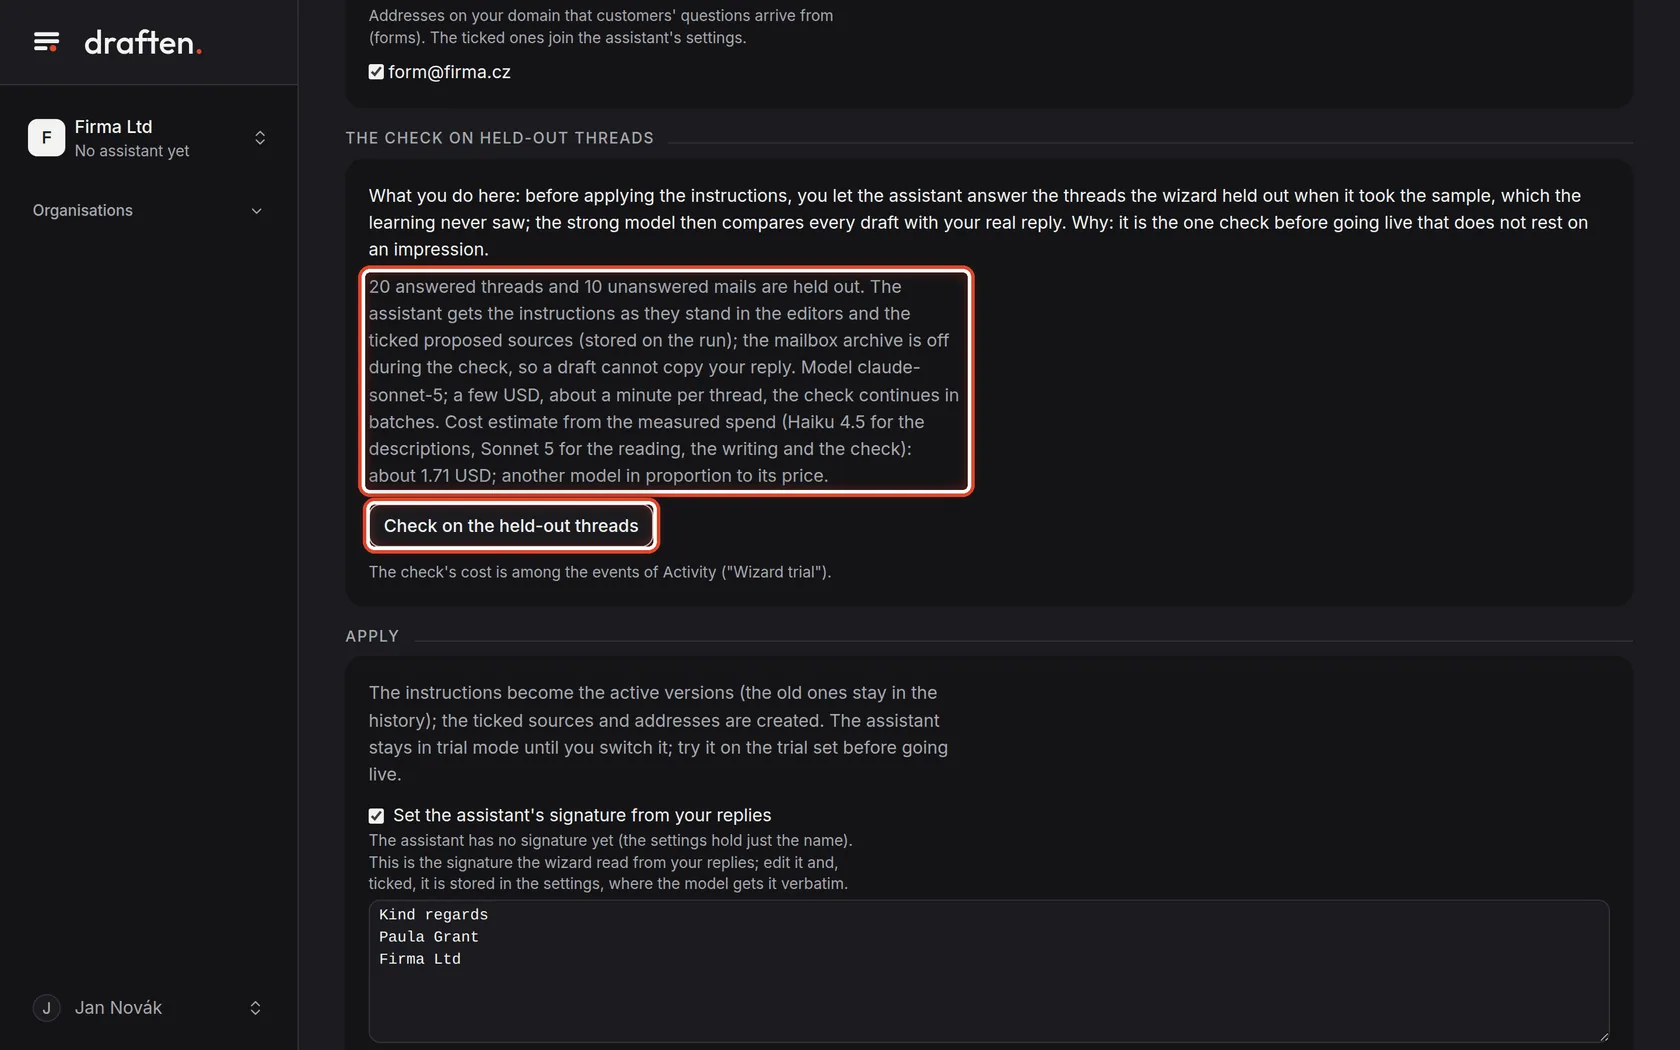
On the screenThe card The check on held-out threads with a cost estimate.
Do thisClick Check on the held-out threads. The assistant drafts replies to the threads the learning never saw, and the strong model compares each with your real reply.
NoteThe check takes about a minute per thread. The mailbox archive is off during it, so a draft cannot copy your reply.
Step 16 of 19
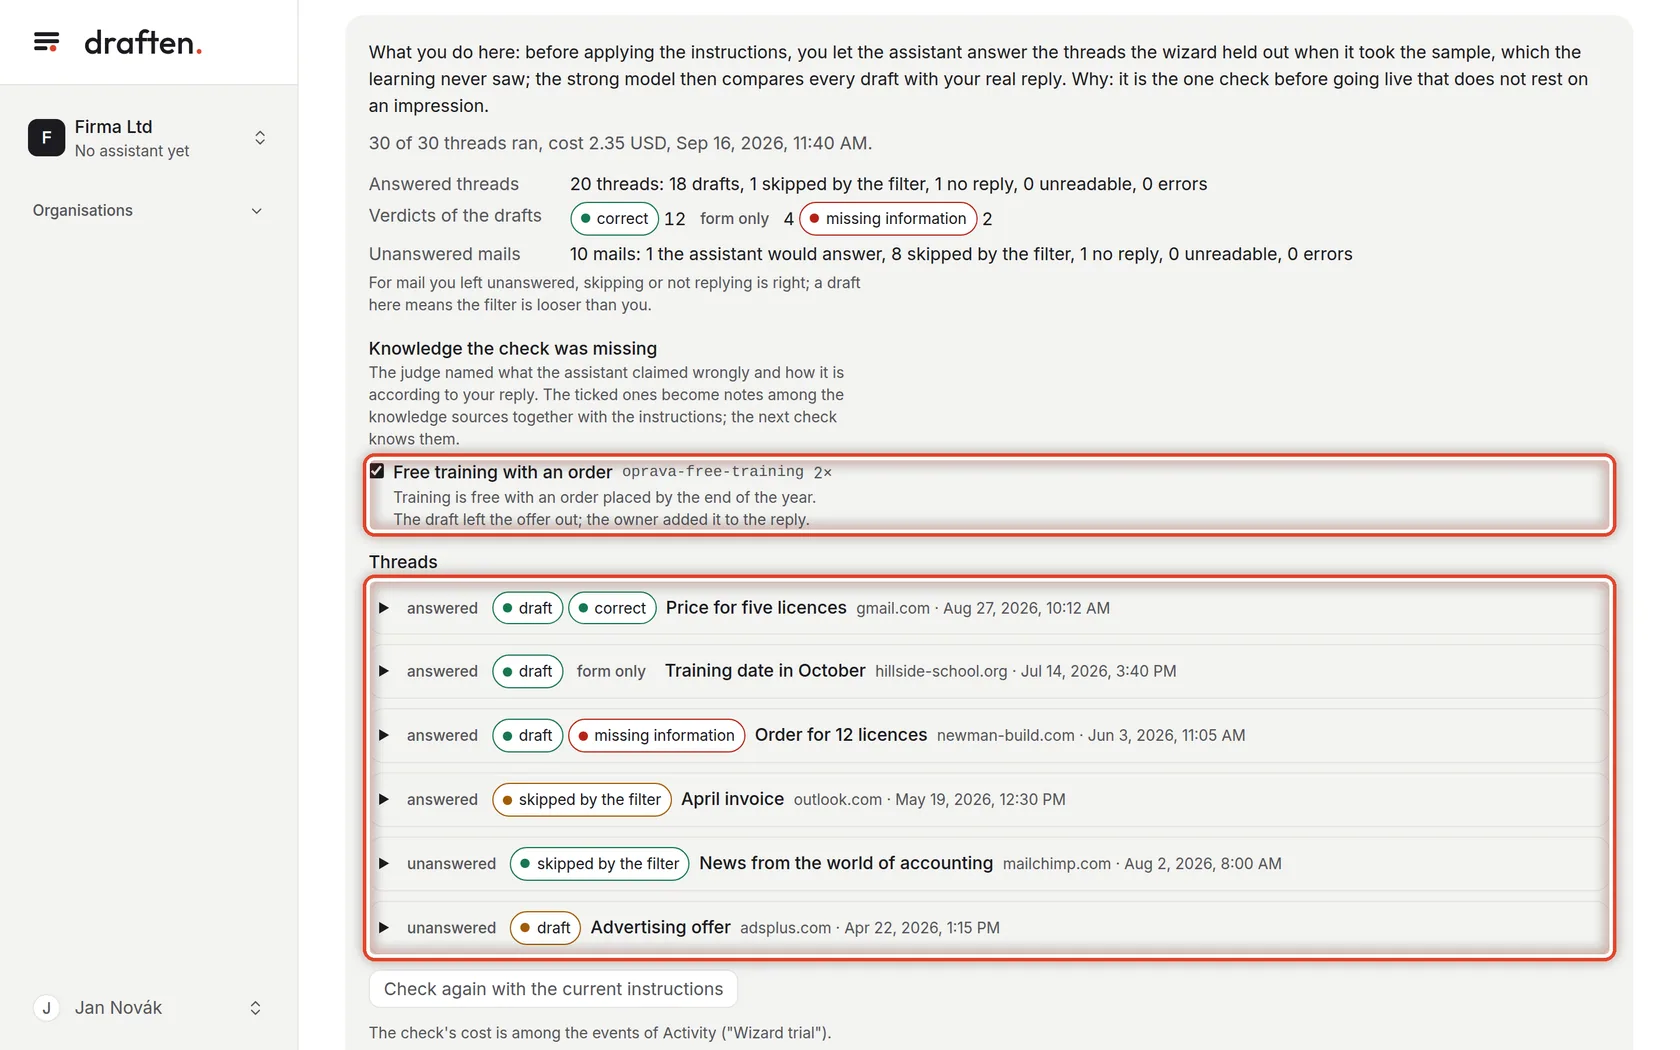
Read the result of the check
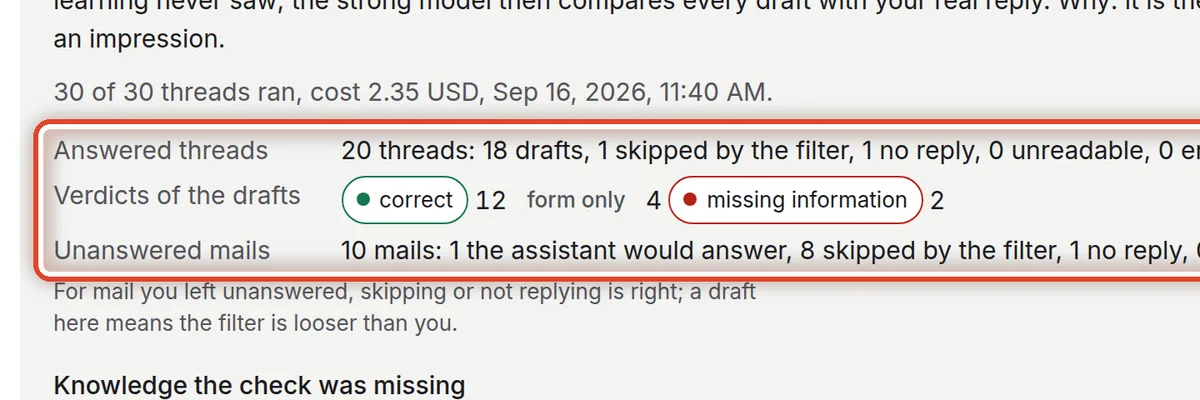
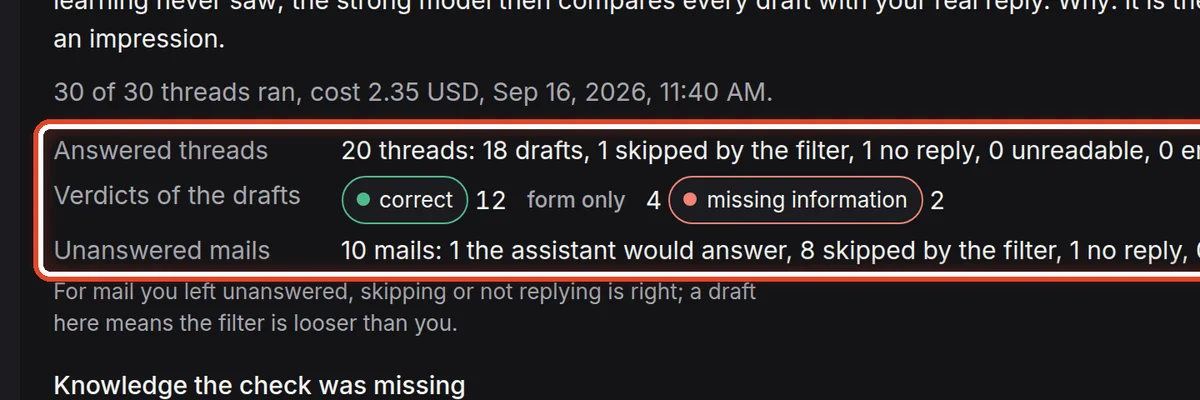
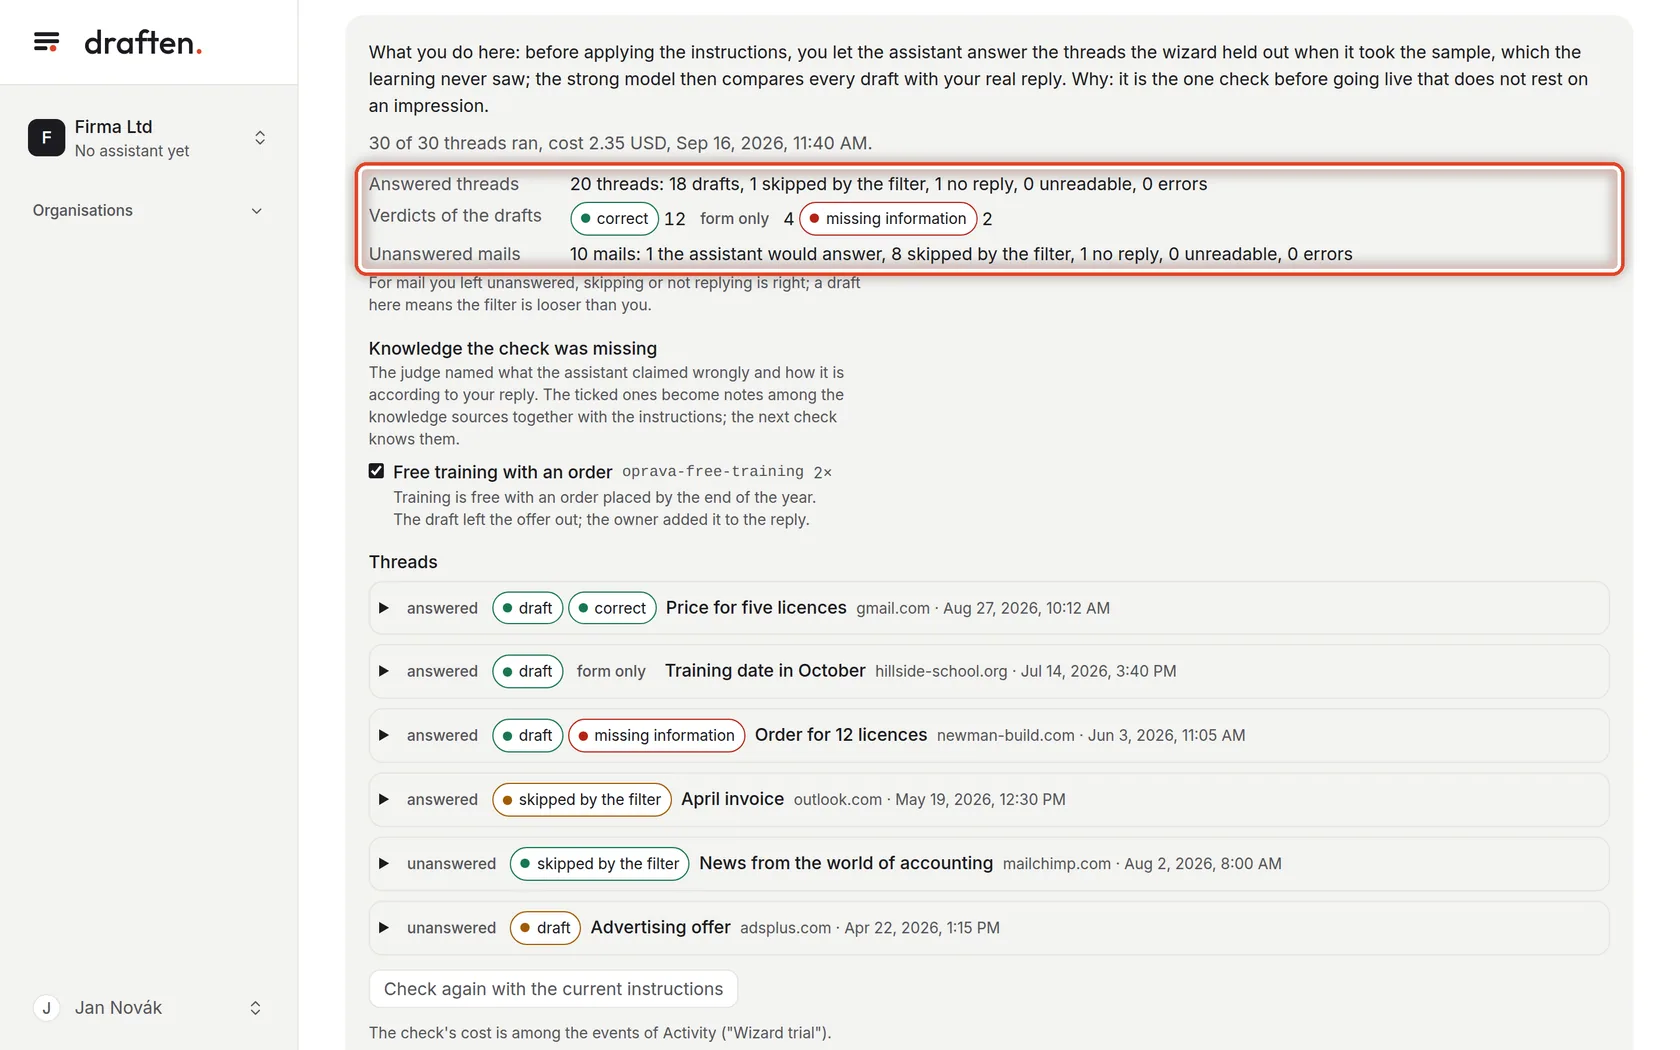
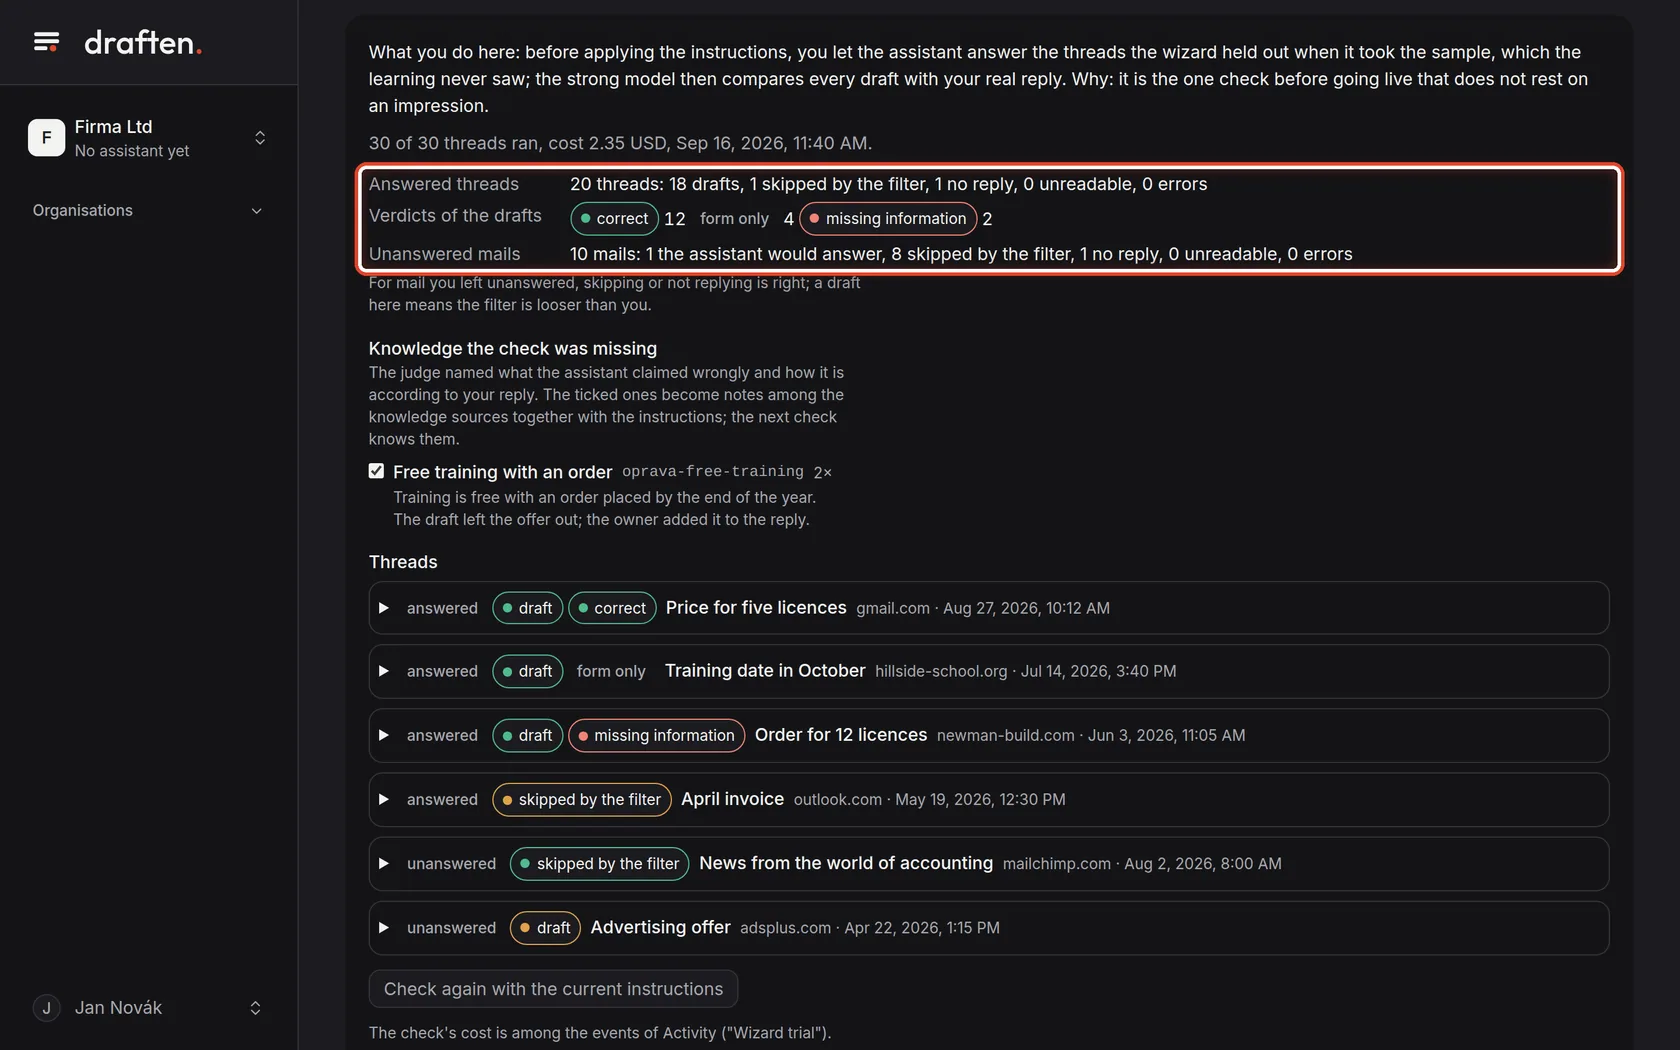
On the screenThe summary of the check and the verdicts of the drafts.
Do thisHow many drafts the assistant wrote and how they did: correct, form only (the content is right, only the way of writing differed), missing information and others. For mail you did not answer, skipping it is right.
NoteA draft for mail you left unanswered means the filter is looser than you. Adjust the Filter instruction and run the check again.
Step 17 of 19
Add what was missing
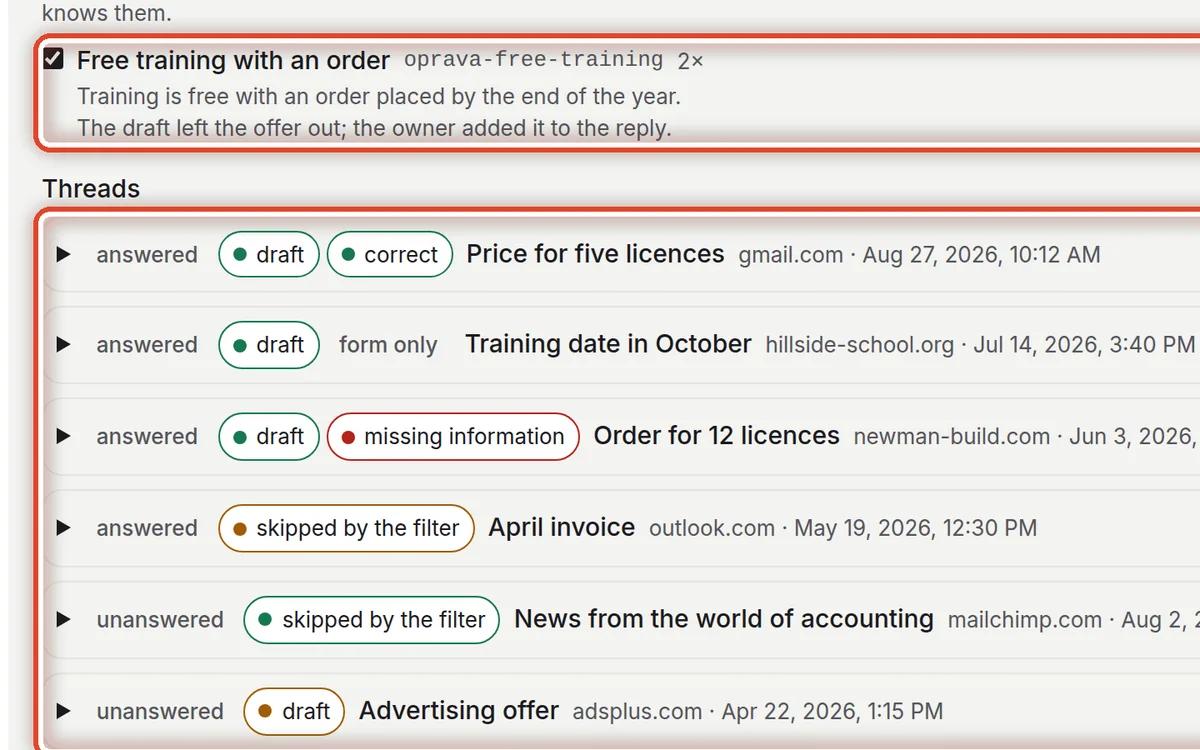
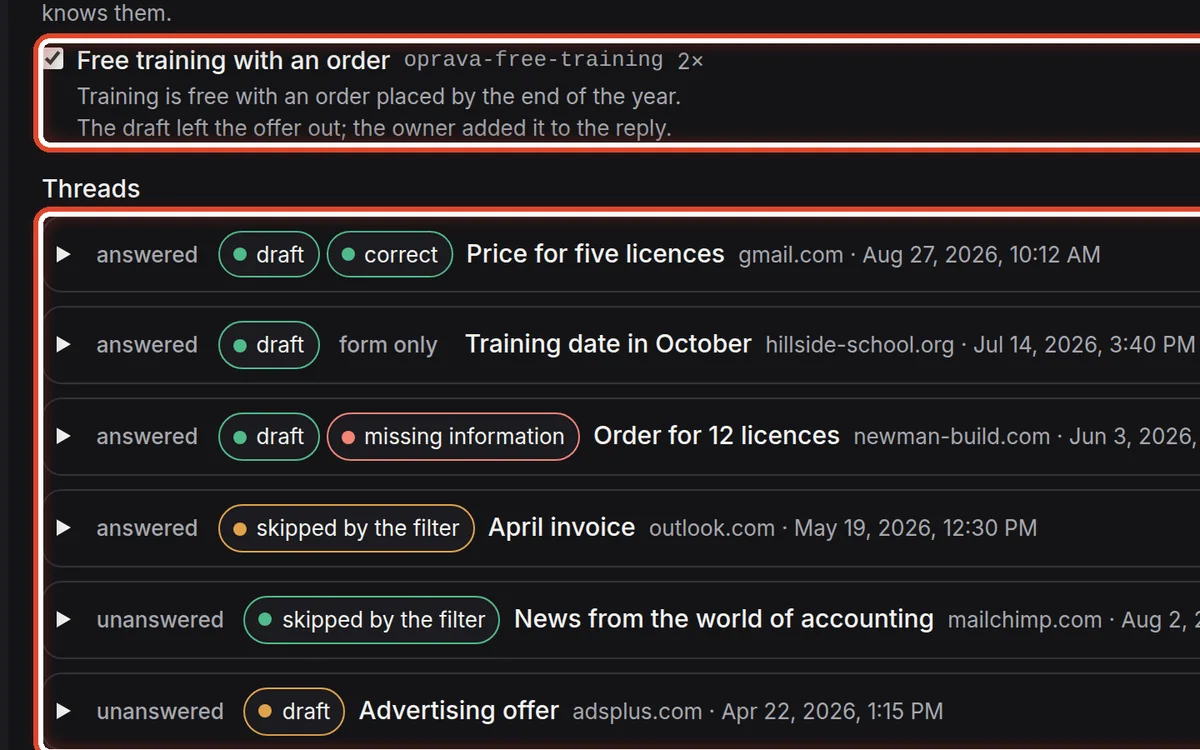
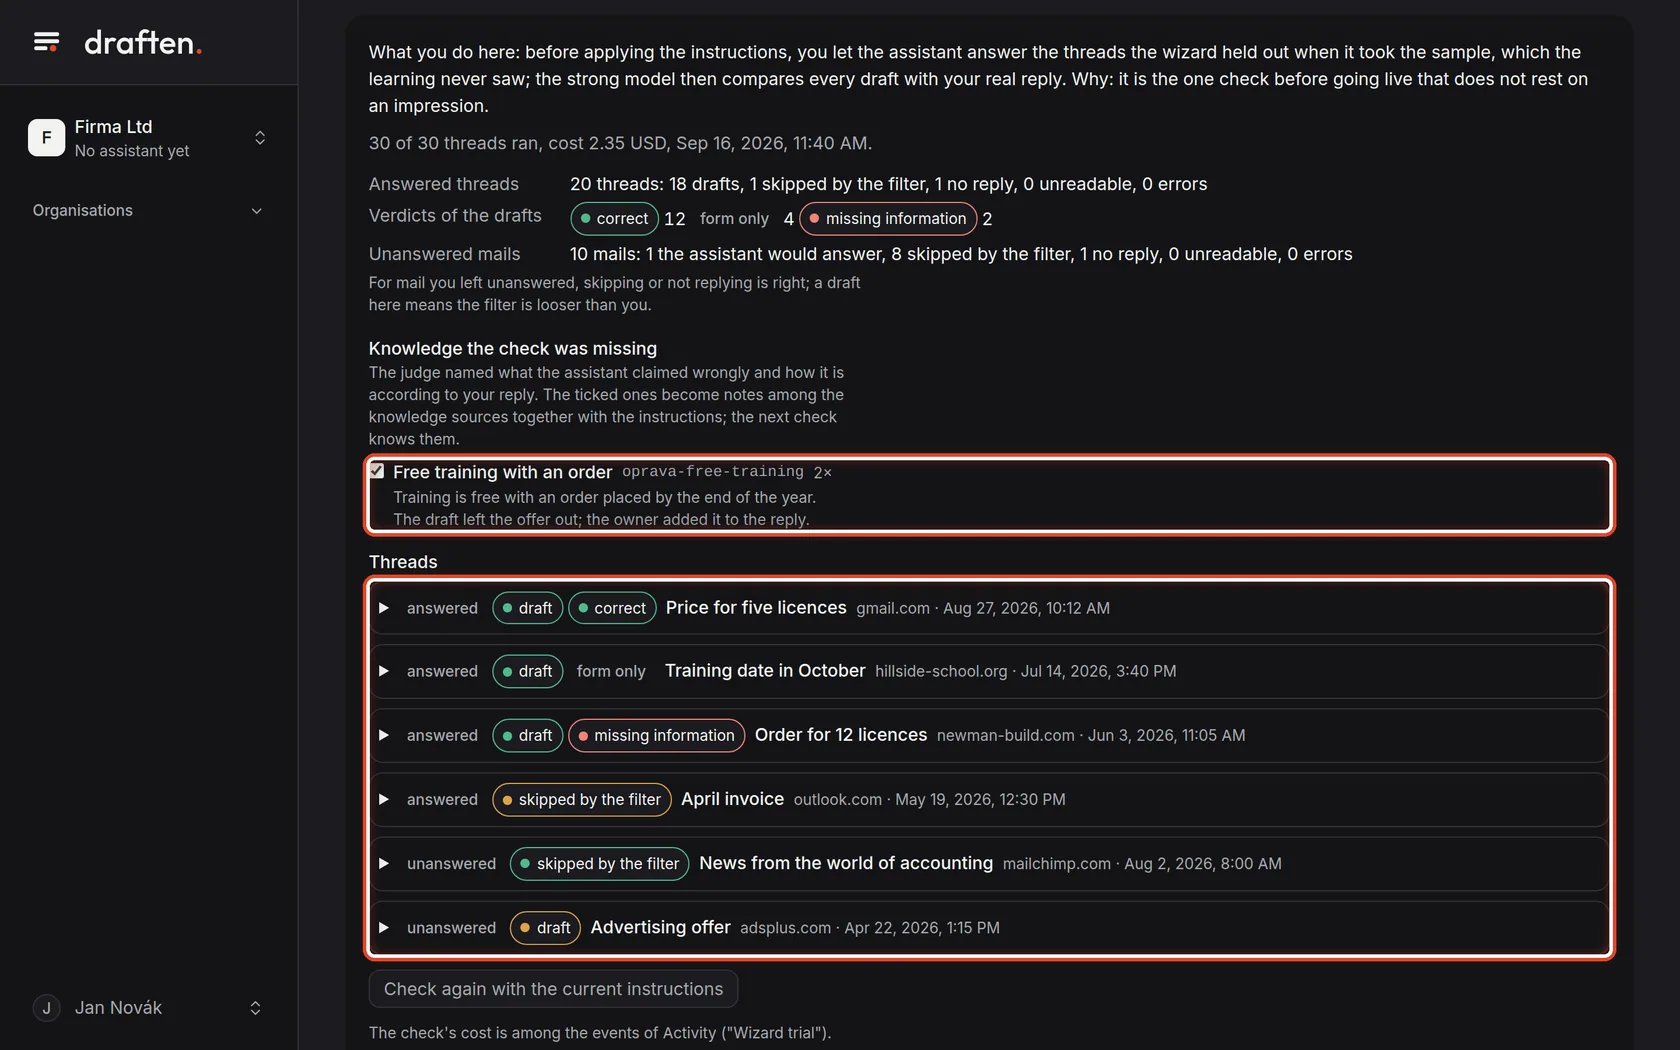
On the screenThe section Knowledge the check was missing, with the list of threads under it.
Do thisThe judge named what the assistant did not know or got wrong. The ticked items become knowledge together with the instructions. Click a thread to see the draft next to your reply.
NoteAfter editing the instructions, click Check again with the current instructions — the check runs with what is in the fields now.
Step 18 of 19
Apply the instructions and sources
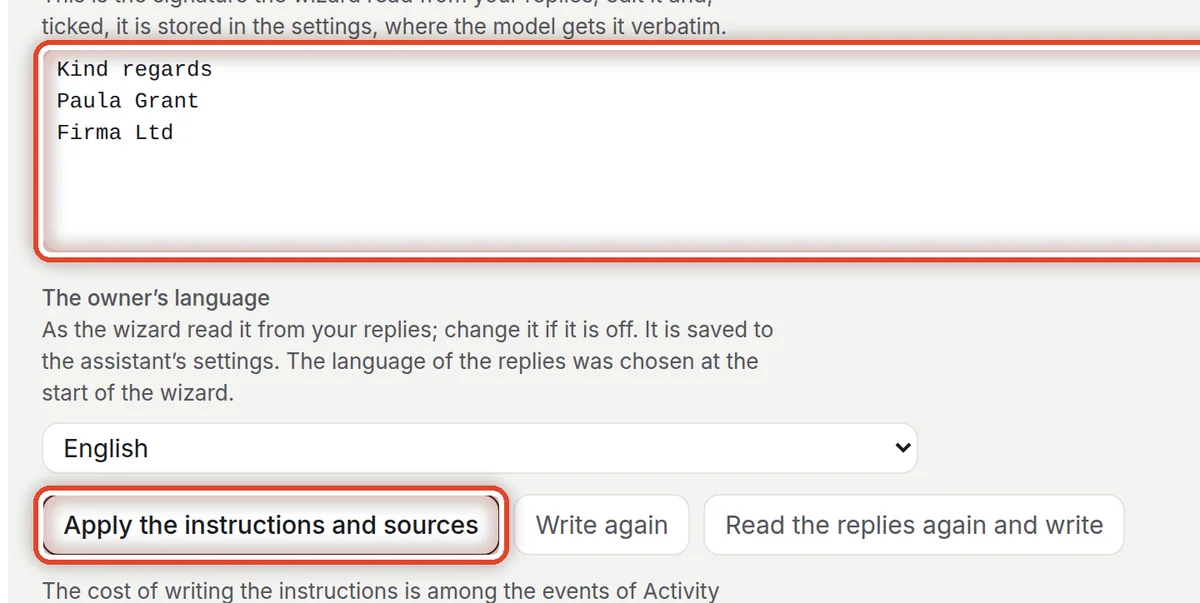
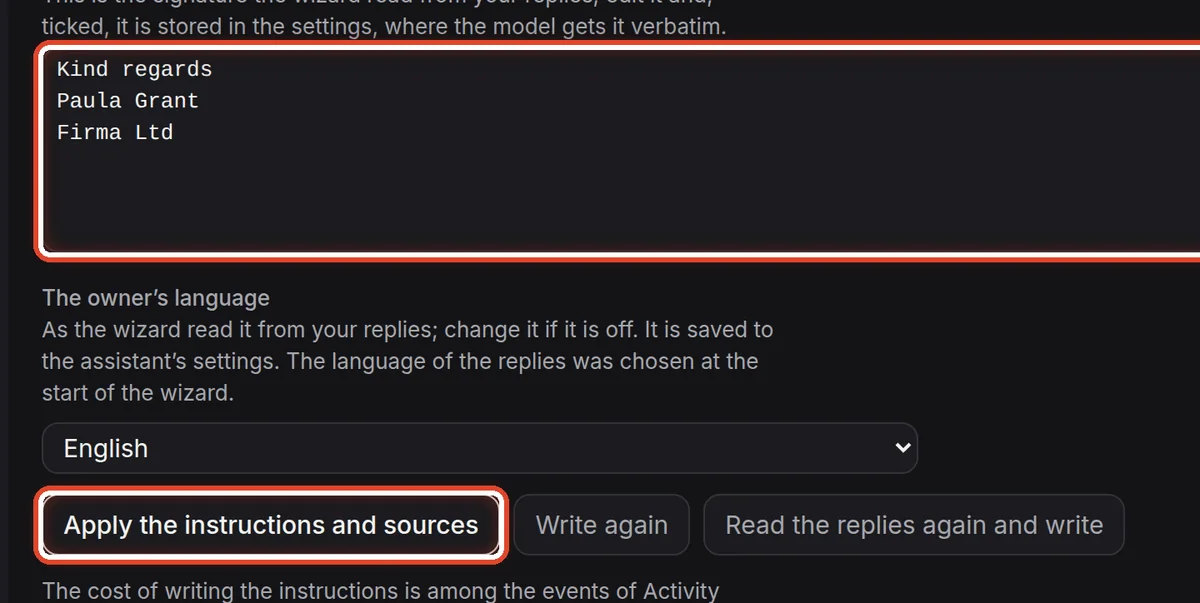
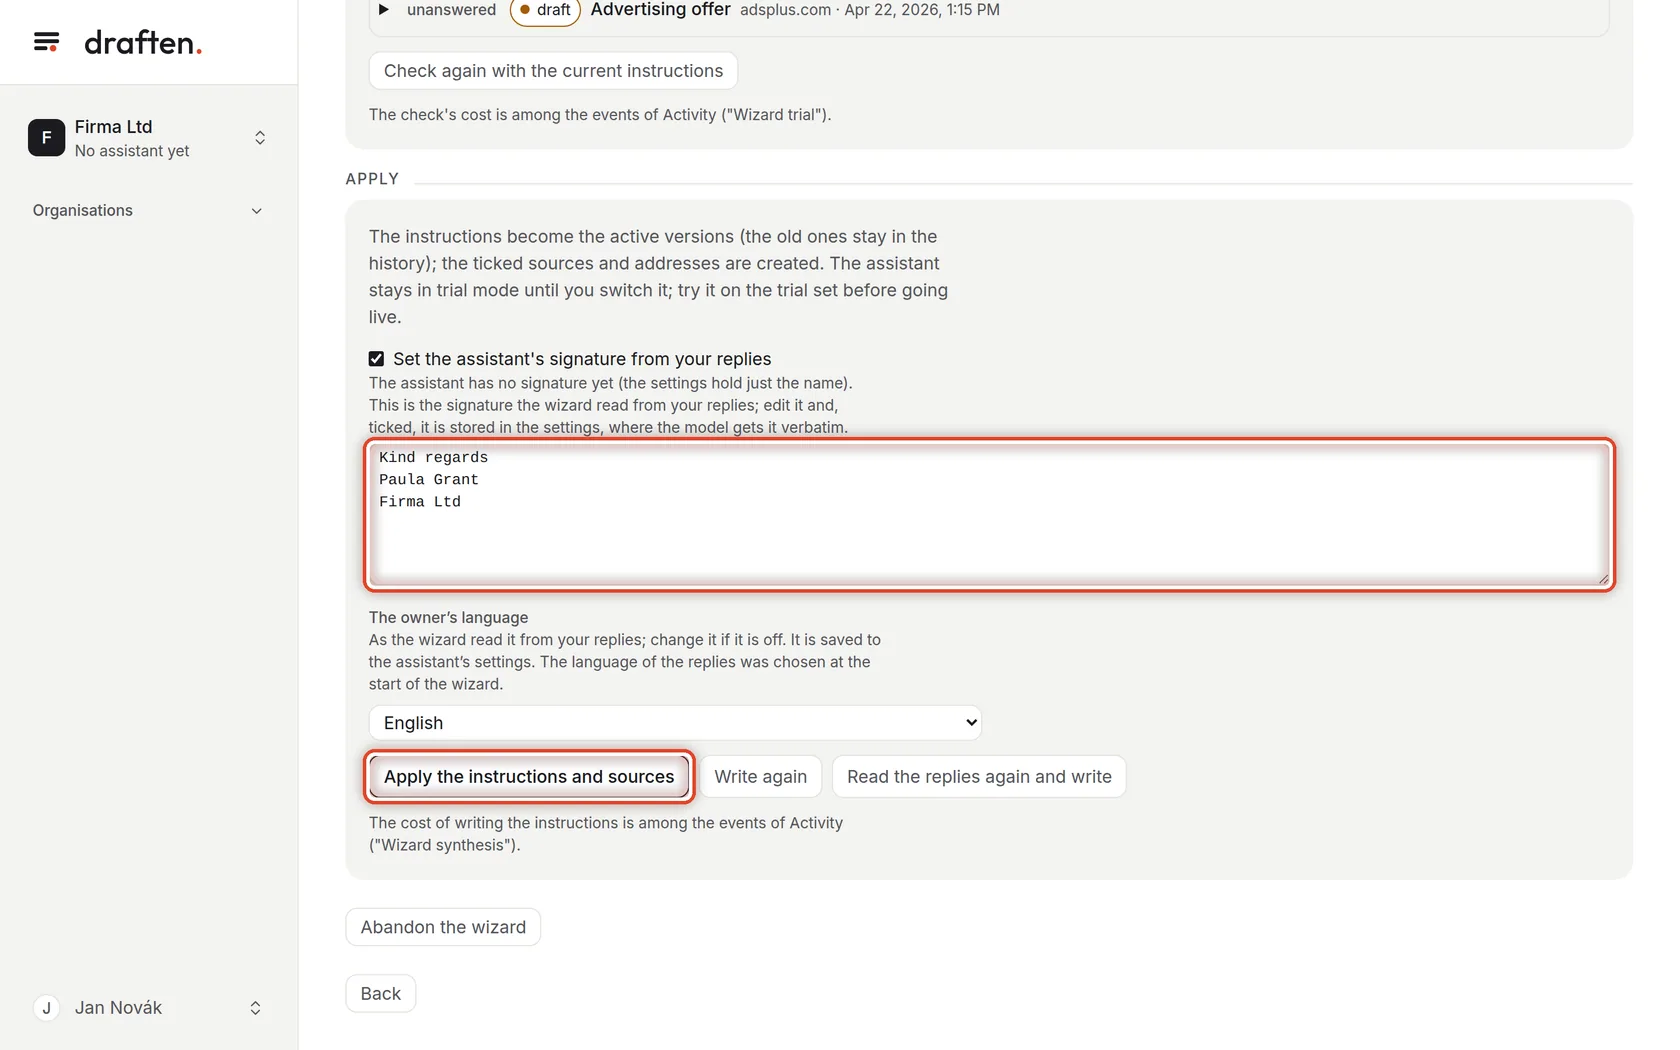
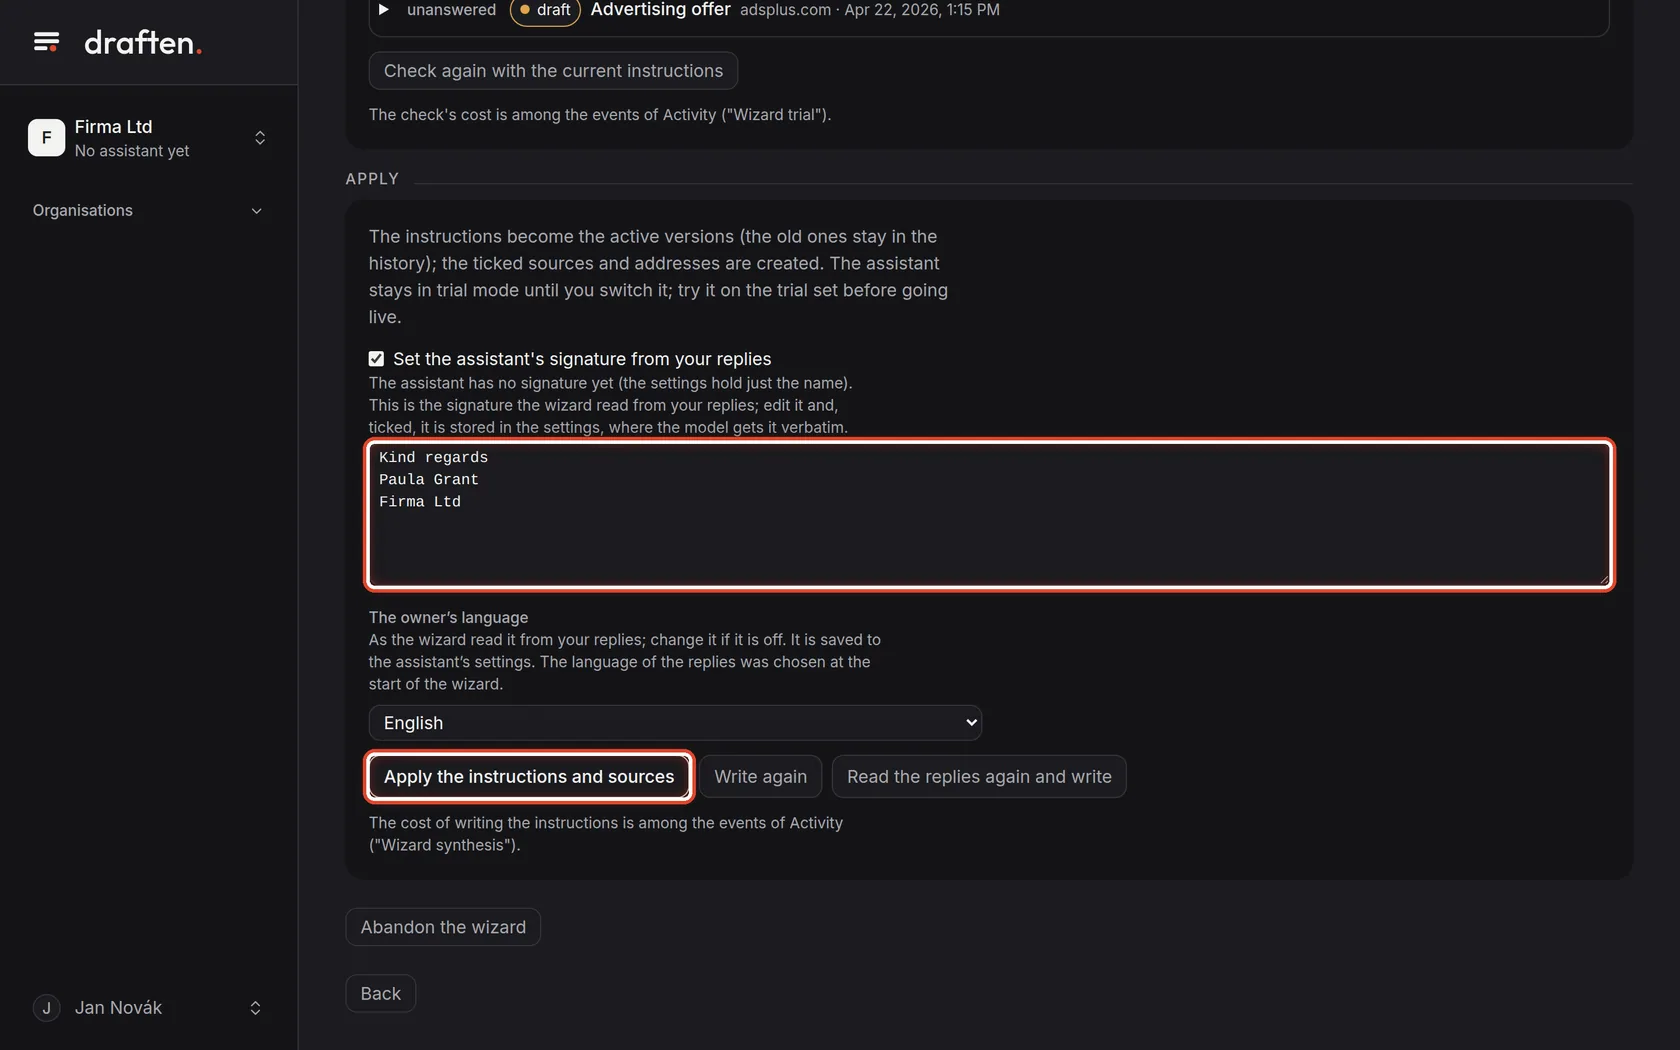
On the screenThe Apply card with the signature, the language and the Apply the instructions and sources button.
Do thisCheck the signature the wizard read from your replies — the model gets it verbatim. Then click Apply the instructions and sources and, after the summary, Continue.
NoteThe instructions become the active versions and the ticked sources are created. The assistant stays in trial mode.
Step 19 of 19
Start the assistant
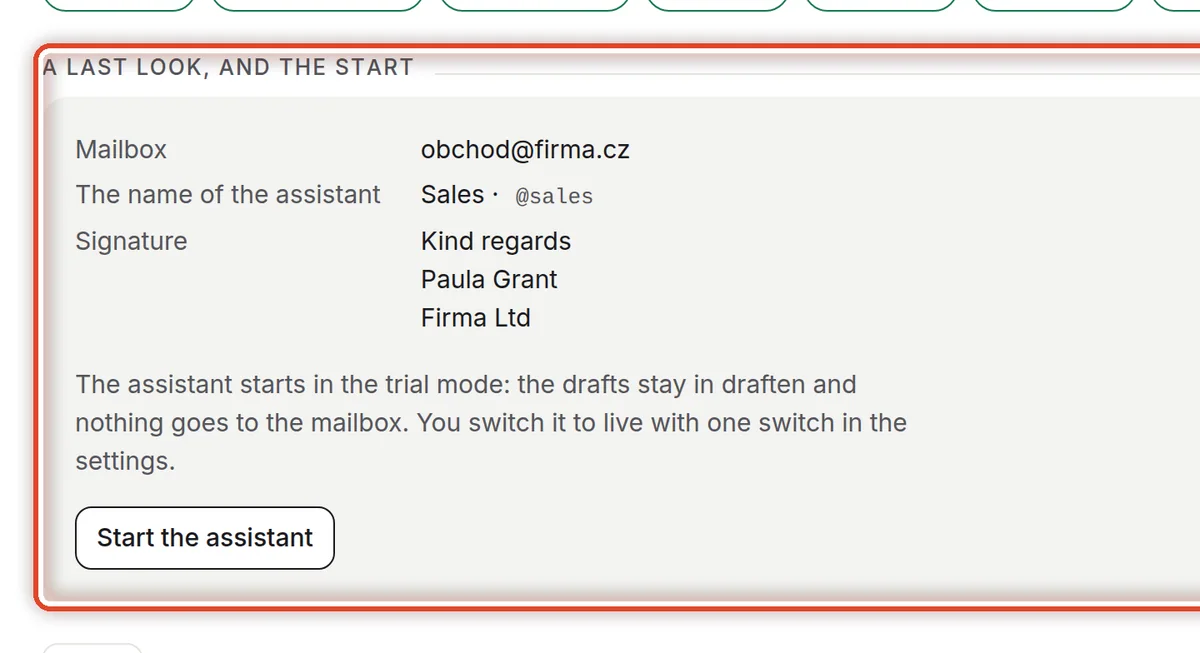
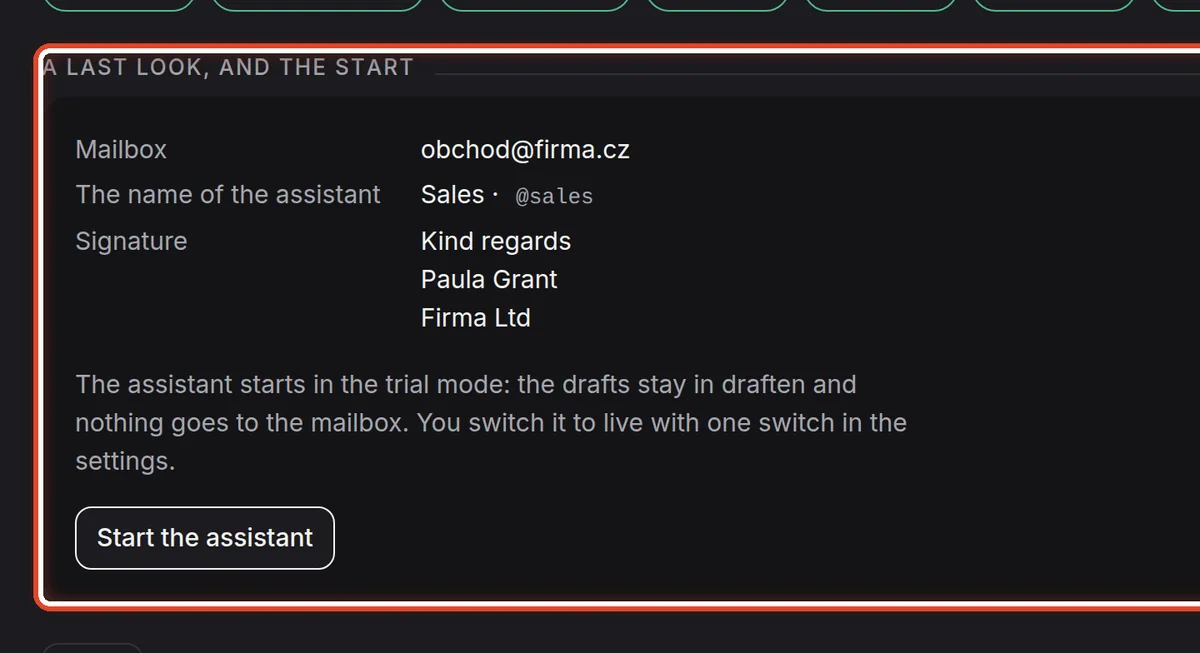
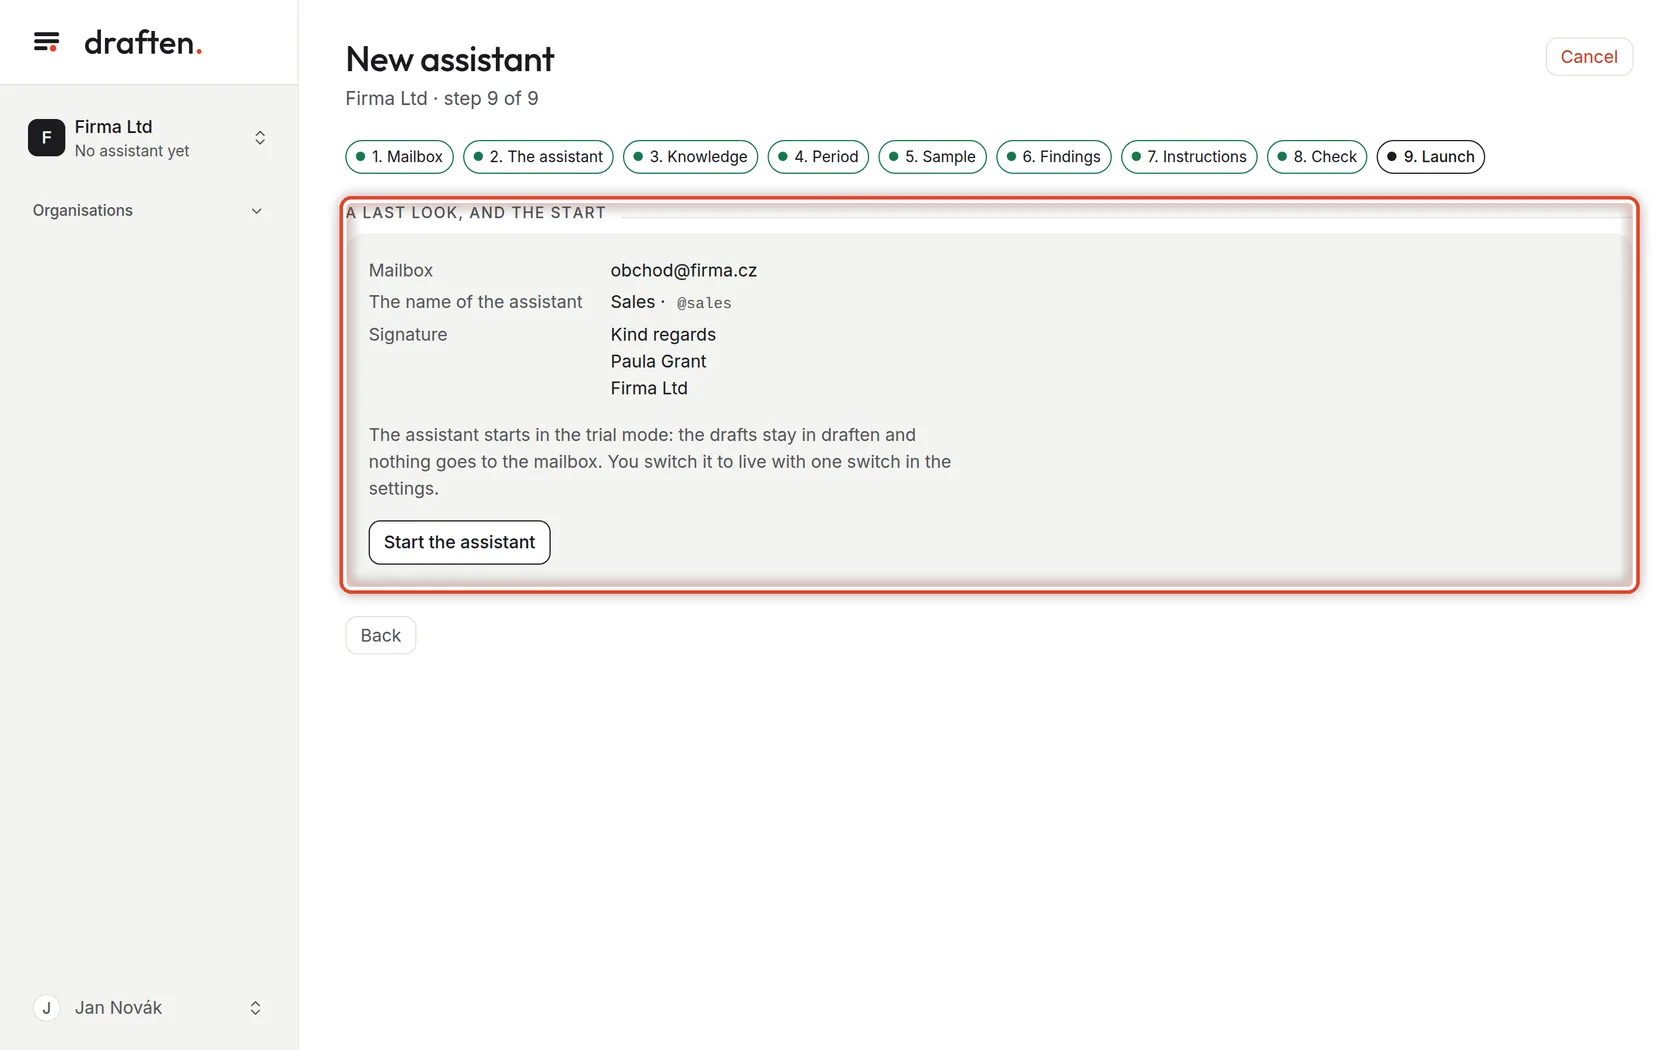
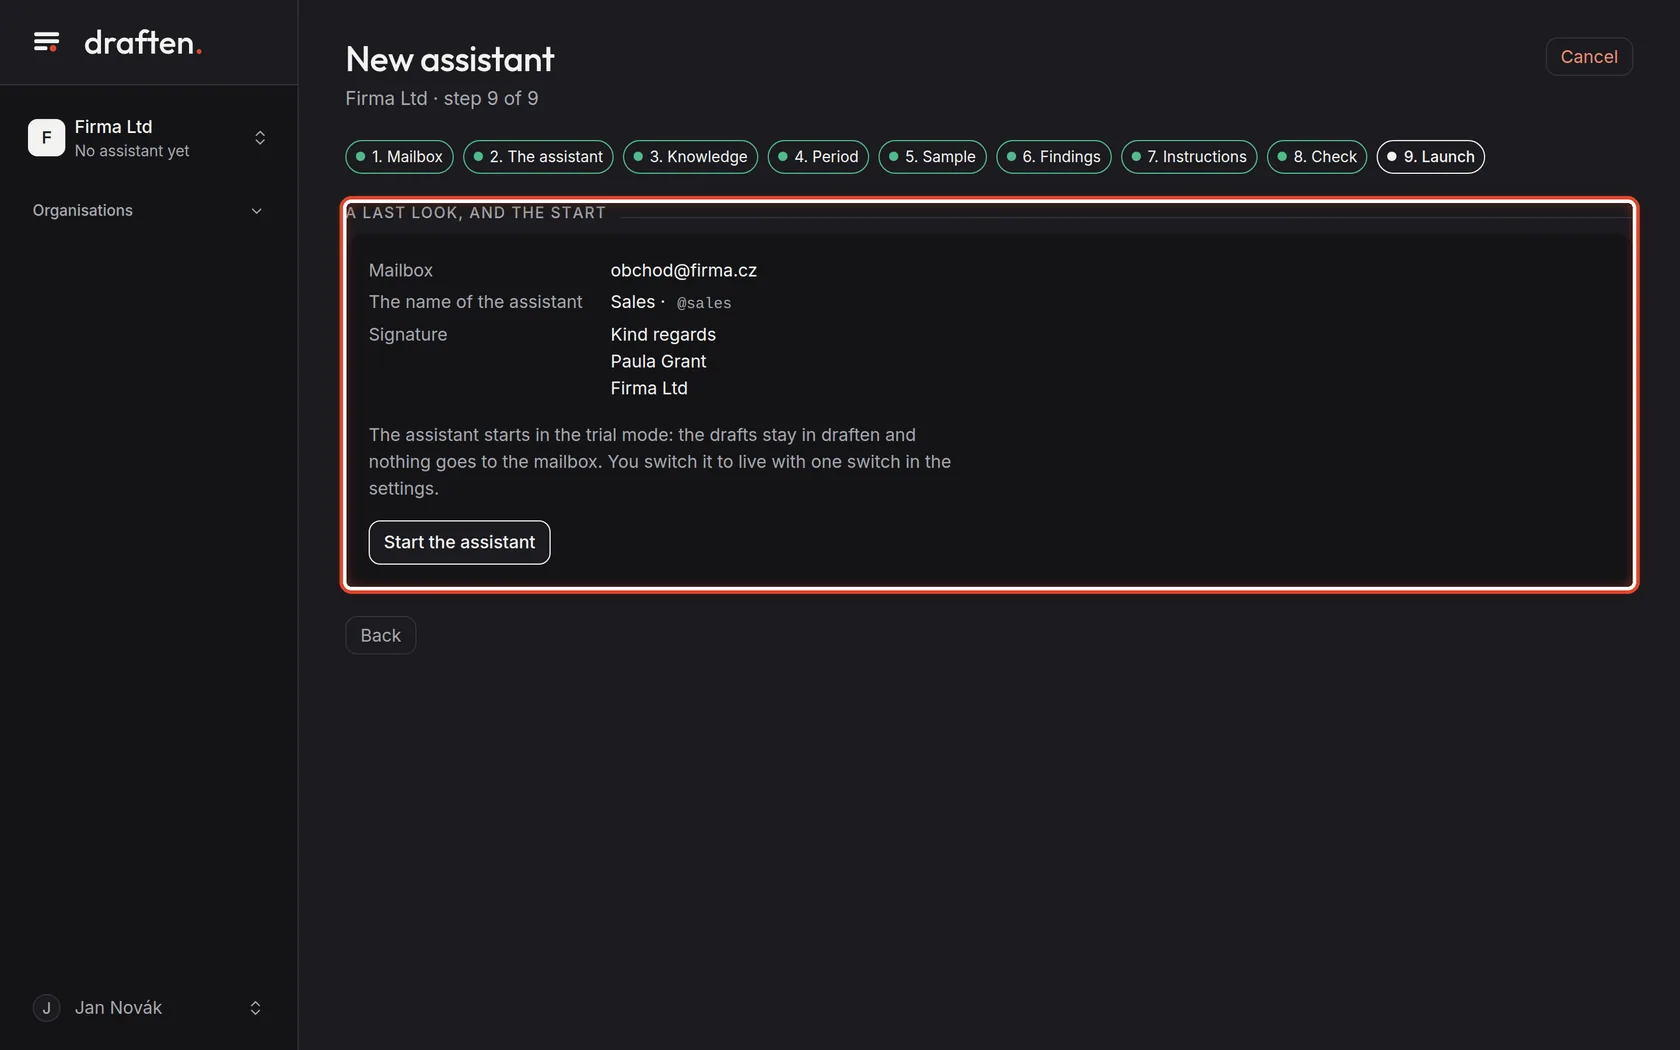
On the screenThe summary: the mailbox, the name with the handle and the signature.
Do thisWhen everything is right, click Start the assistant. It starts in trial mode: you see the drafts only in draften, nothing goes to the mailbox.
NoteGo live once you are happy with the drafts — see Trial mode and going live.
The end
The assistant runs in trial mode
The drafts are made only in draften for now. Go through them and, when you are happy, switch the assistant to live.
- A new mailbox?Connect it in Settings → Mailbox and access, or the assistant does not read the mail.
- Drafts in trial modeWhere to find them and how to go live is in the guide Trial mode and going live.