Guide
Where the assistant
takes its facts from.
The assistant must not make anything up: it takes prices, deadlines, procedures and guides only from the knowledge sources. Here you add, edit and disable them — a documentation site, a price list, a link or a short fact.
Before you start
- Editor or owner roleWith a read-only role you only see the sources.
- What to give the assistantA price list in PDF, the address of your help site, a few facts you write often.
Step 1 of 8
The assistant knows only what is here
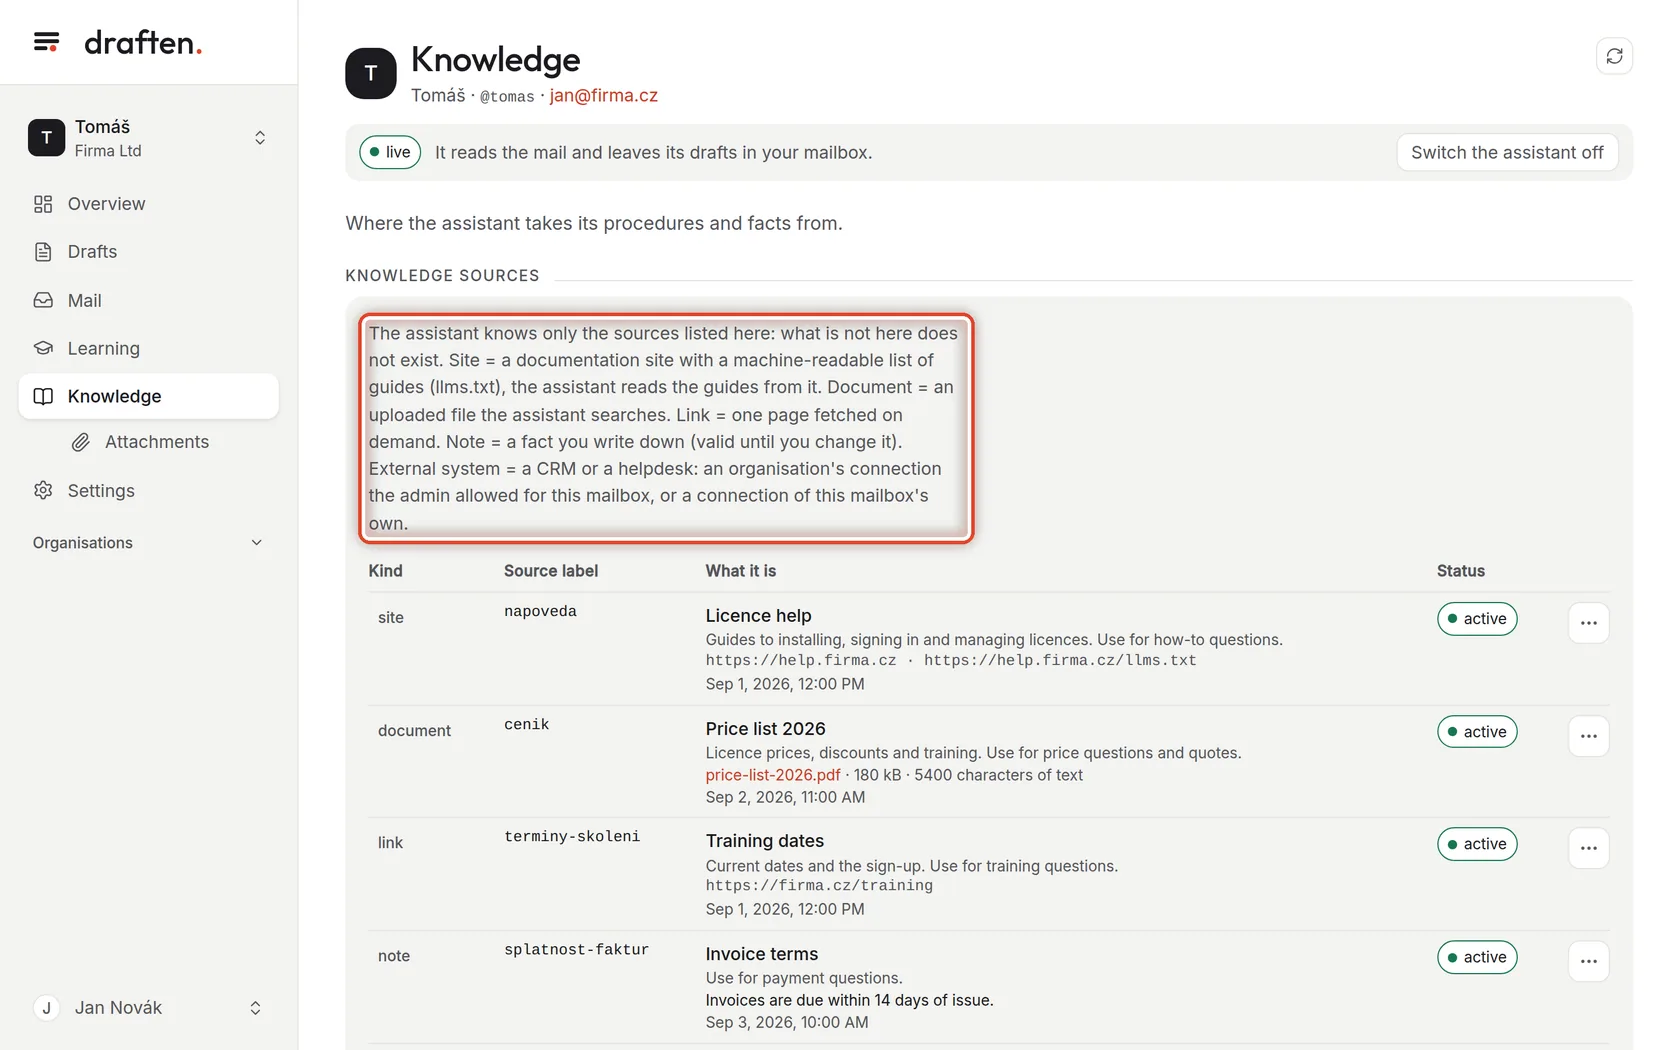
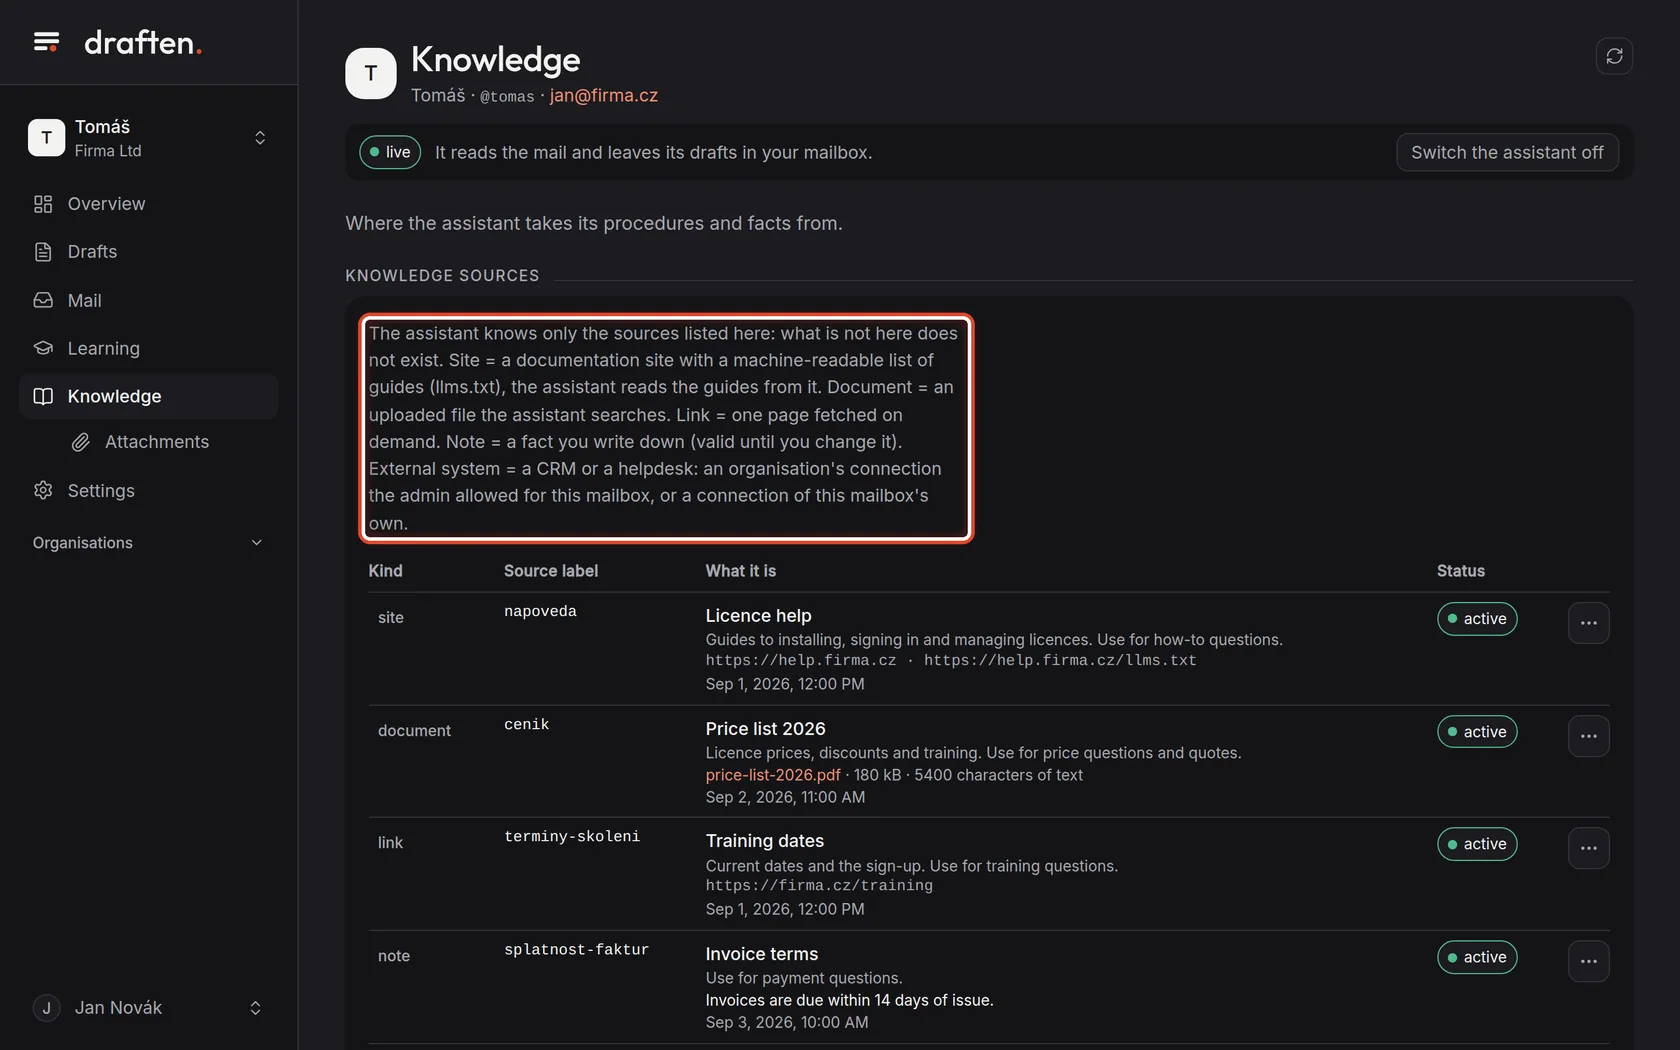
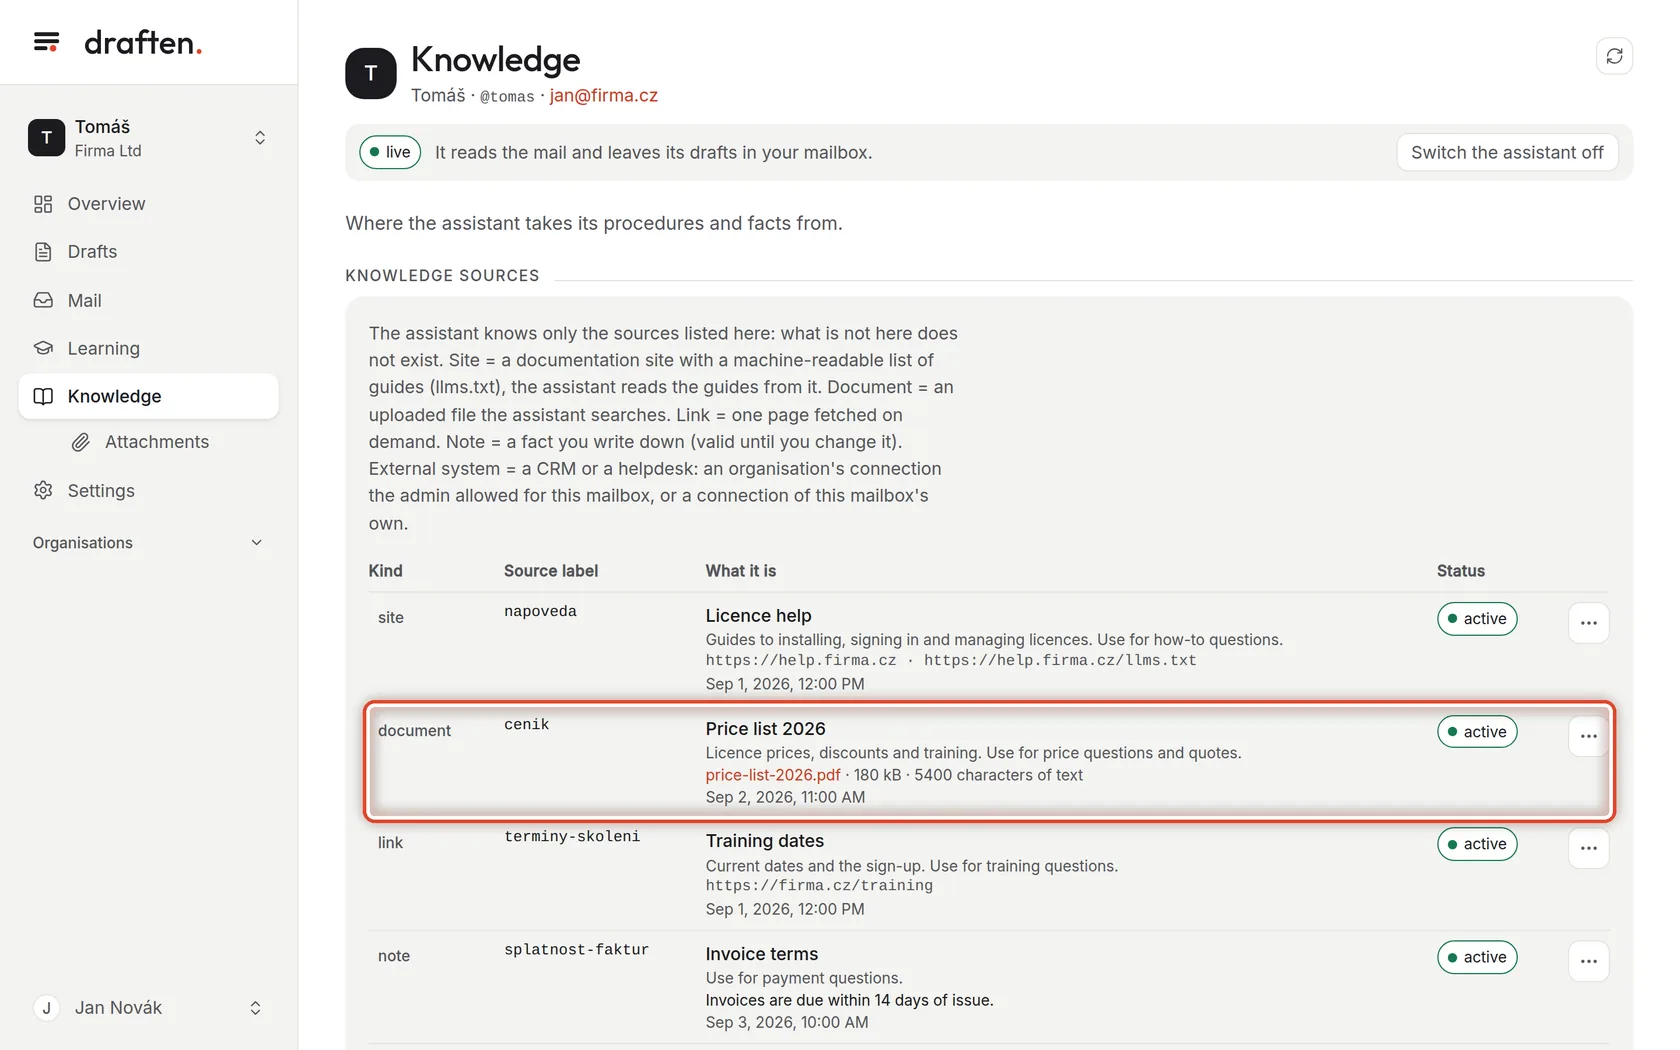
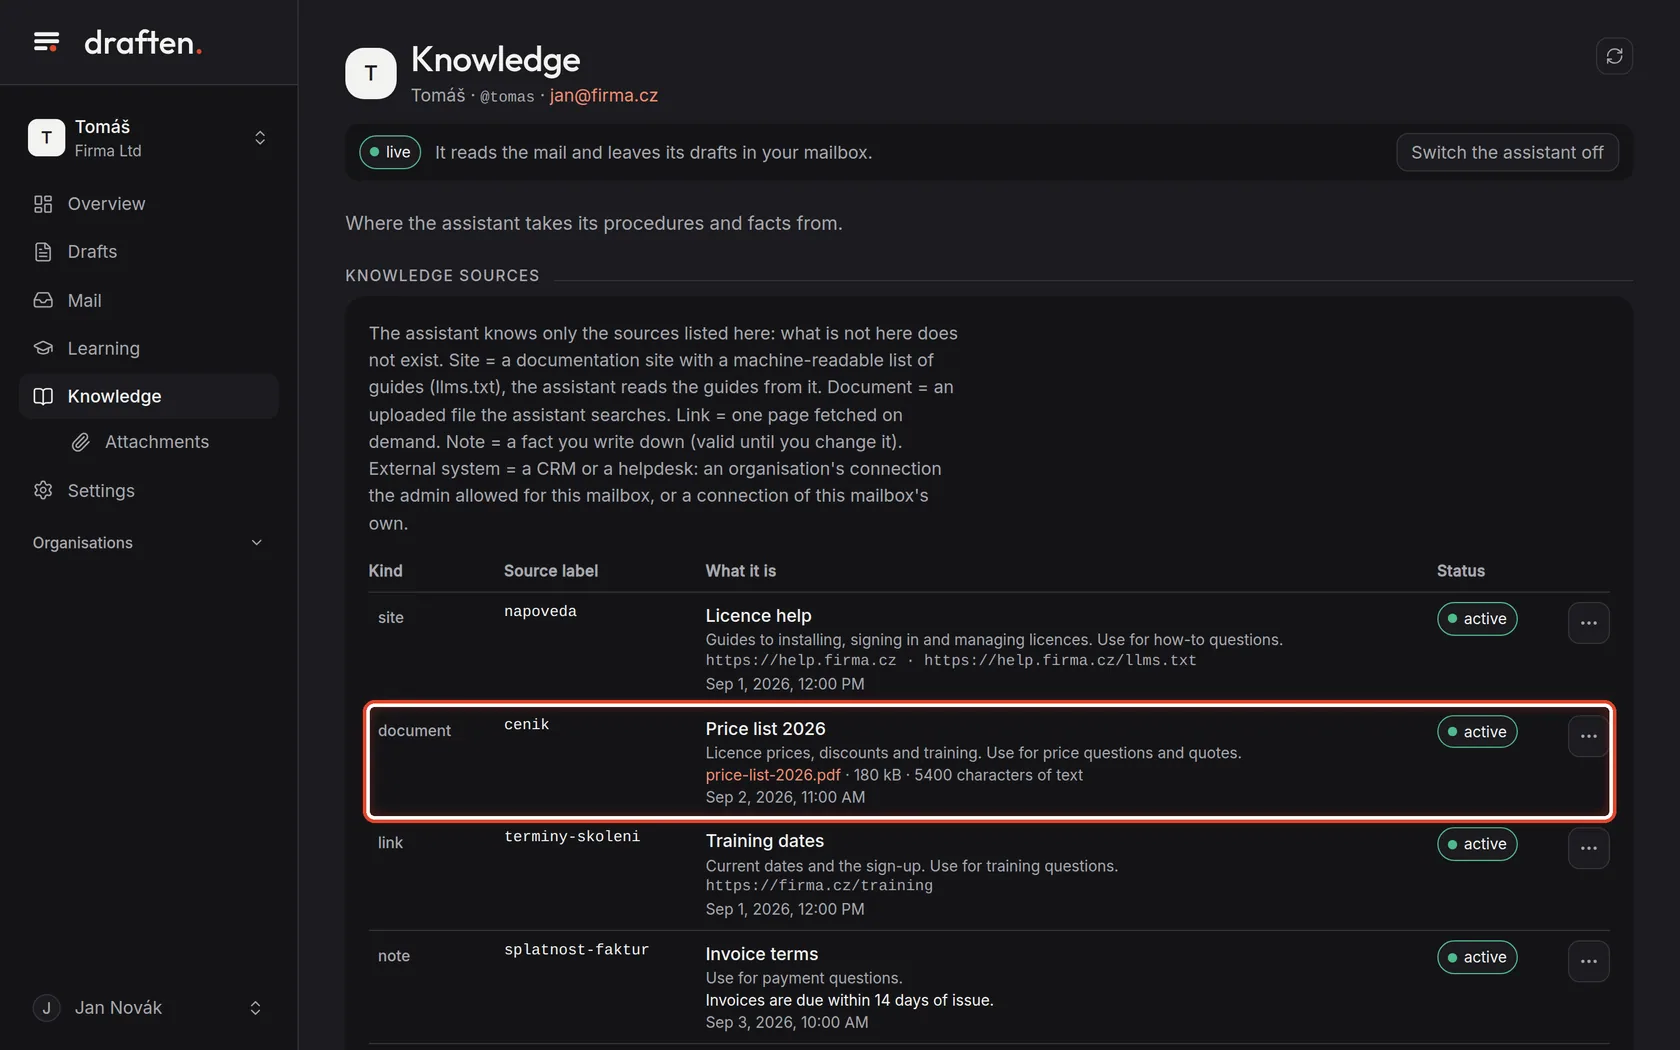
On the screenIn Knowledge, the Knowledge sources card with an explanation and a list.
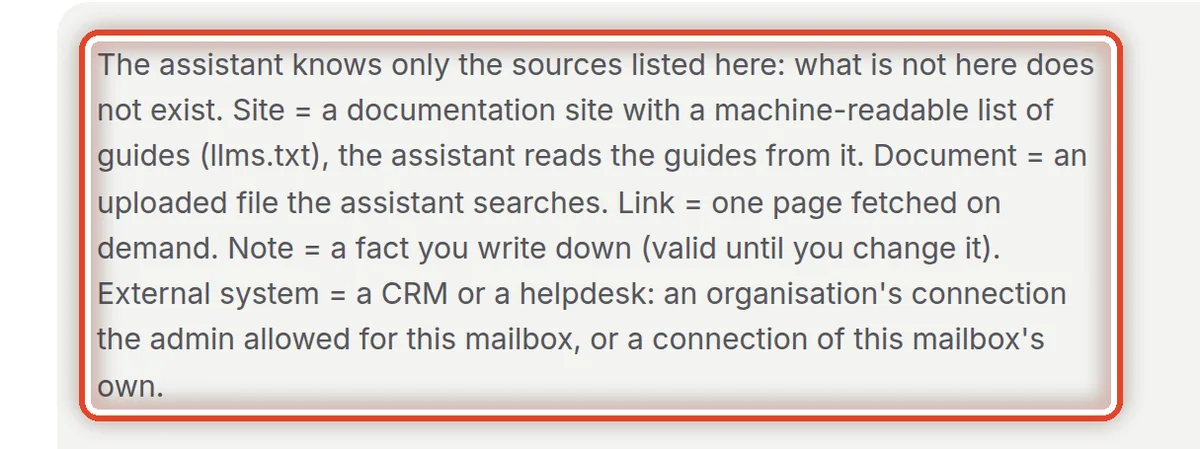
Do thisThe assistant takes prices, deadlines, procedures and guides only from here. What is missing does not exist — and the assistant must not make it up. A source can be a site (a documentation site), a document (an uploaded file), a link (one web page), a note (a short fact you write) or an external system (a CRM, say).
Step 2 of 8
One source
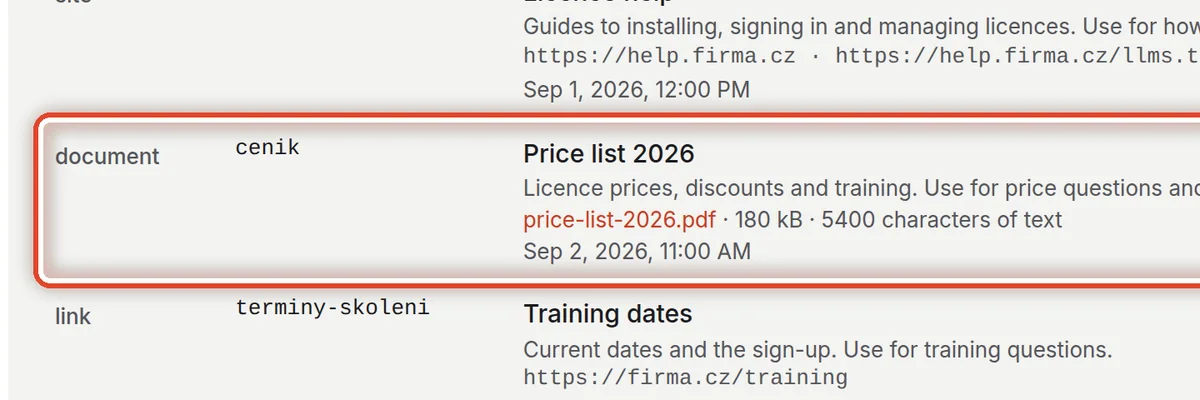
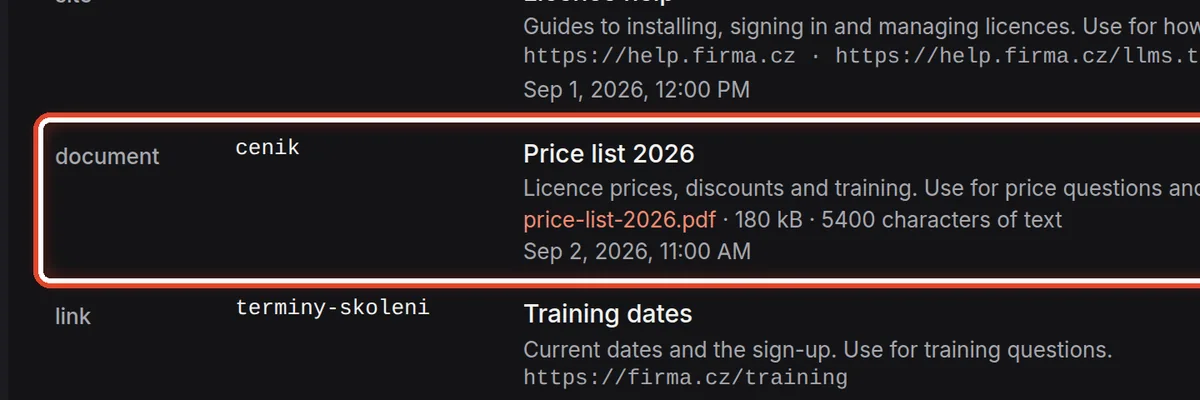
On the screenA source's row: kind, label, title, description, address or file, and status.
Do thisThe description matters most: it is how the assistant knows when to open the source. Write what the source holds and when to use it — "Licence and training prices. Use for price questions", say.
Step 3 of 8
Edit, disable, remove
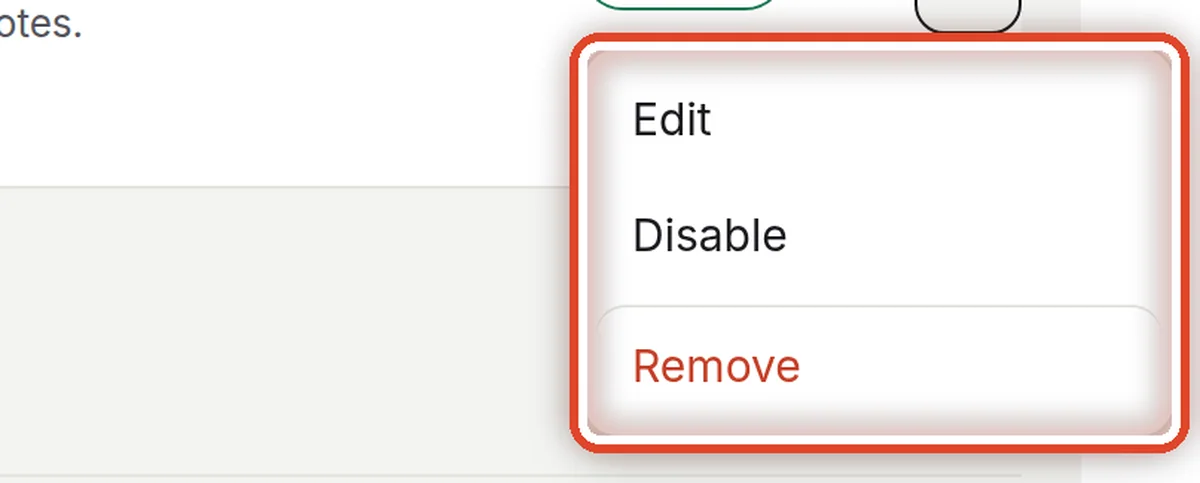
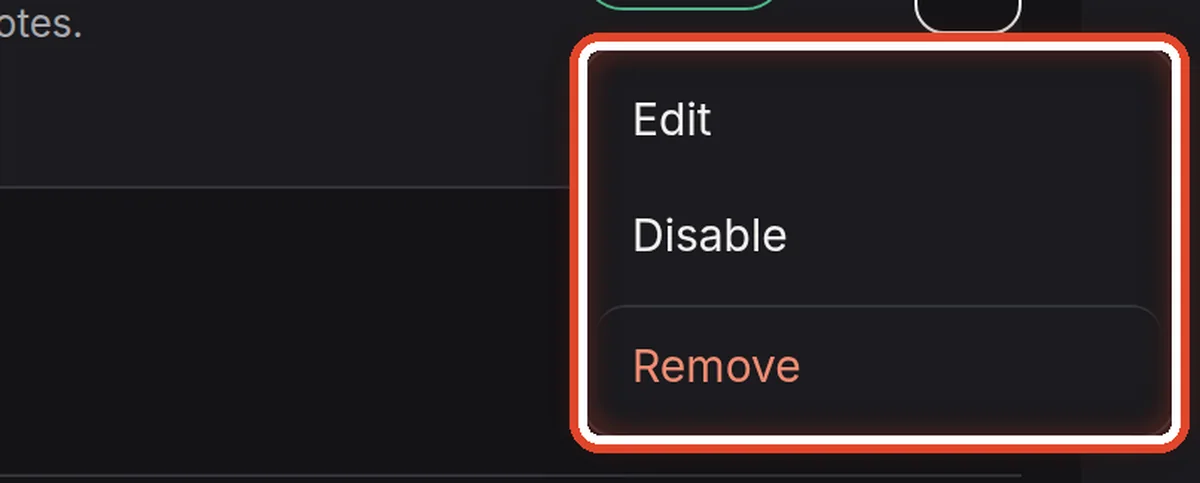
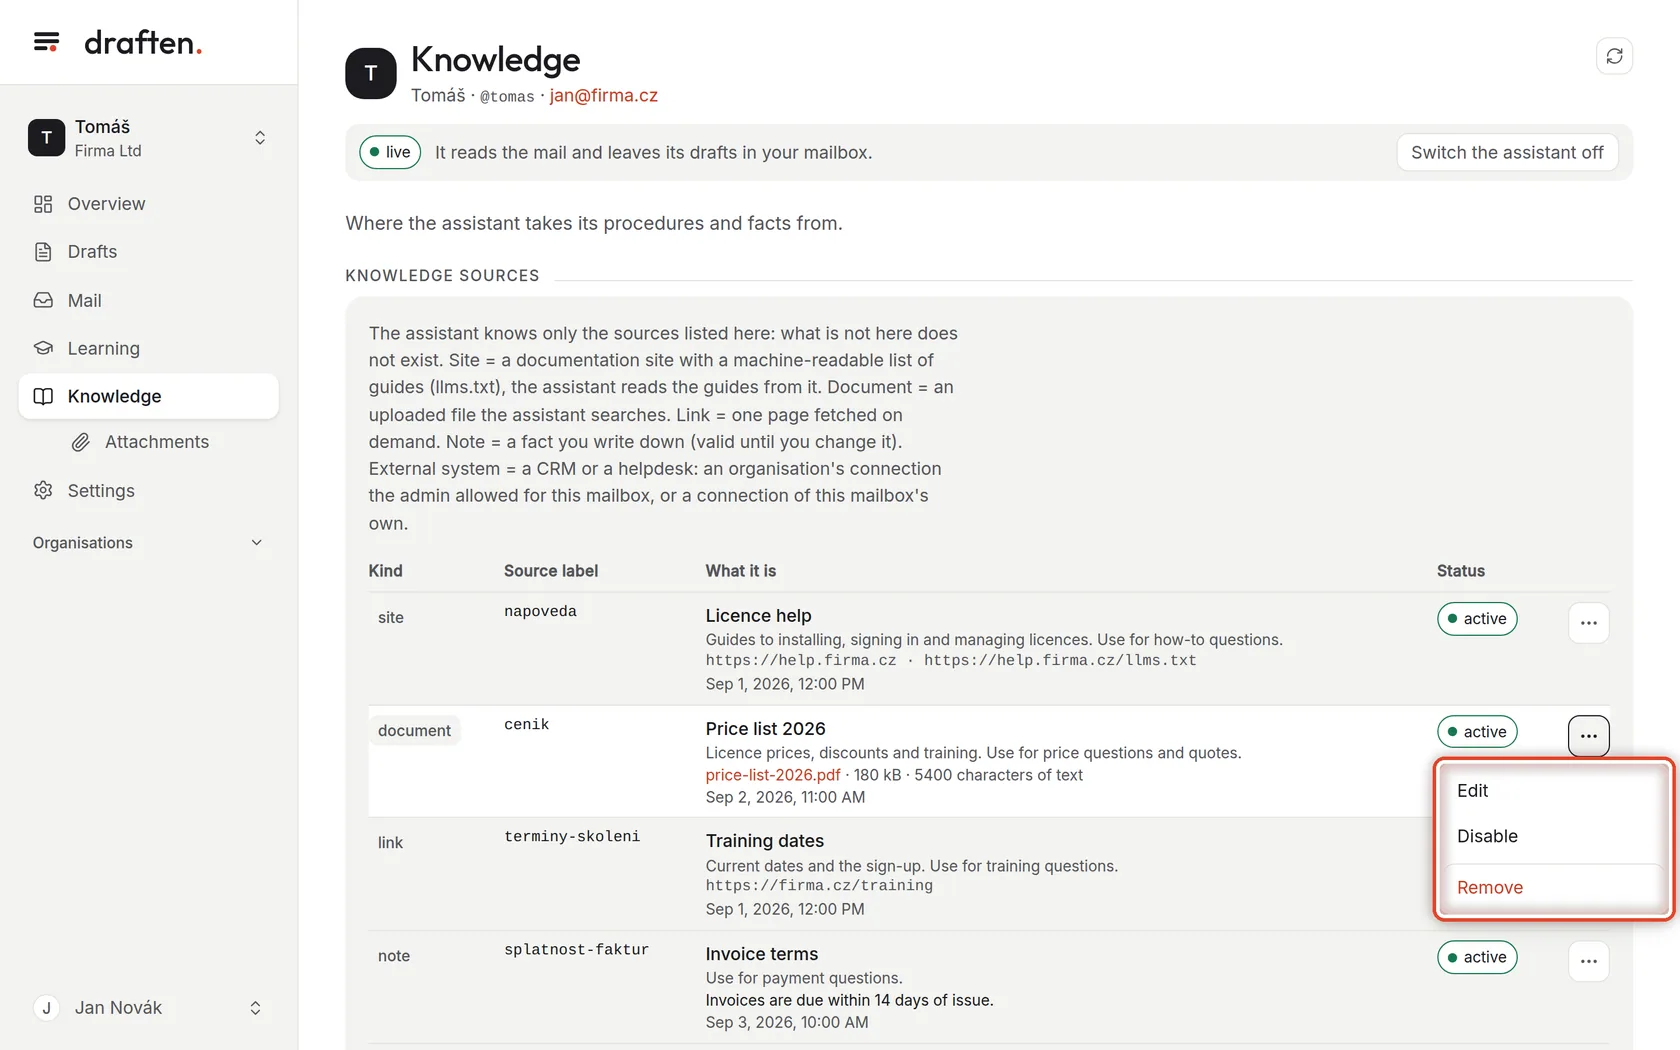
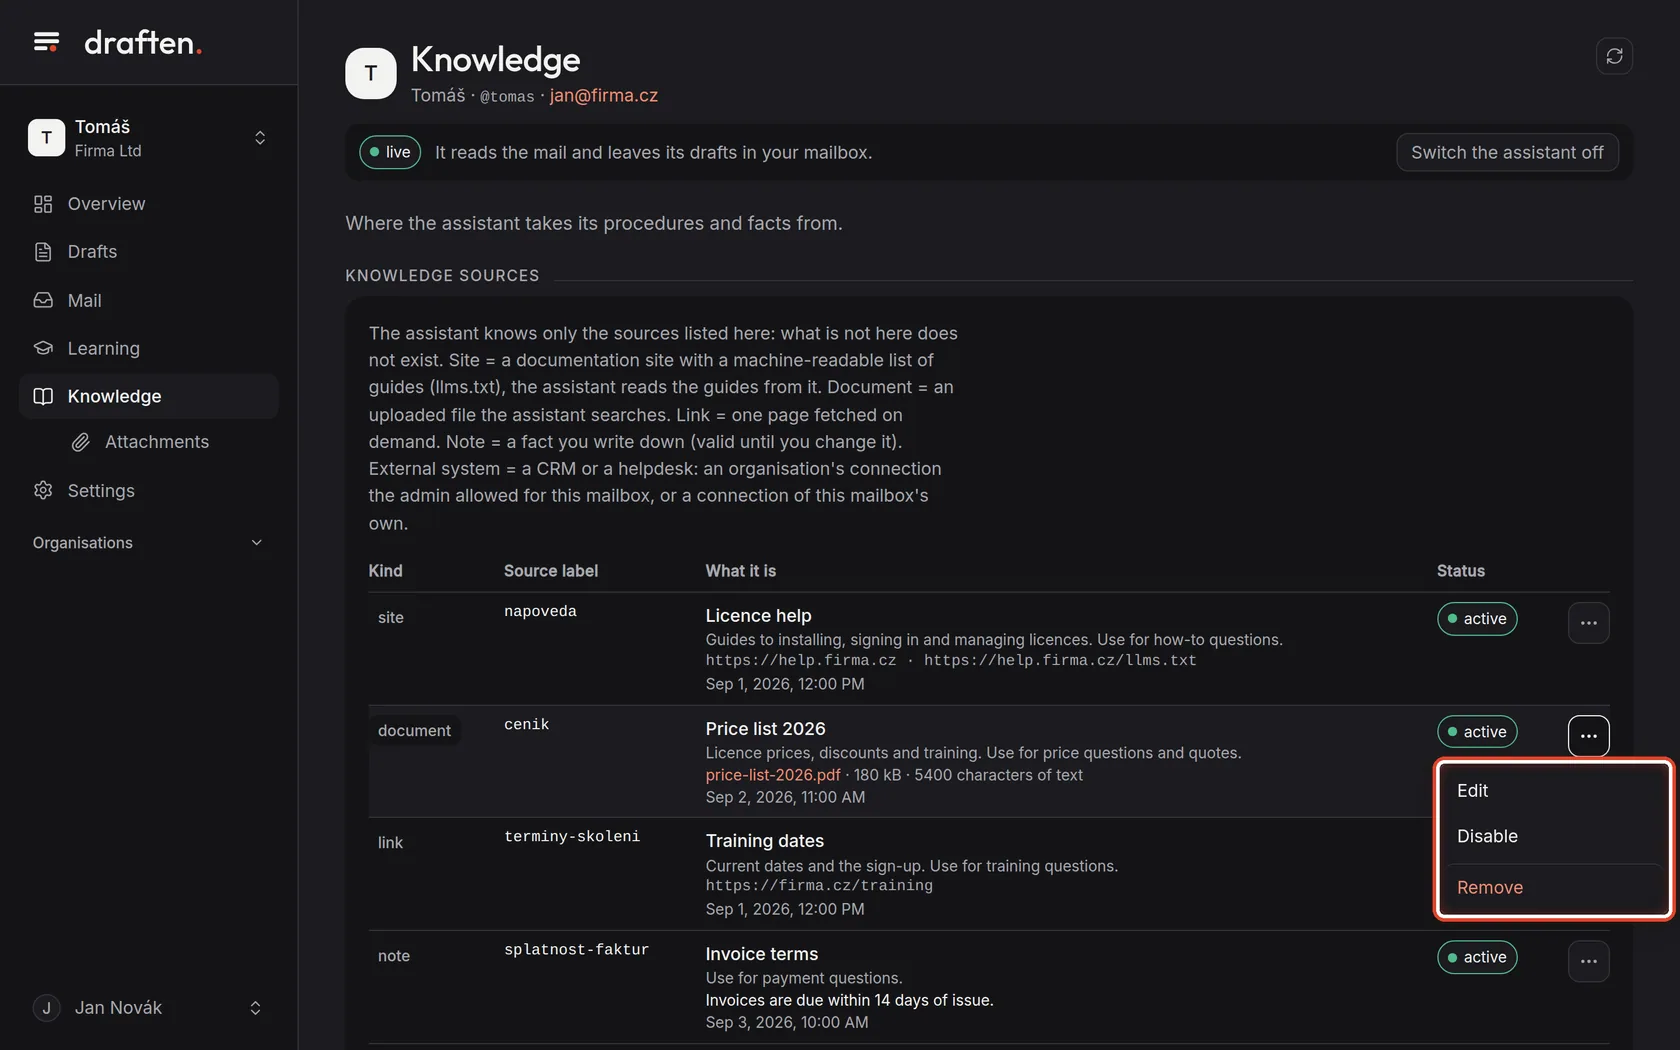
On the screenAfter clicking the three dots in a row, the Edit, Disable and Remove menu.
Do thisEdit changes the title, description or address right in the row. Disable hides a source for a while (summer hours outside the summer, say) and Enable brings it back. Remove deletes it.
NoteChanges apply from the next mail check. For a document, uploading a new file under the same label replaces the old one.
Step 4 of 8
Add a source: the kind
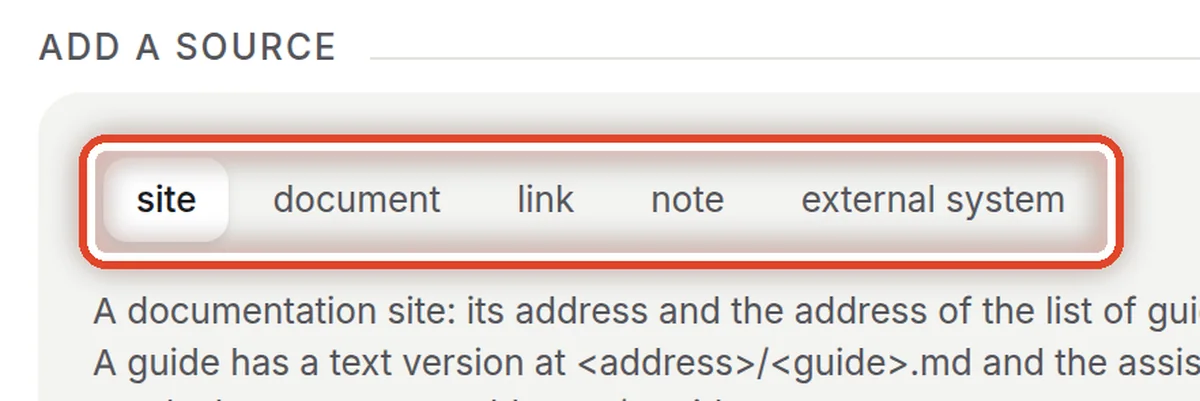
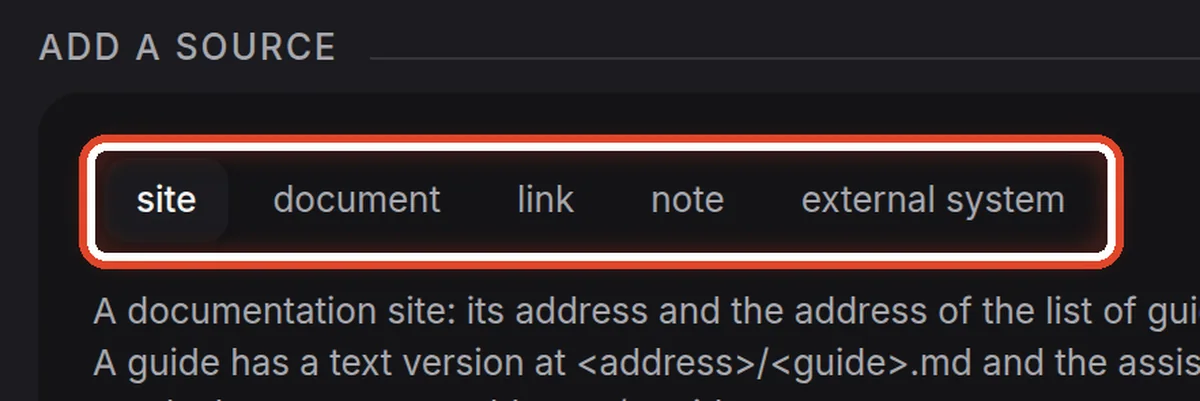
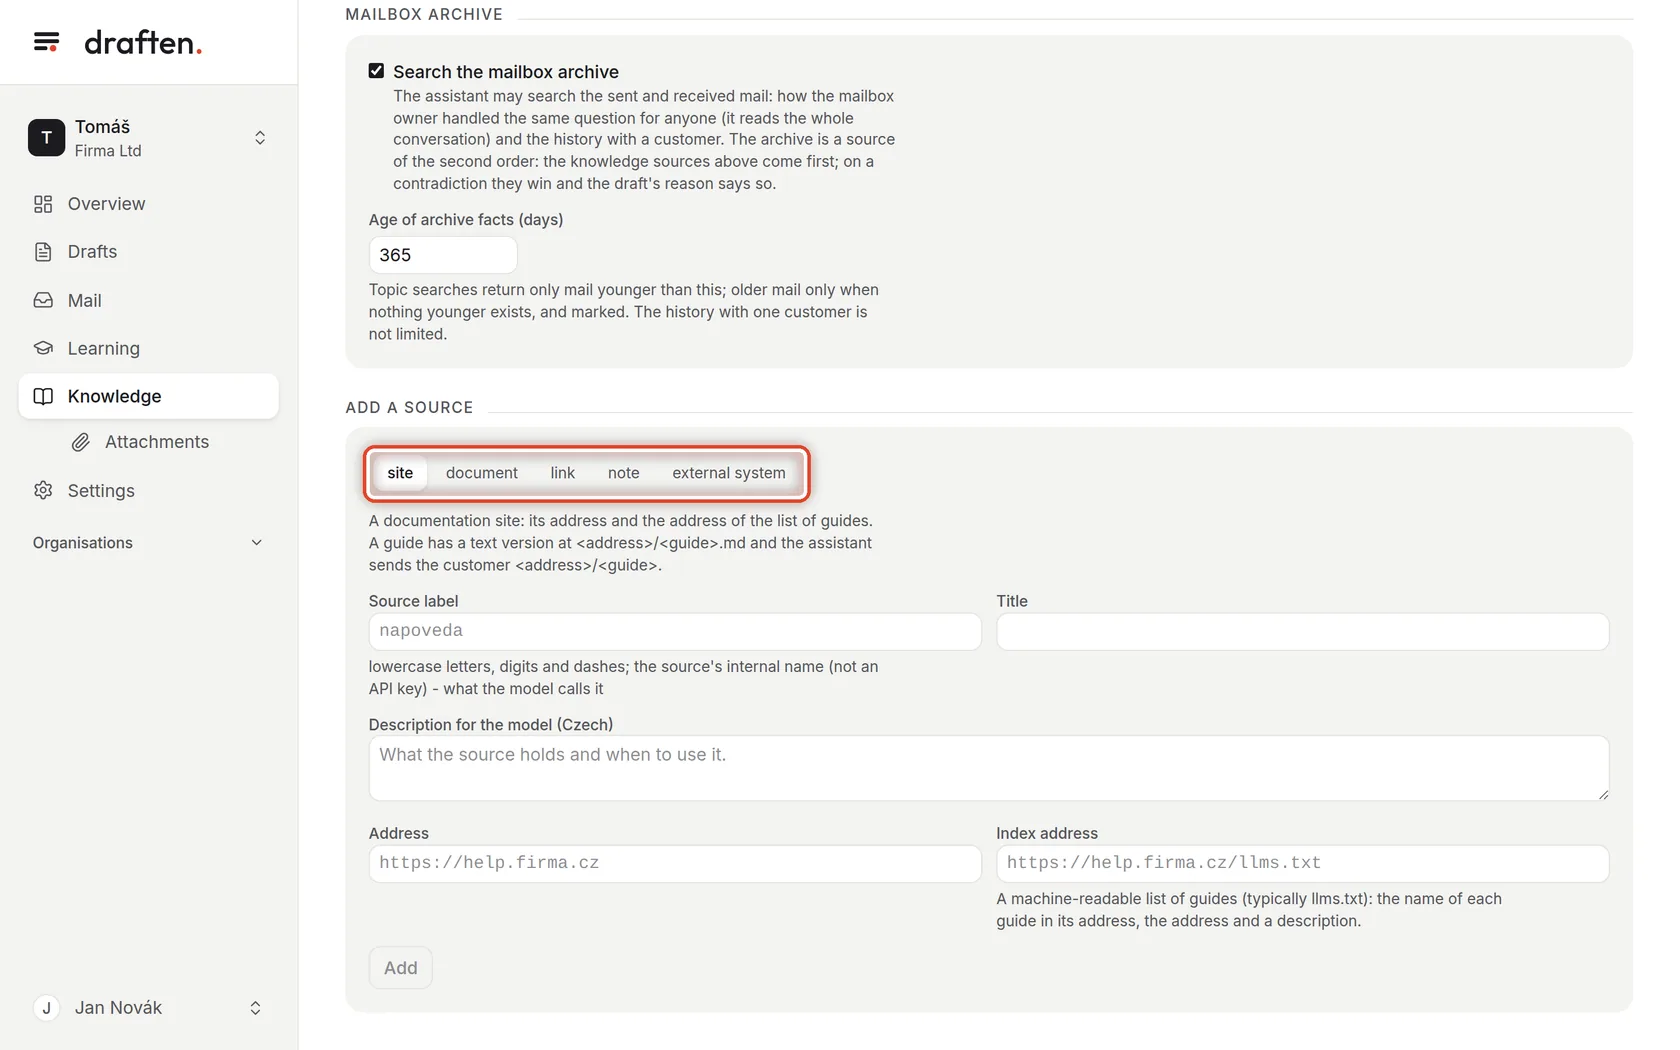
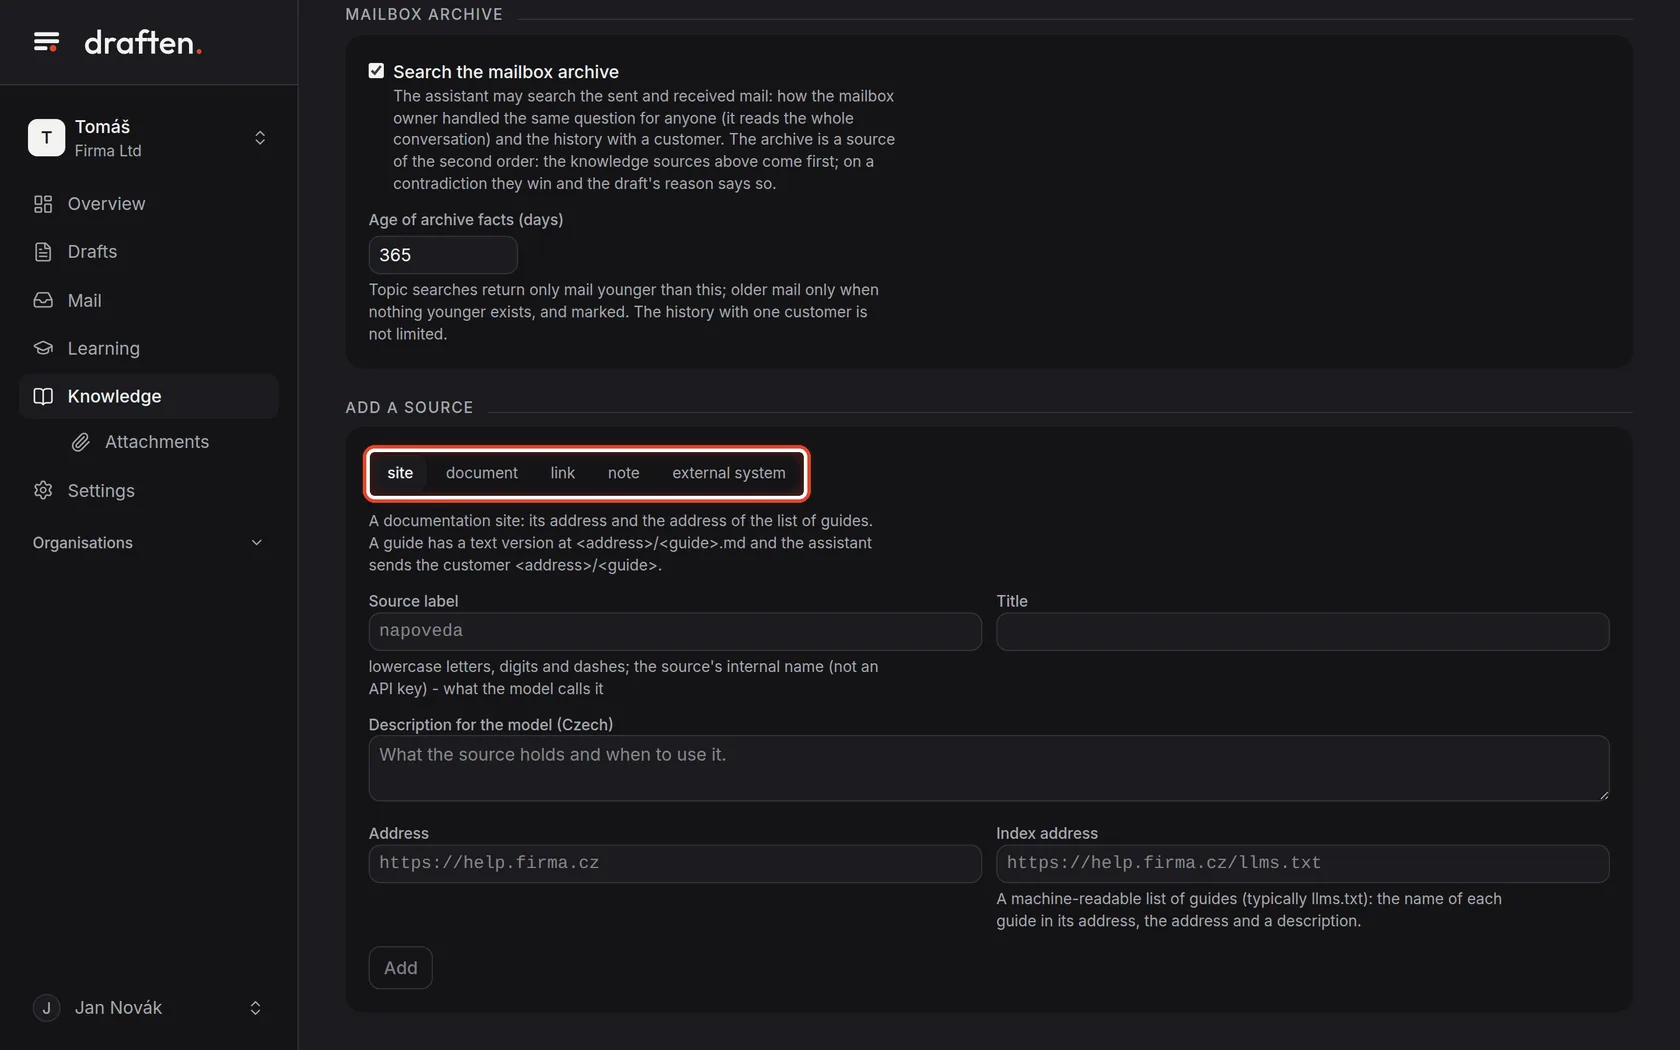
On the screenAt the bottom, the Add a source card with a choice of kinds.
Do thisClick the kind of source you want to add. A short explanation appears under it, with the fields the kind needs.
NoteExternal systems (a CRM, a helpdesk) are described in Connecting a CRM and other systems.
Step 5 of 8
Label and description
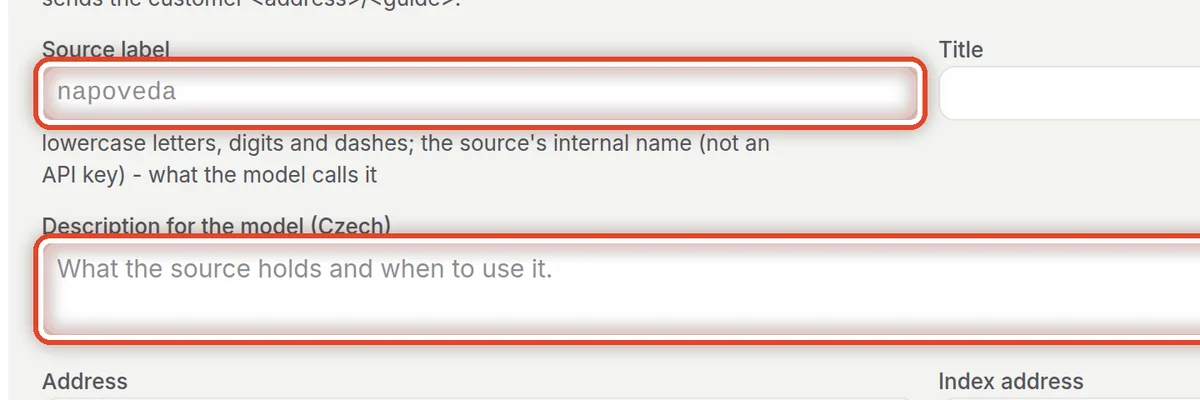
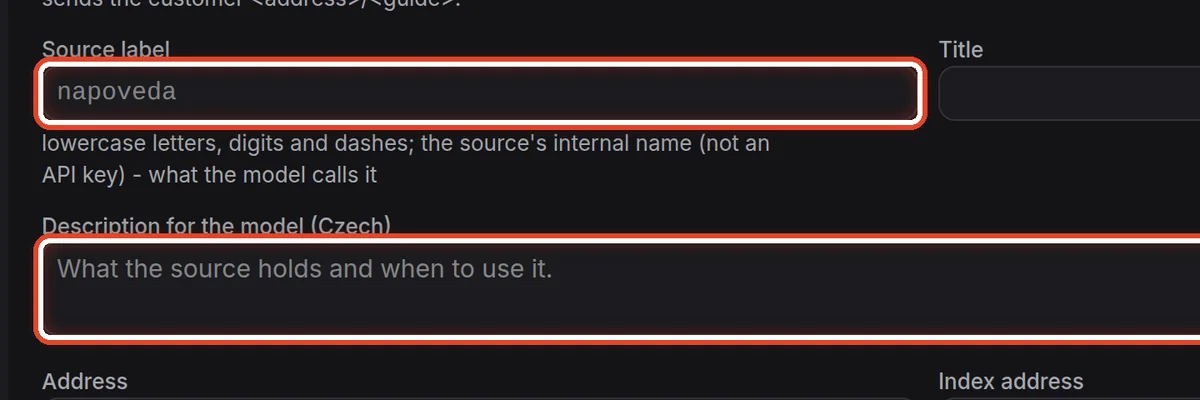
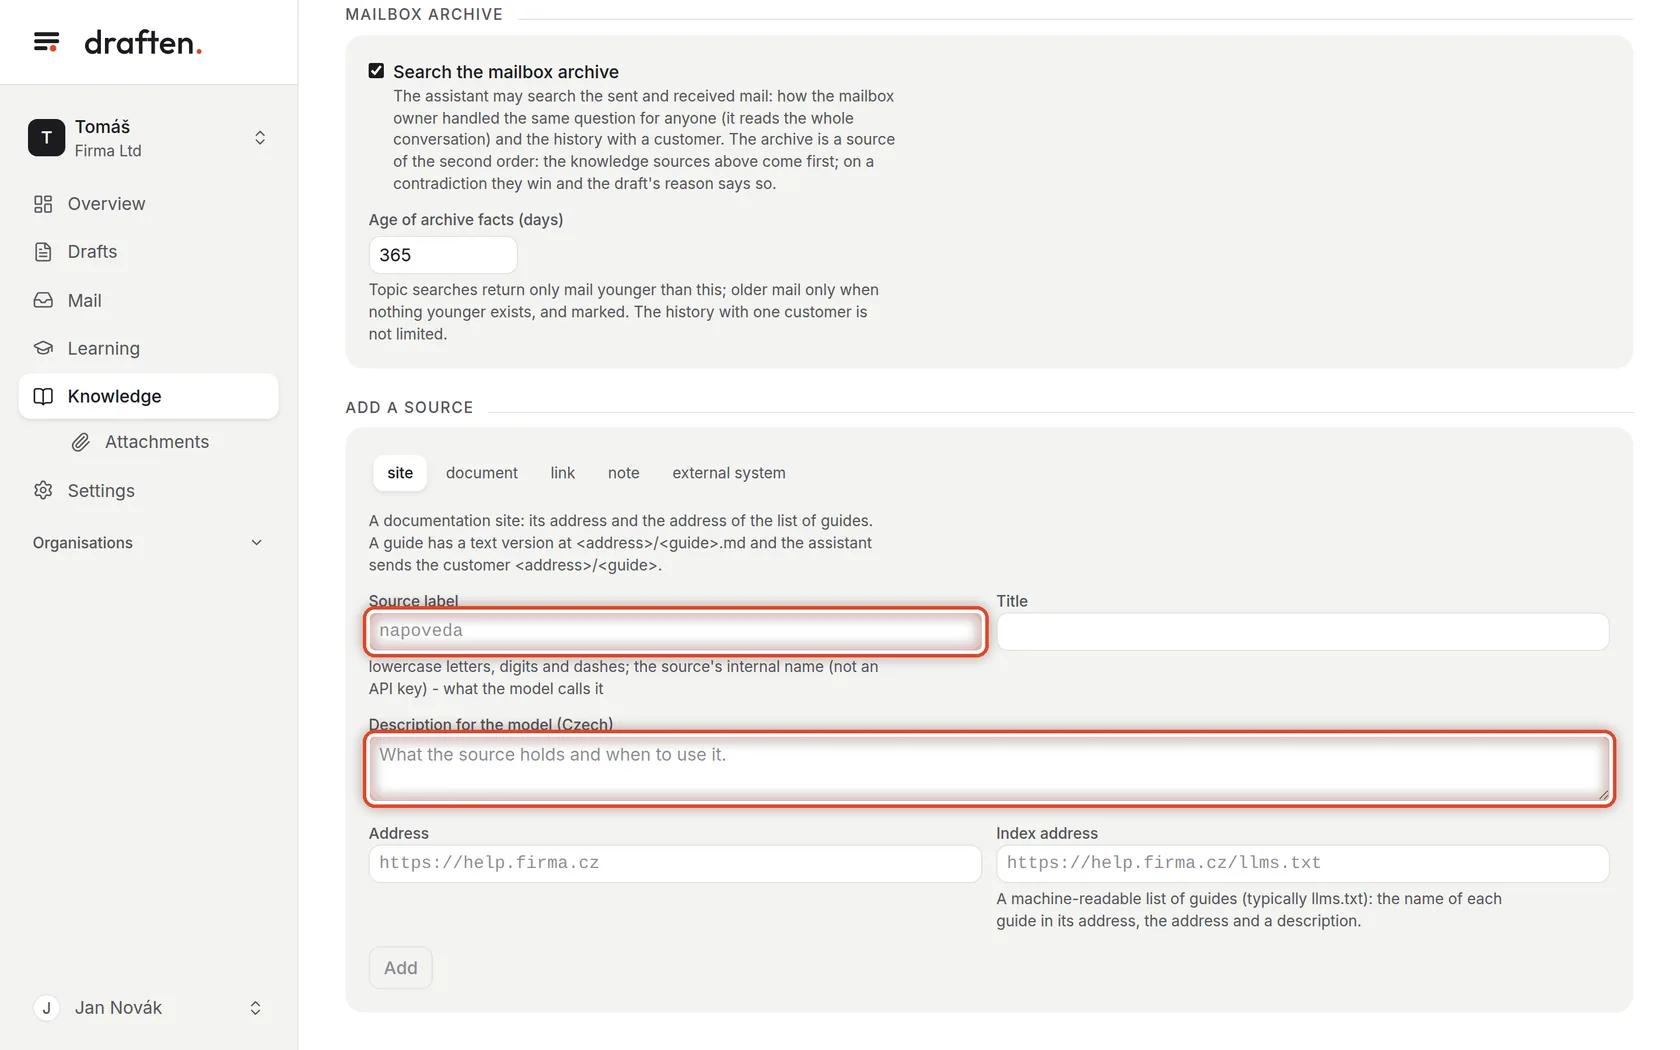
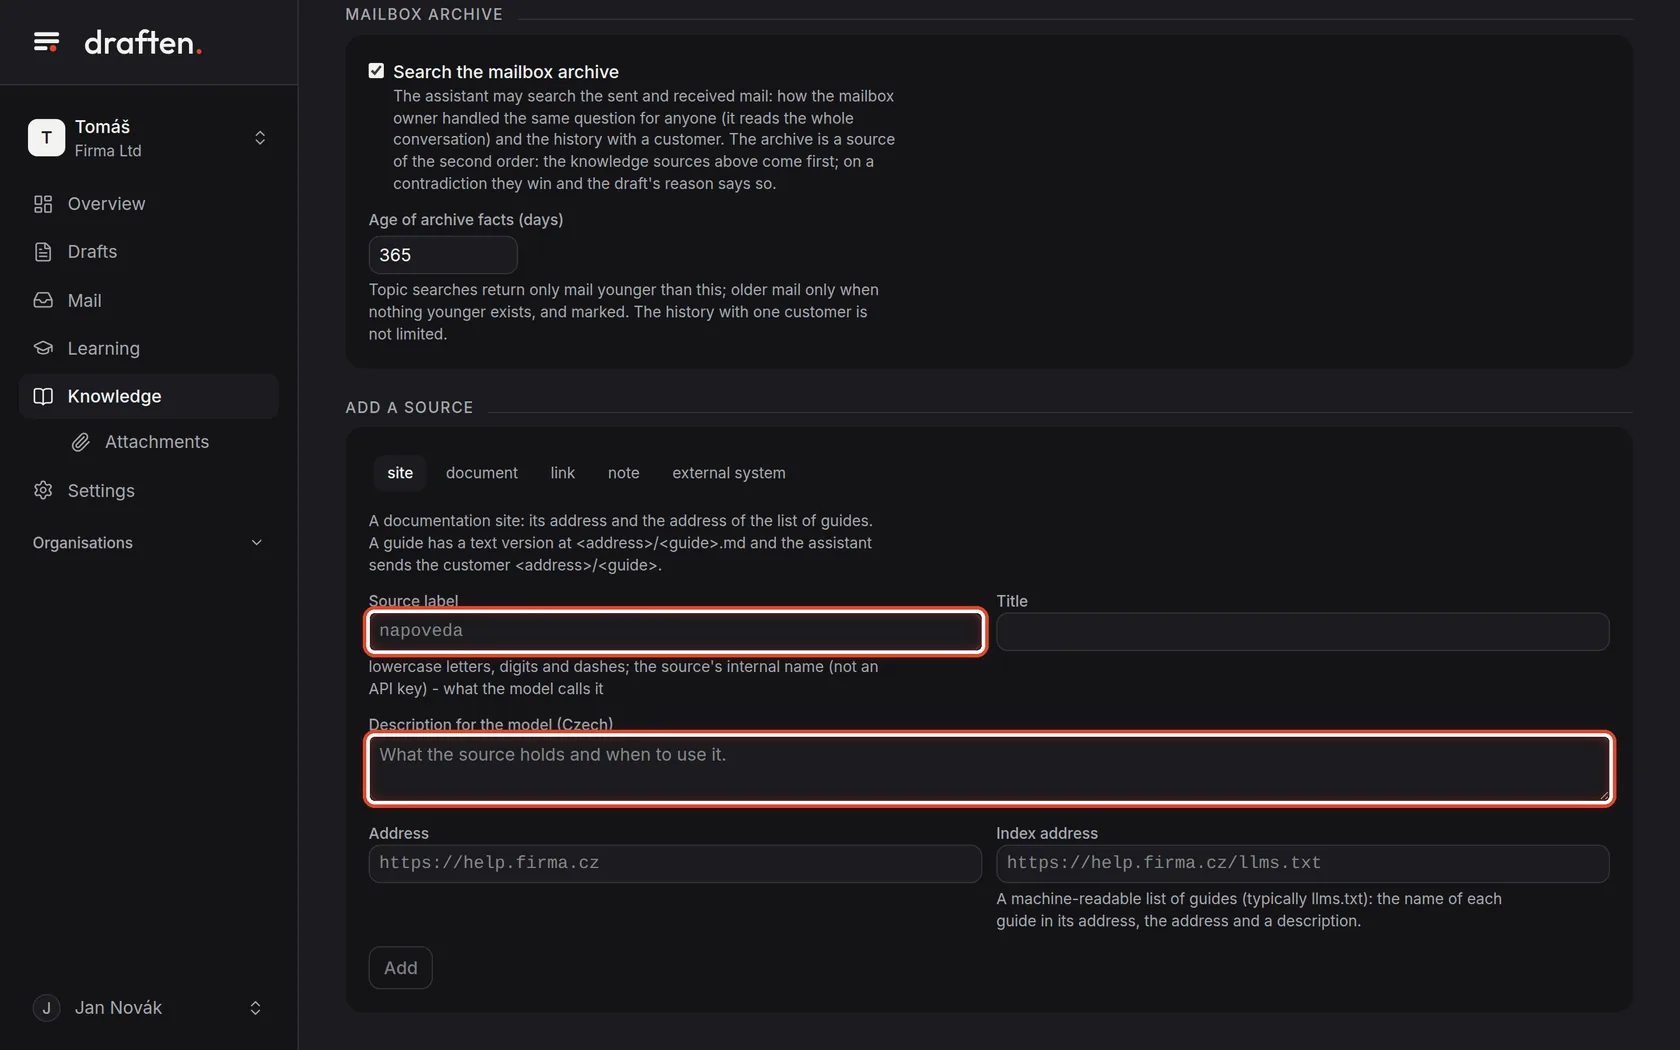
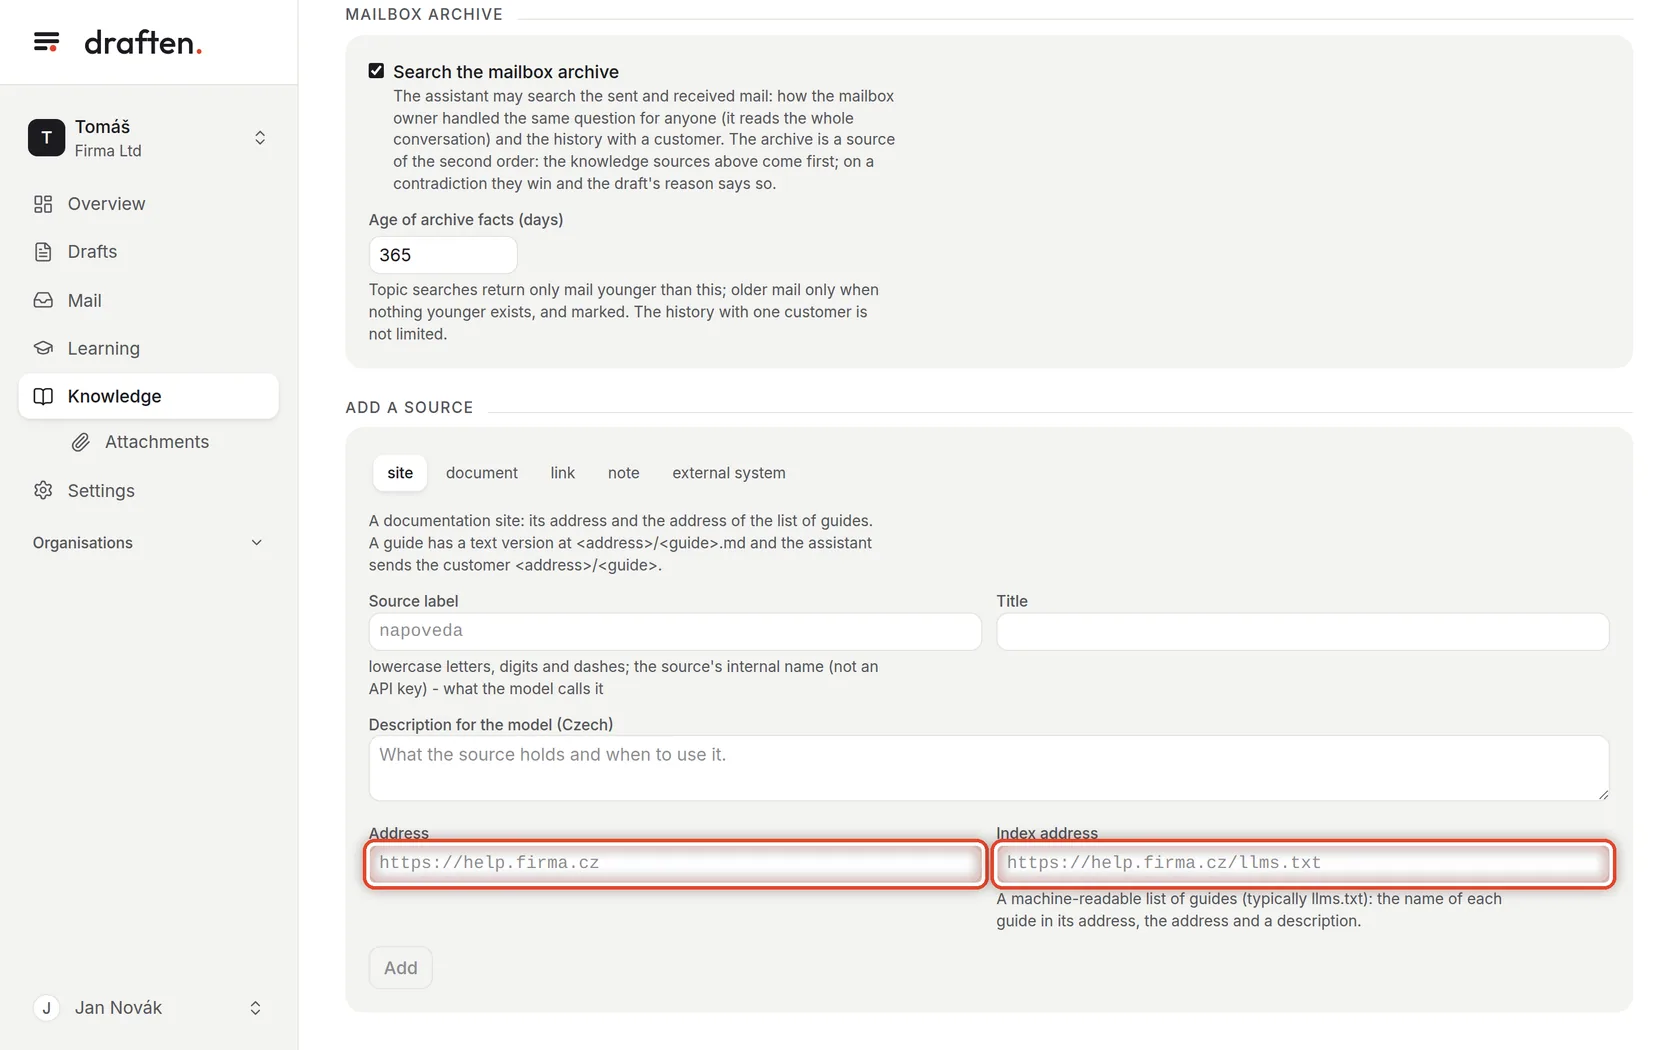
On the screenThe Source label, Title and Description for the model fields.
Do thisThe label is a short name in lowercase with dashes (cenik, say). The title is for you. The description for the model tells the assistant what it finds in the source and when to use it.
Step 6 of 8
Site and link: the address
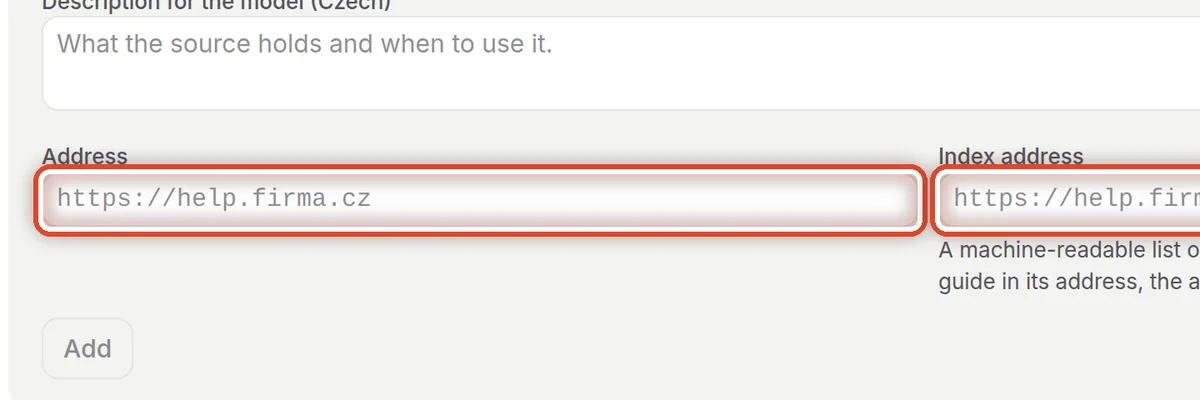
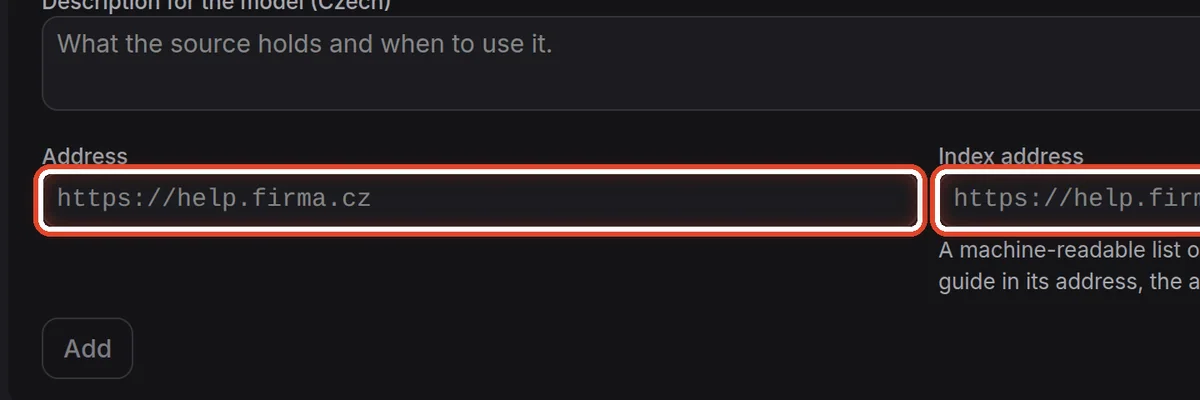
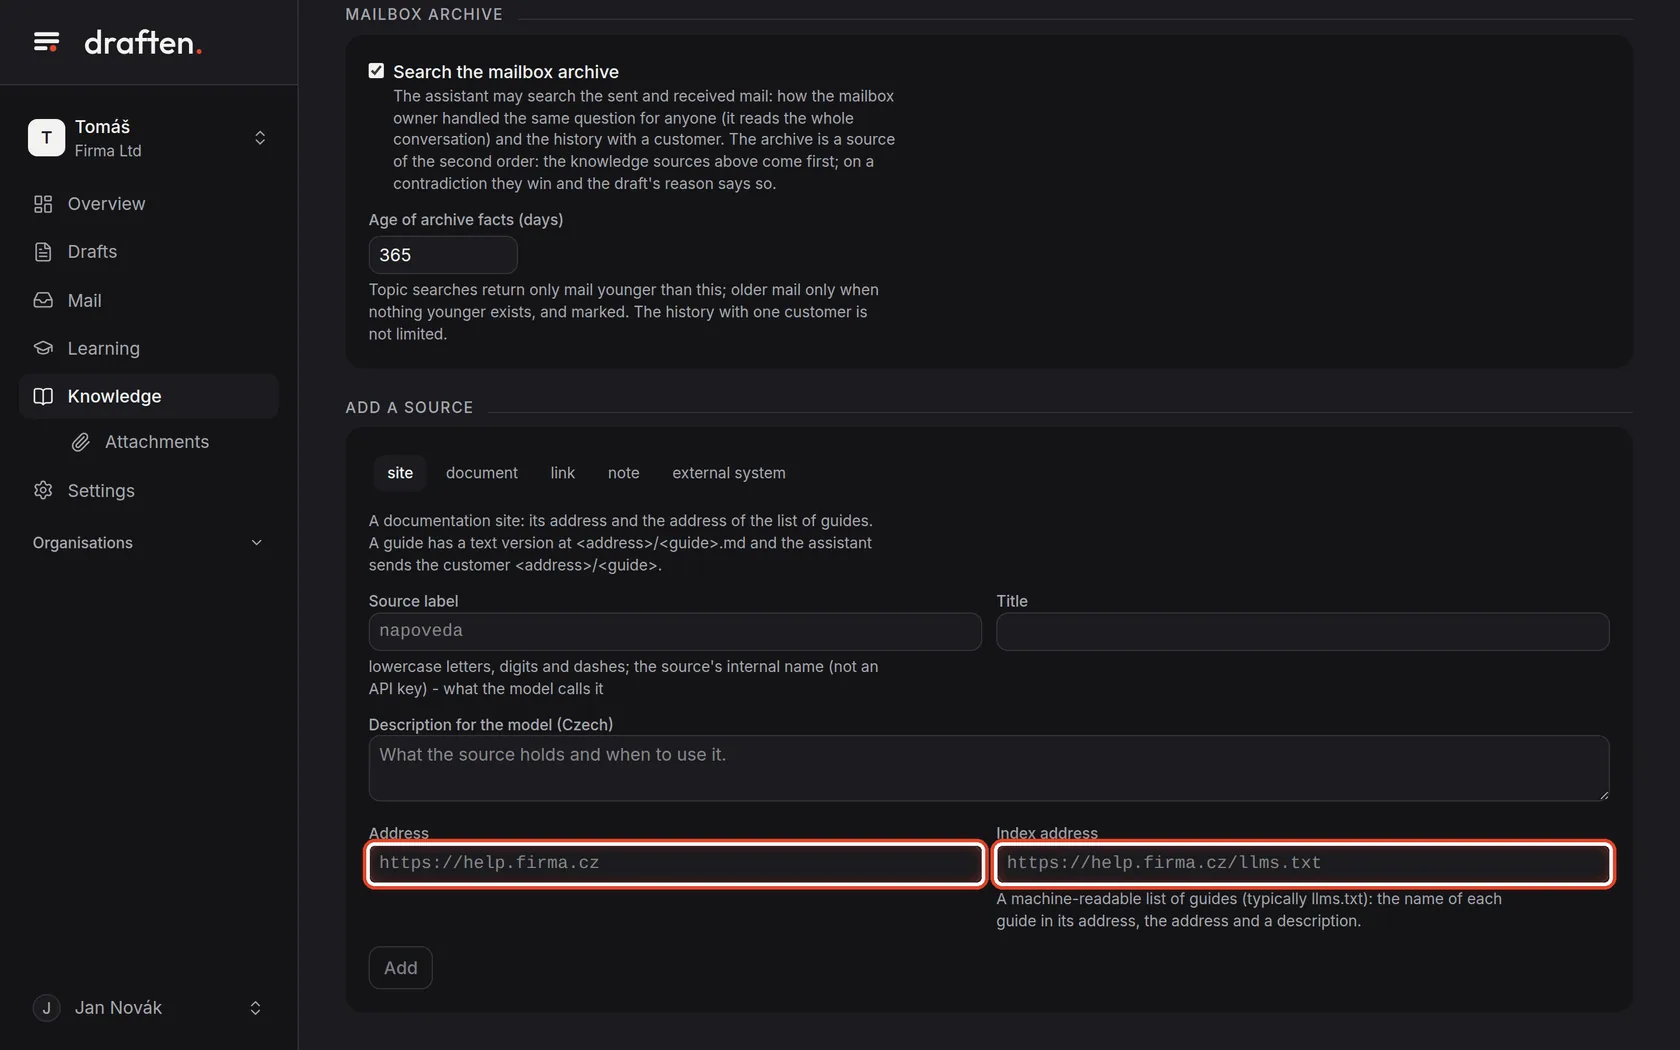
On the screenFor a site, the Address and Index address fields.
Do thisFor a site, fill in the address of the documentation site and of its list of guides (usually ending in llms.txt — ask whoever runs the site). The assistant then reads single guides and sends the customer a link to the right one. For a link, the address of one page is enough. Then click Add.
Step 7 of 8
Note: a short fact
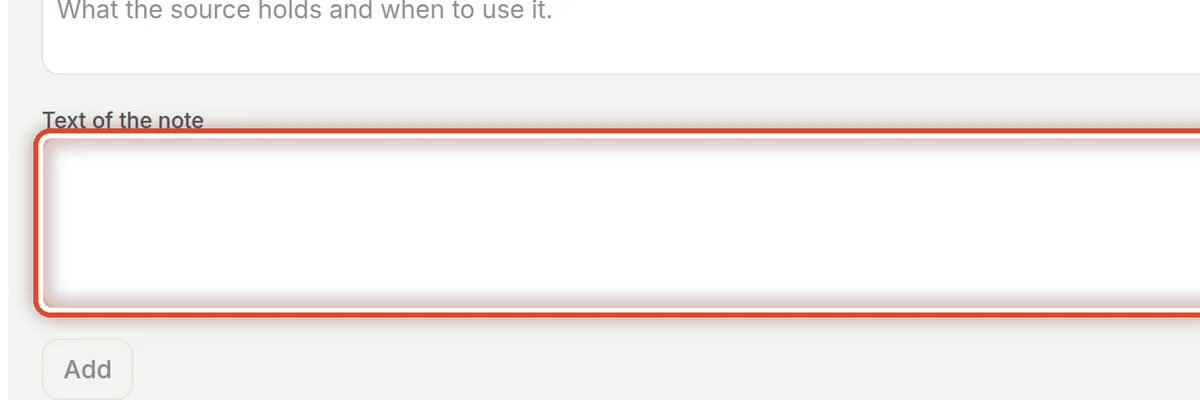
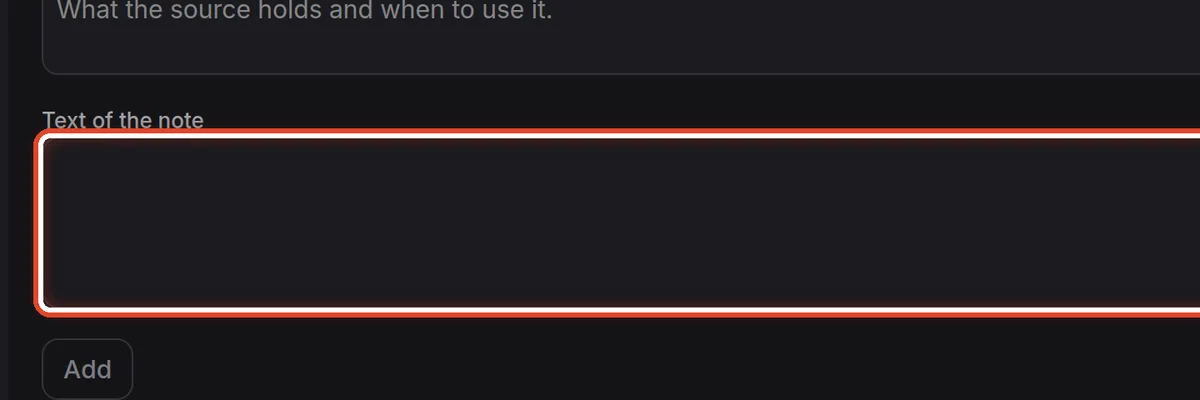
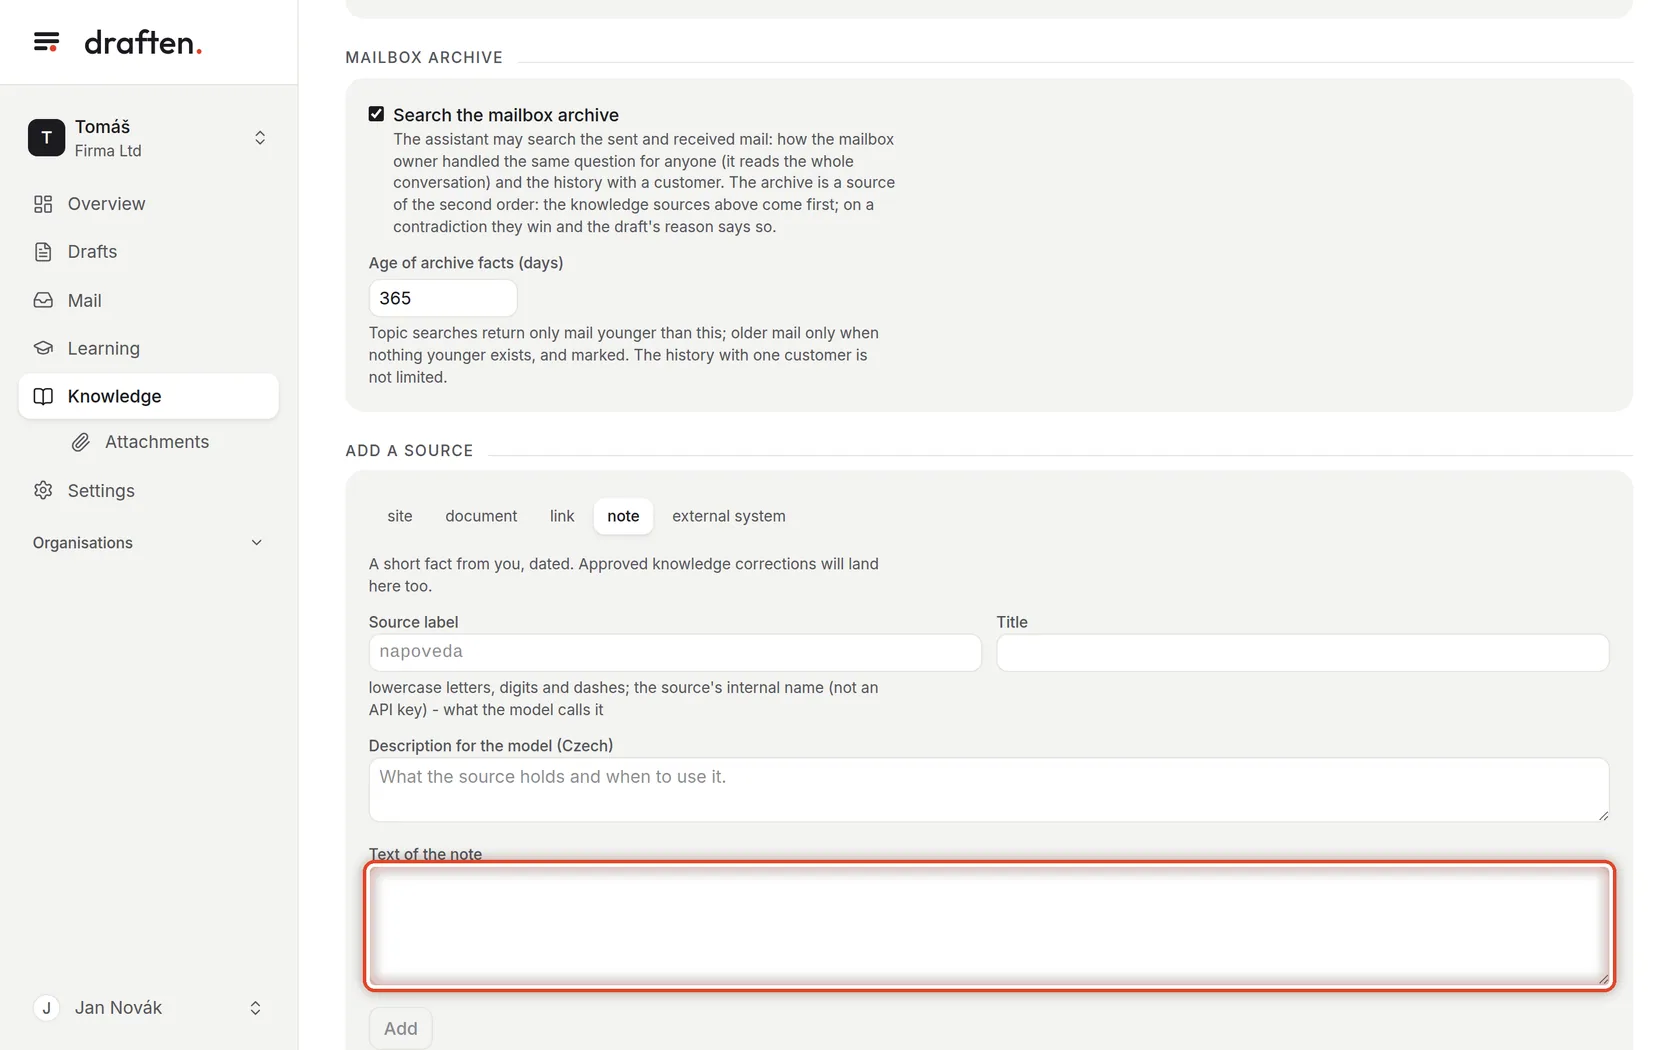
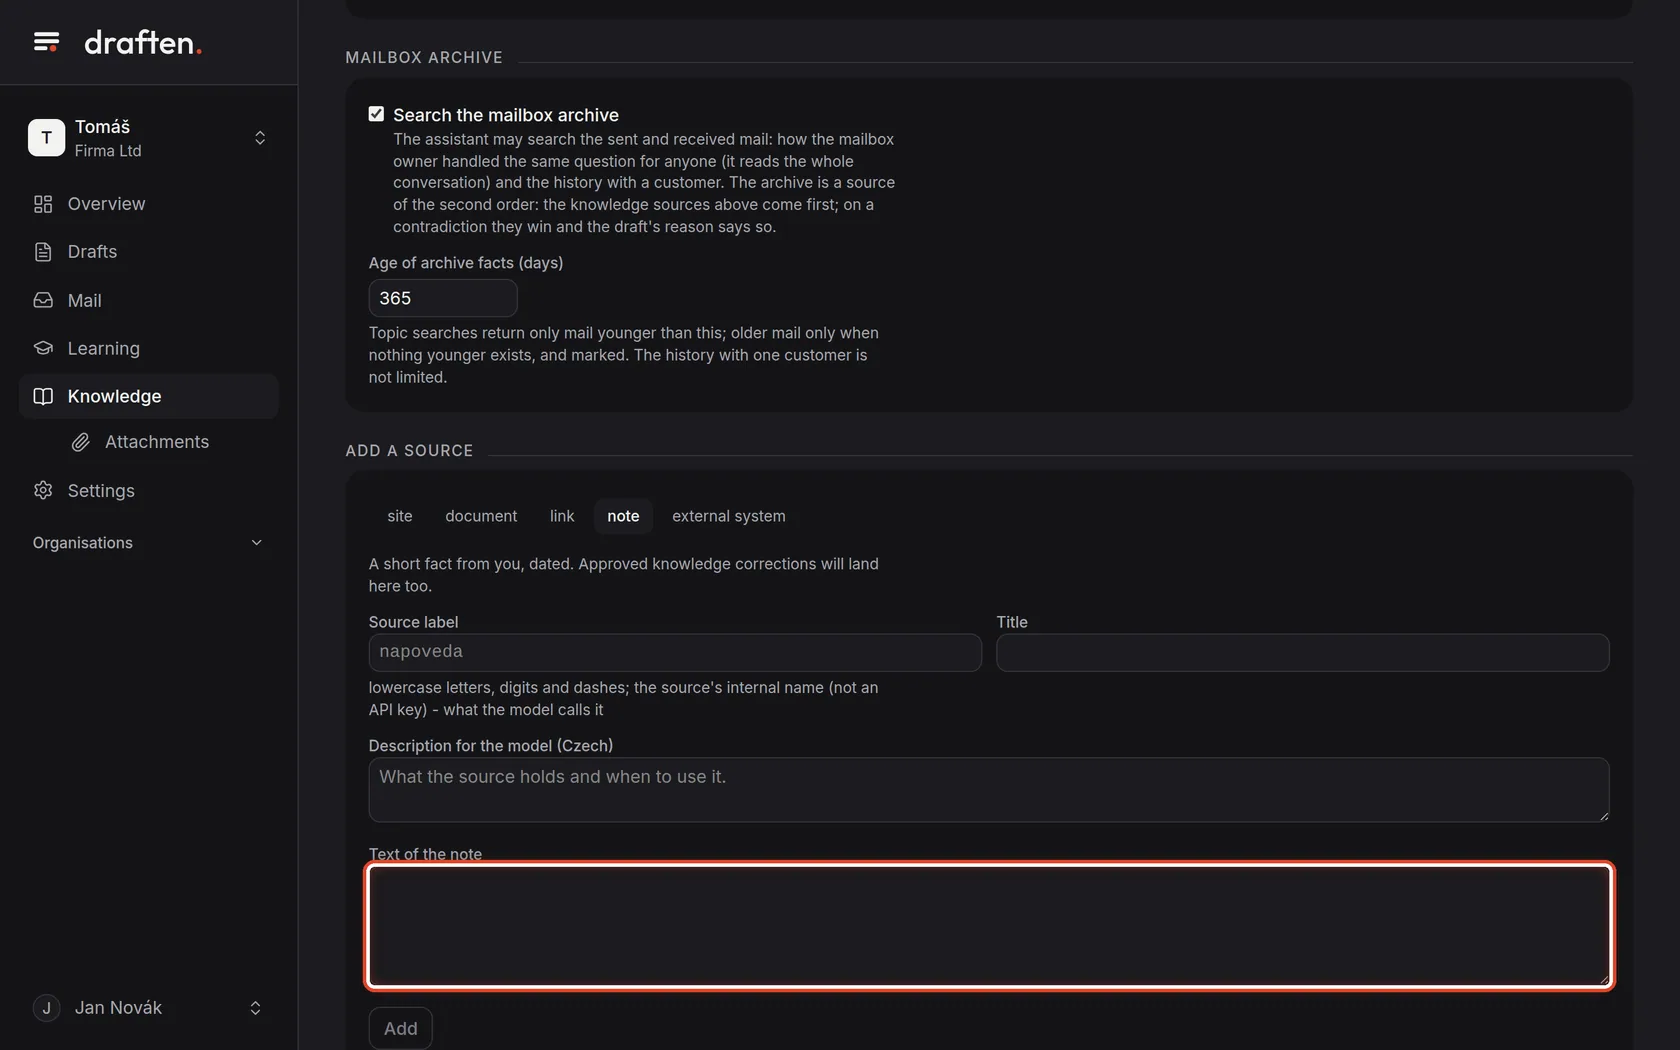
On the screenFor the note kind, the Text of the note field.
Do thisWrite the fact as it should hold — "Invoices are due within 14 days of issue", say. A note holds until you change it.
NoteFact corrections you approve in Learning land here too.
Step 8 of 8
Document: upload a file
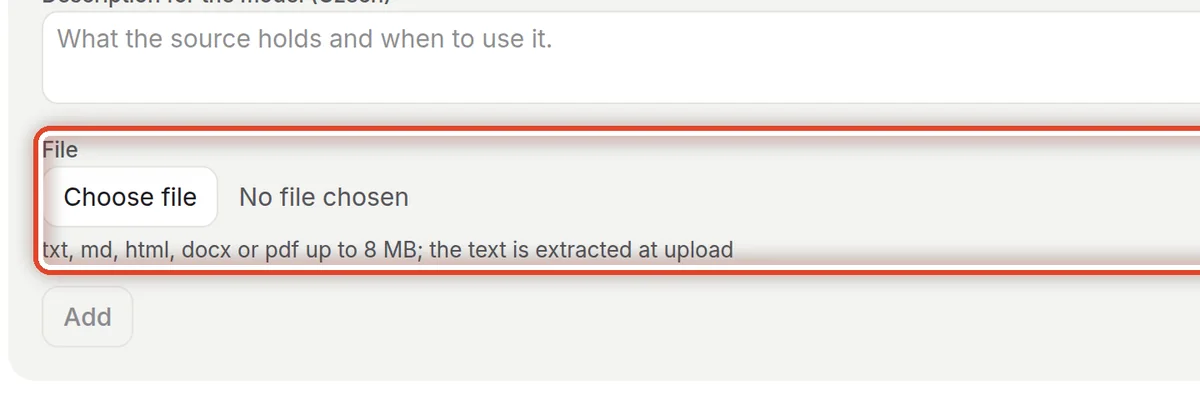
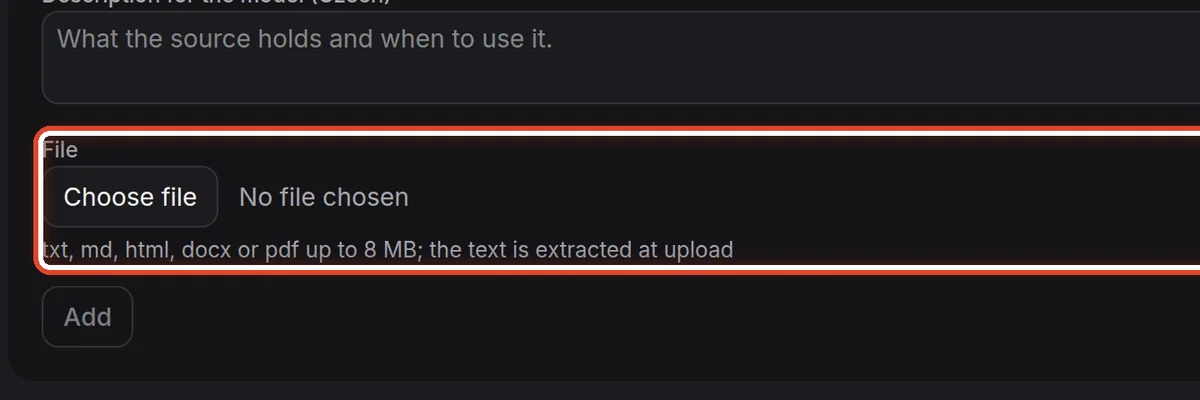
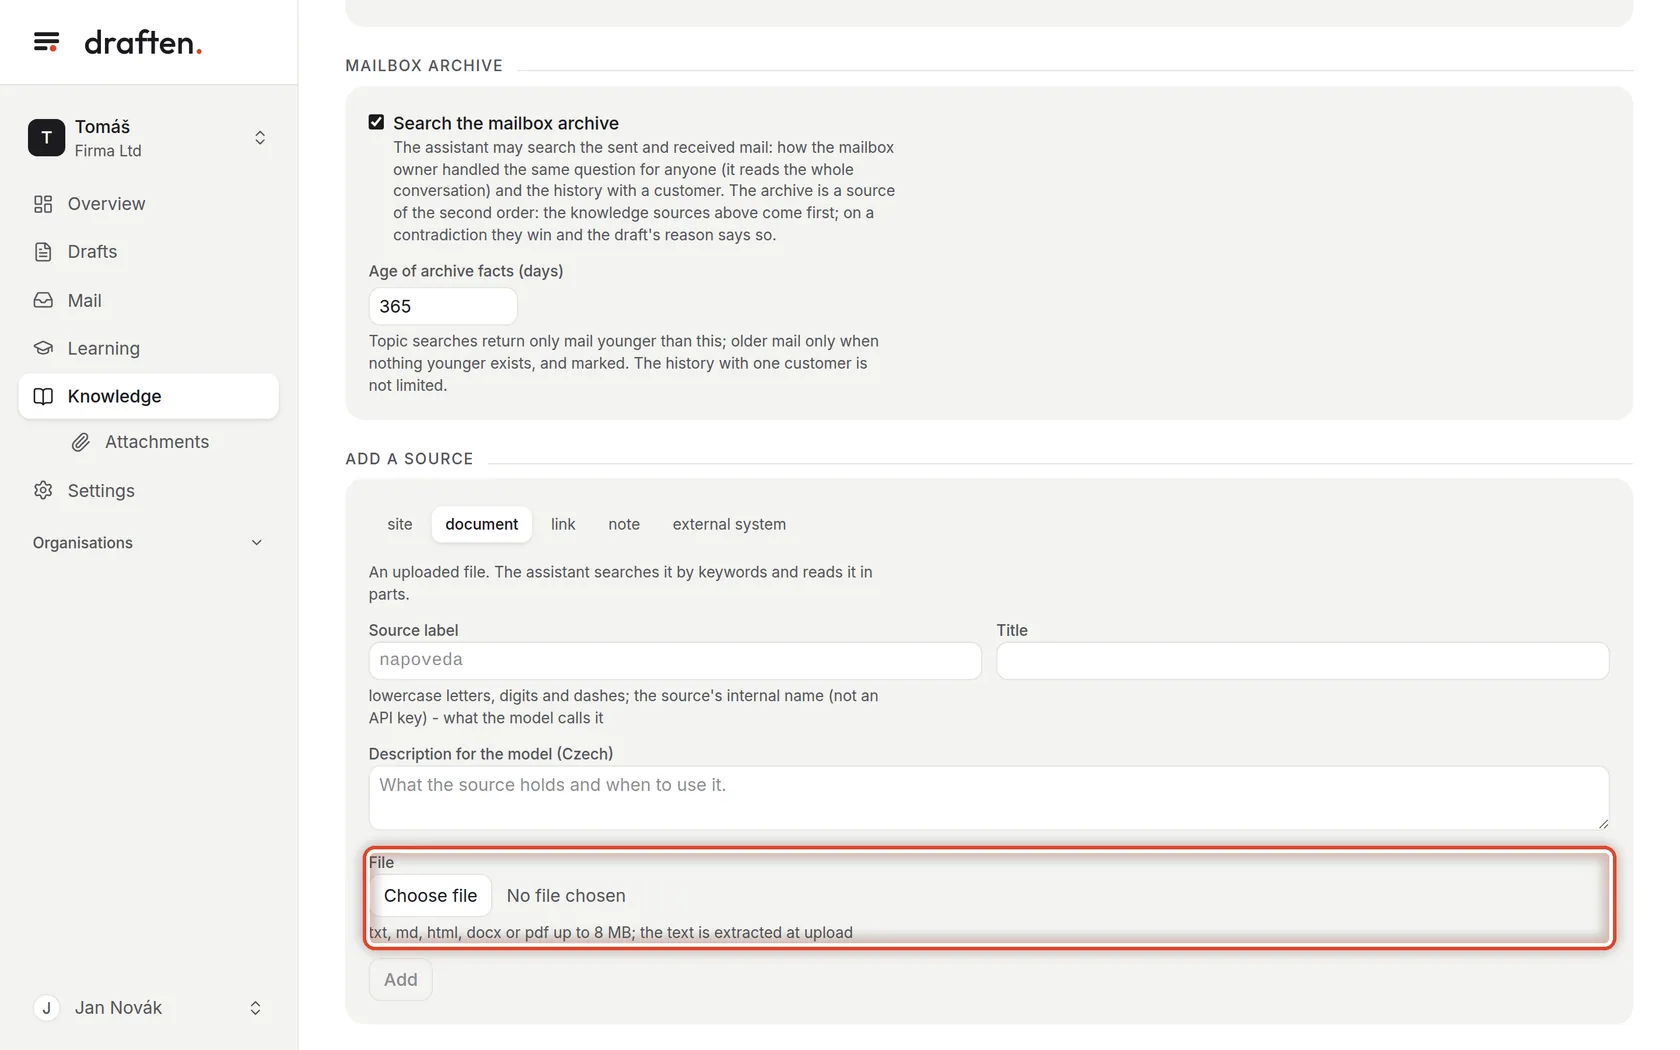
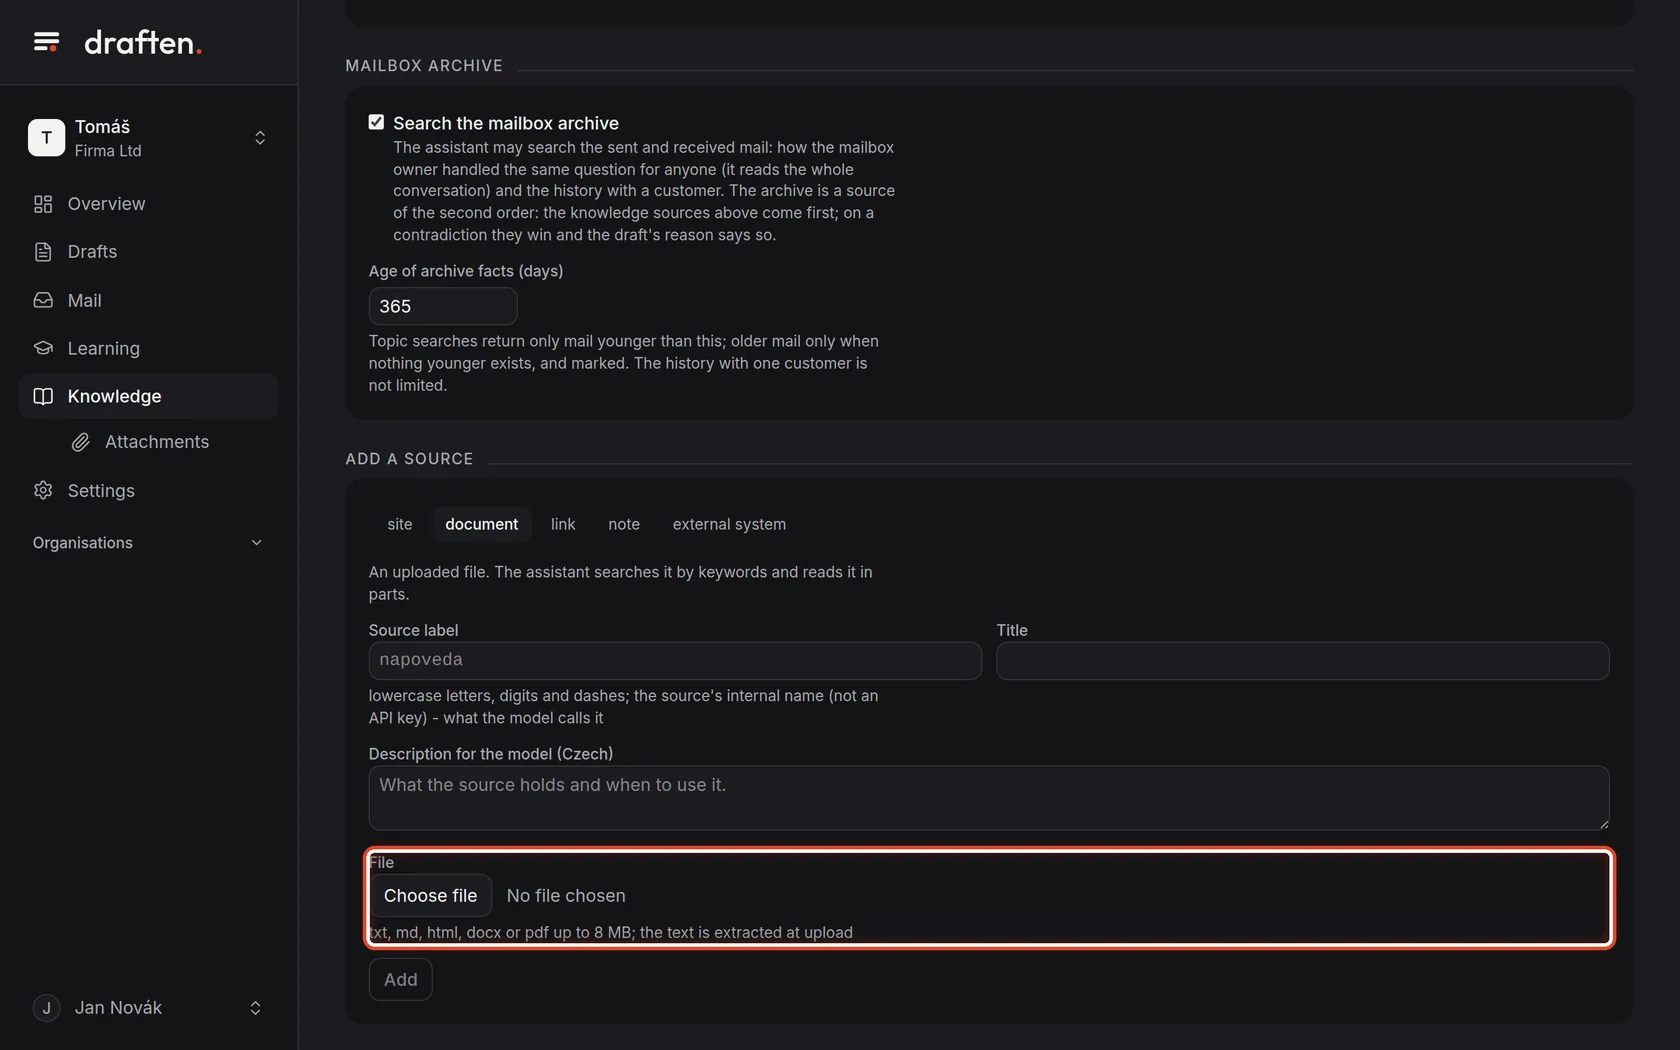
On the screenFor the document kind, the File field.
Do thisChoose a file — txt, md, html, docx or pdf up to 8 MB. Its text is extracted right at upload, and the assistant then searches it.
The end
The assistant knows where to look
When a draft gets something wrong, fix the source above all — not just the draft.
- Old mail as a sourceThe assistant can search your sent mail too; see The mailbox archive.
- Attachments for draftsFiles the assistant may attach to a draft are in Knowledge → Attachments.