Guide
A new organisation
and its first people.
In draften, an organisation is a company's shared space: mailboxes, assistants, people, keys and settings. You found it from a founding link, become its owner and invite your colleagues.
Before you start
- An invitation to foundAn e-mail from the draften operator with a founding link (valid for 7 days). On your own installation, whoever runs draften sends it.
- Your colleagues' e-mailsMembers are added by their work e-mail.
Step 1 of 8
Open the founding link
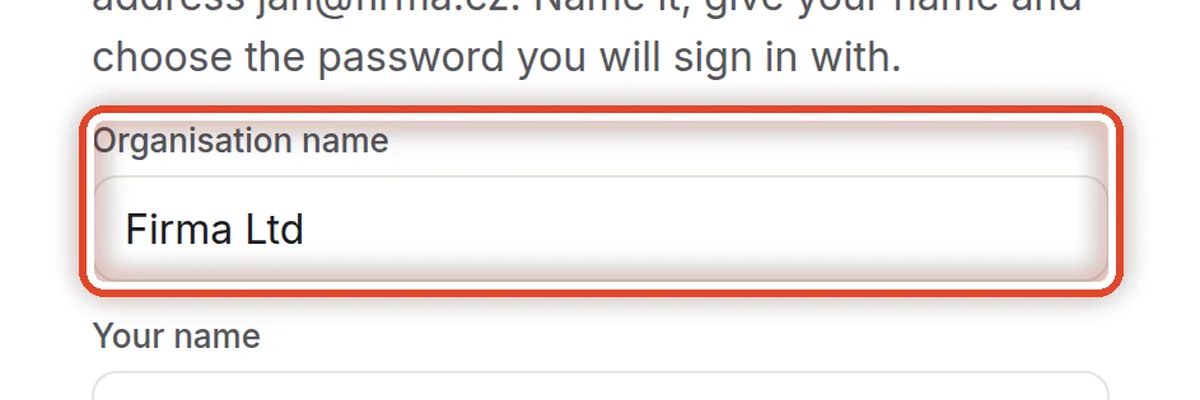
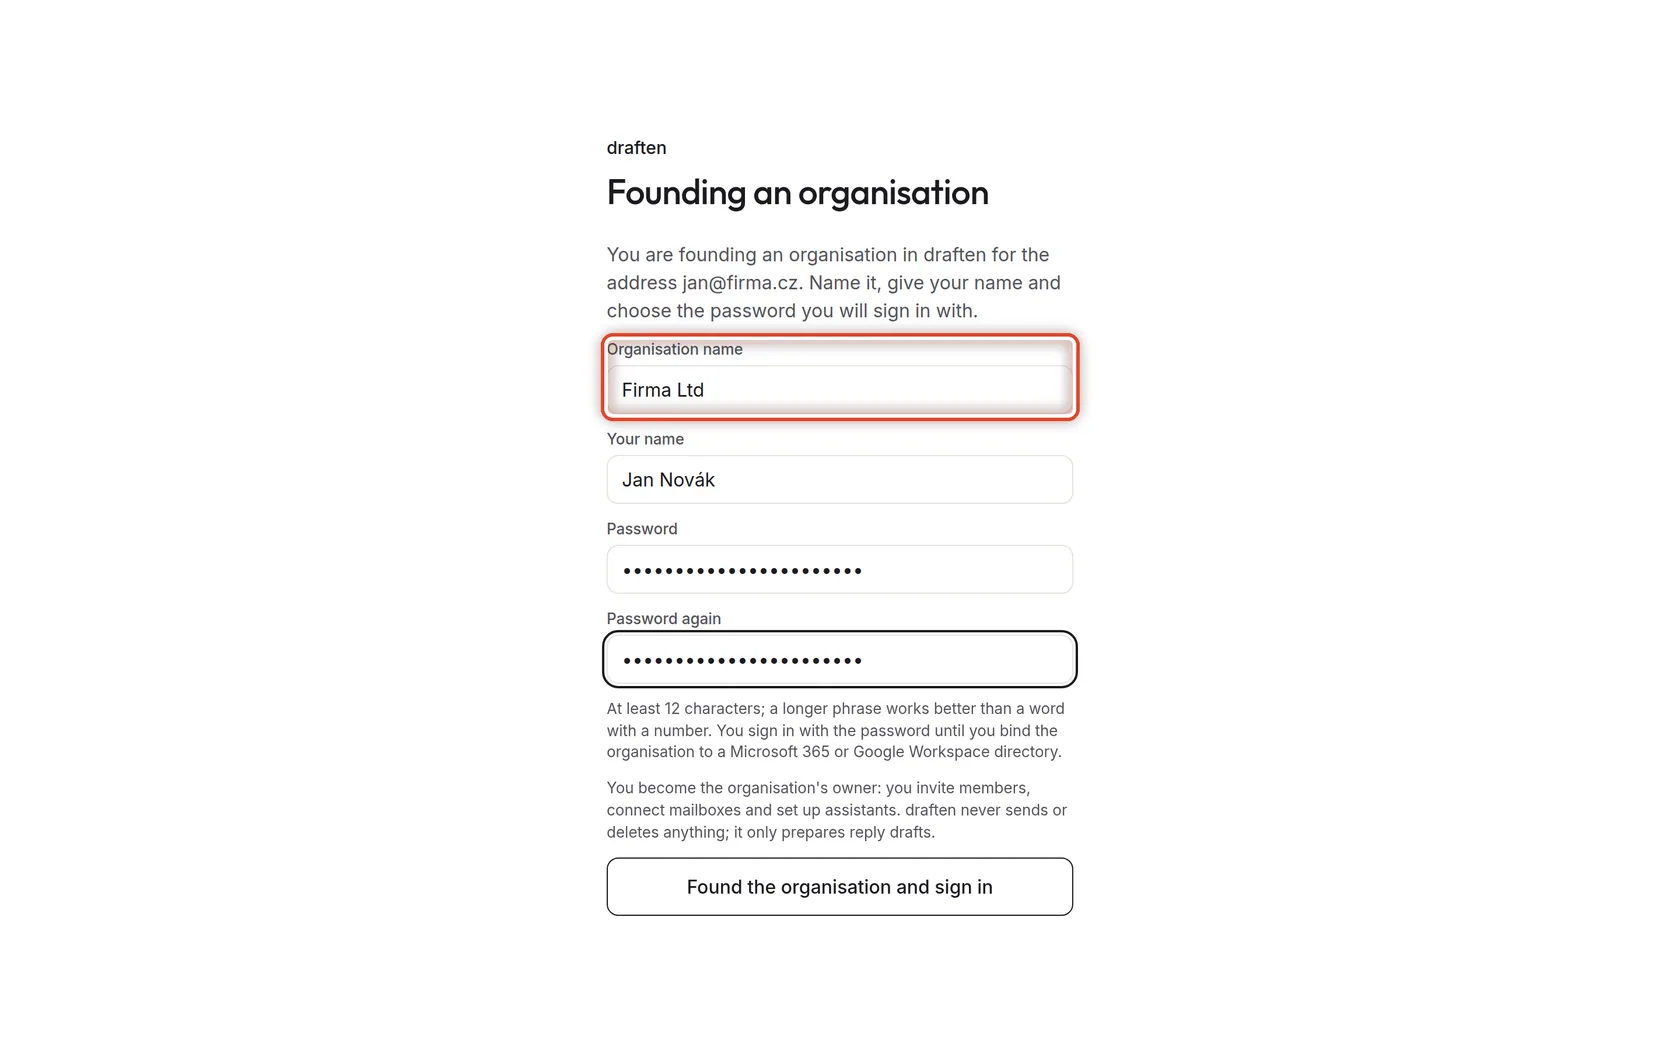
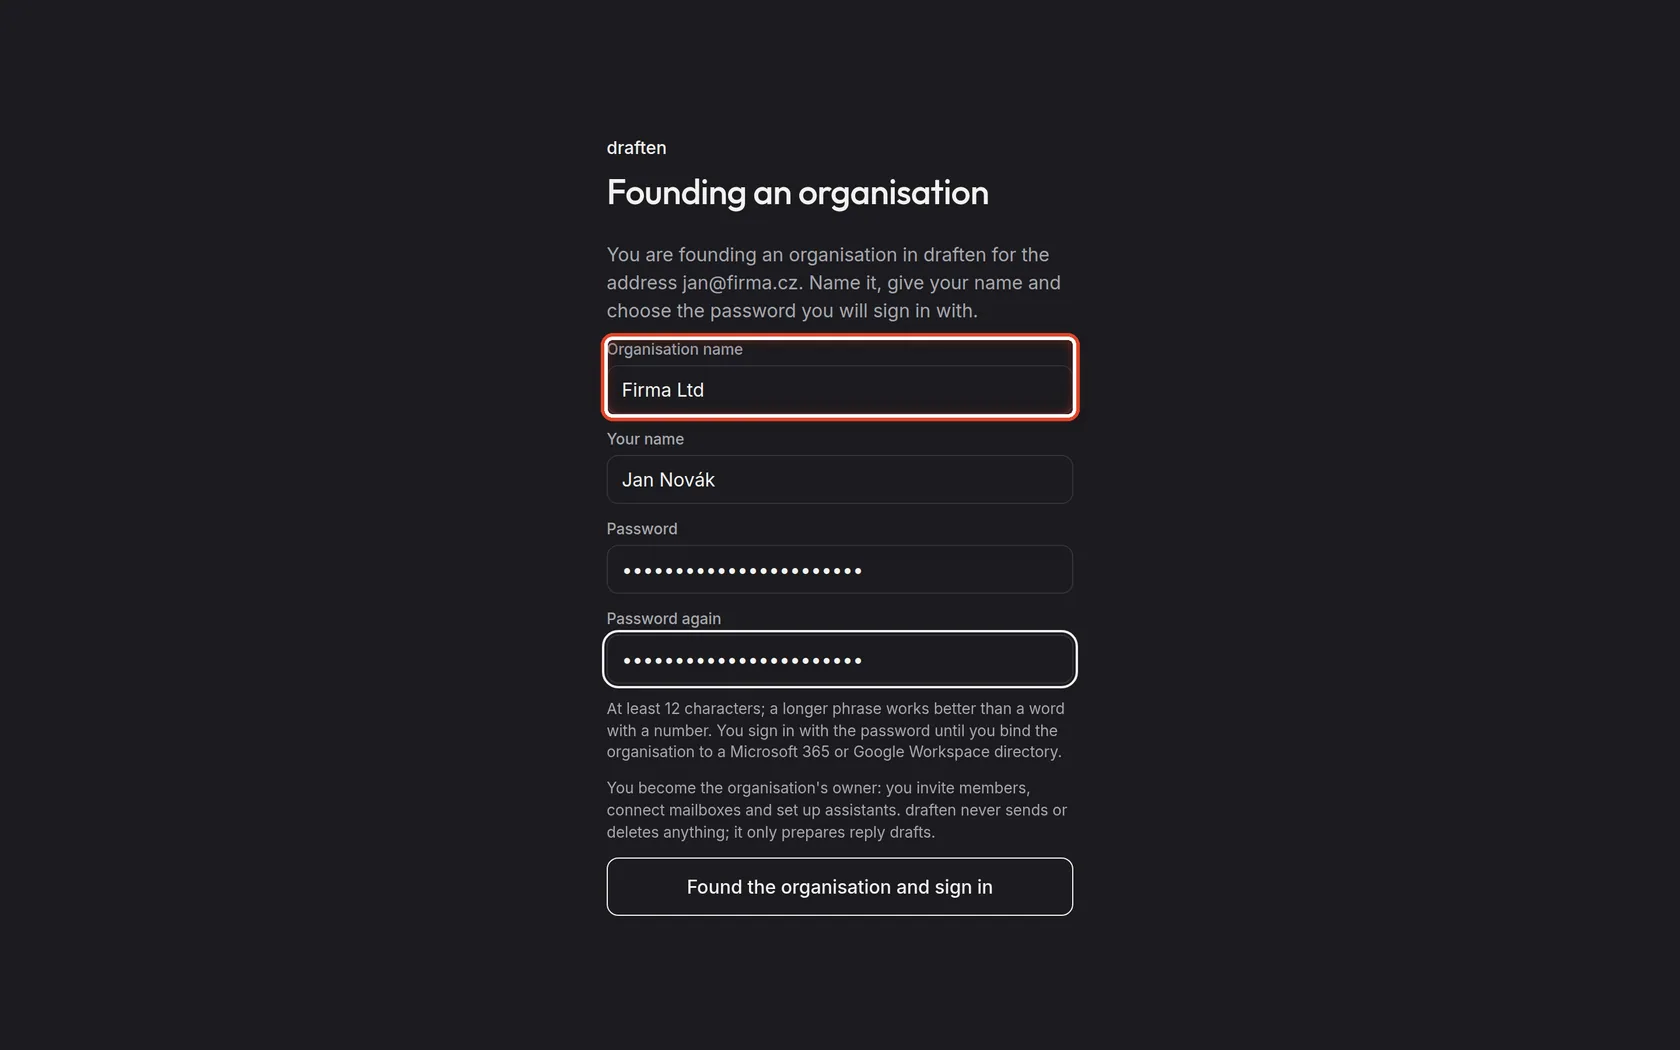
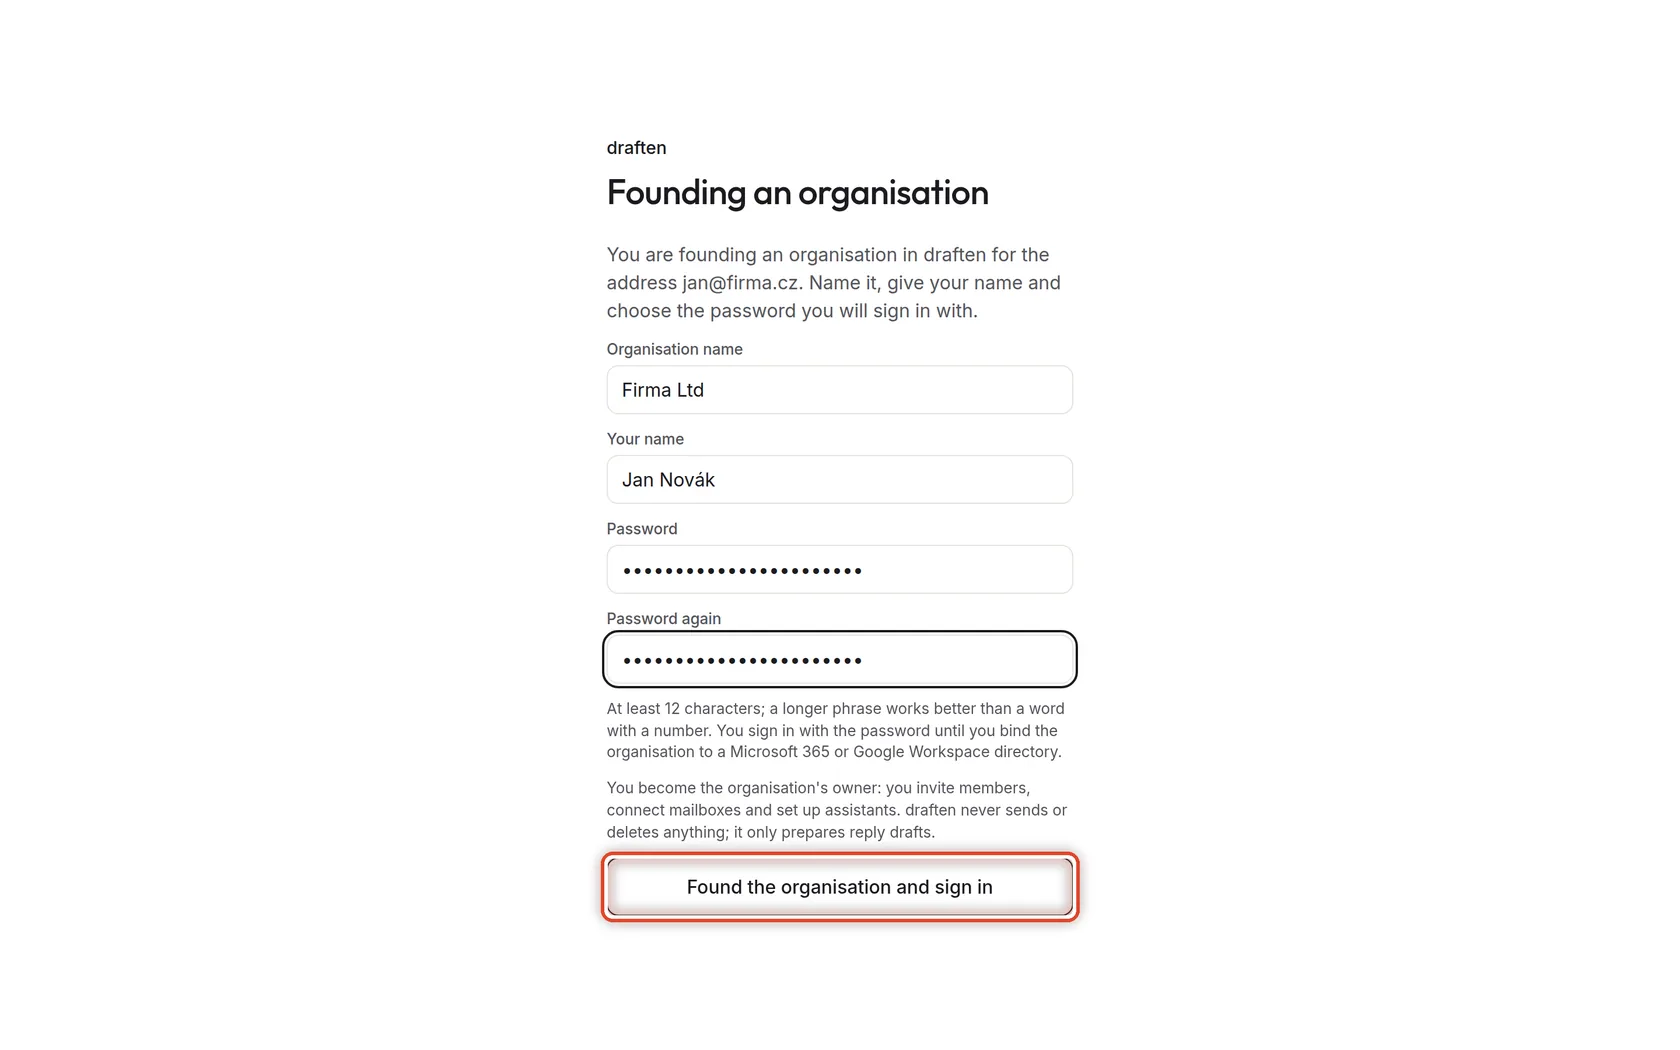
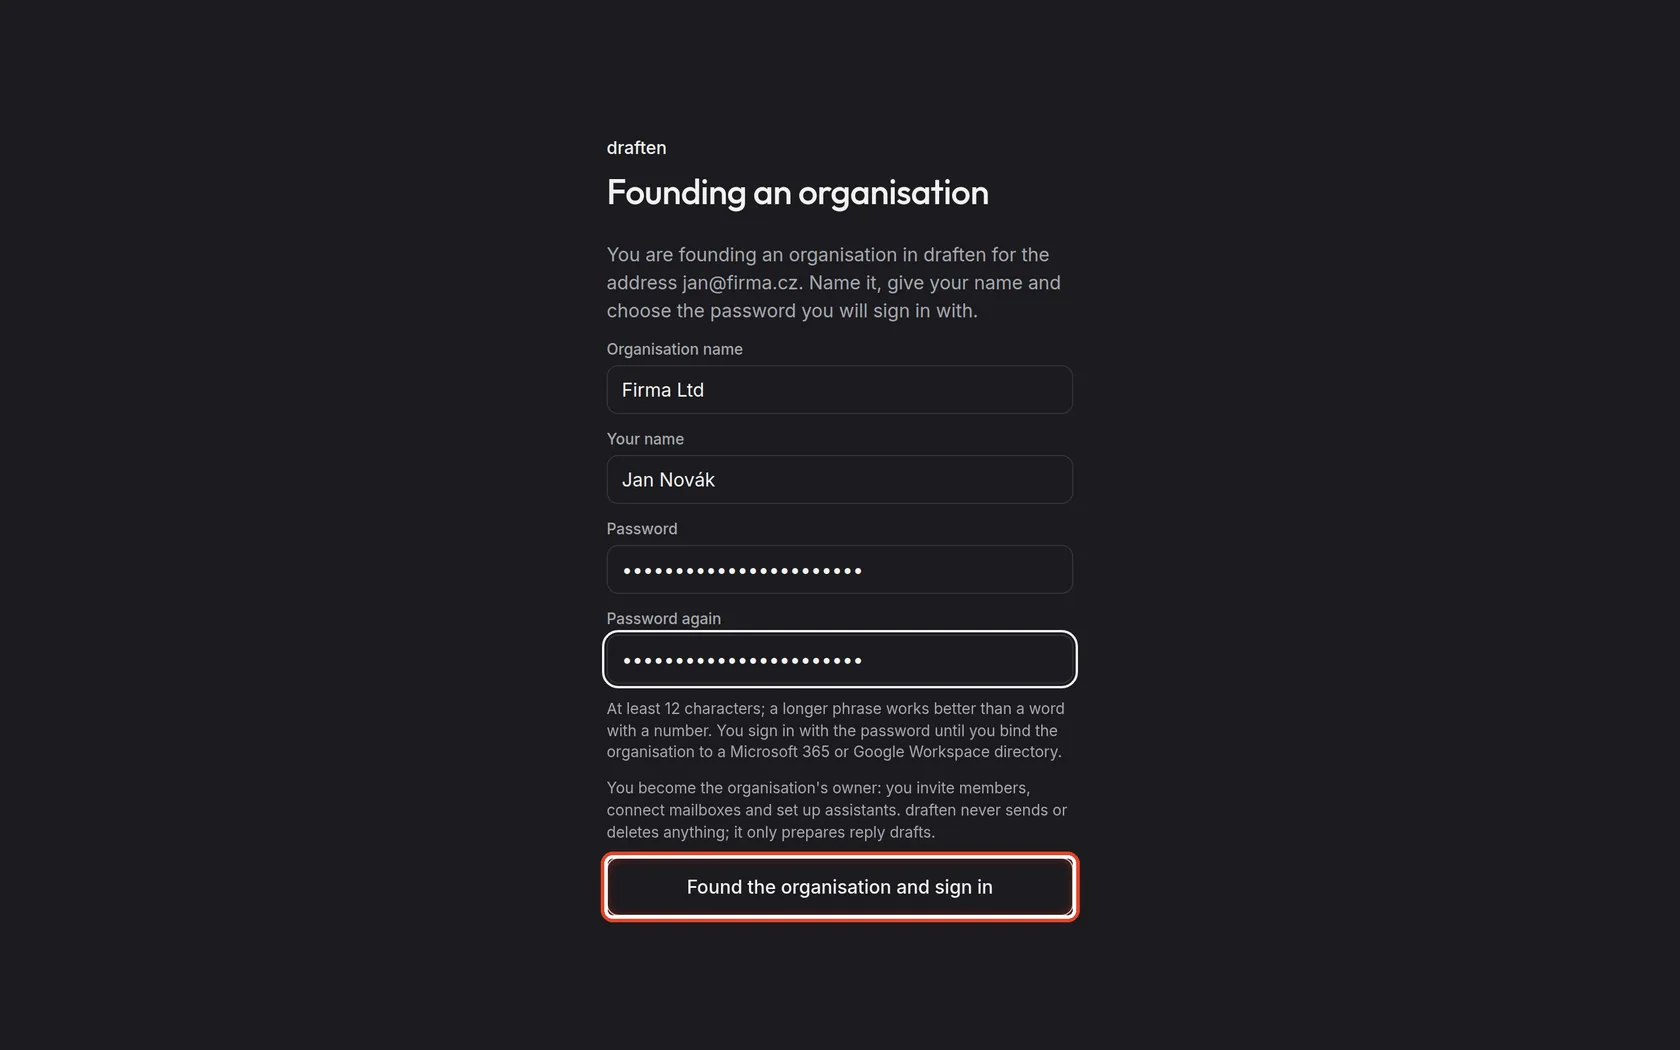
On the screenThe Founding an organisation page from the link in the e-mail.
Do thisAn organisation is founded by whoever the draften operator sent an invitation to found. The link in the e-mail is valid for 7 days and works once. The organisation name is usually filled in; check it.
NoteWhen the link has expired or was used, ask the operator for a new one — that invalidates the old.
Step 2 of 8
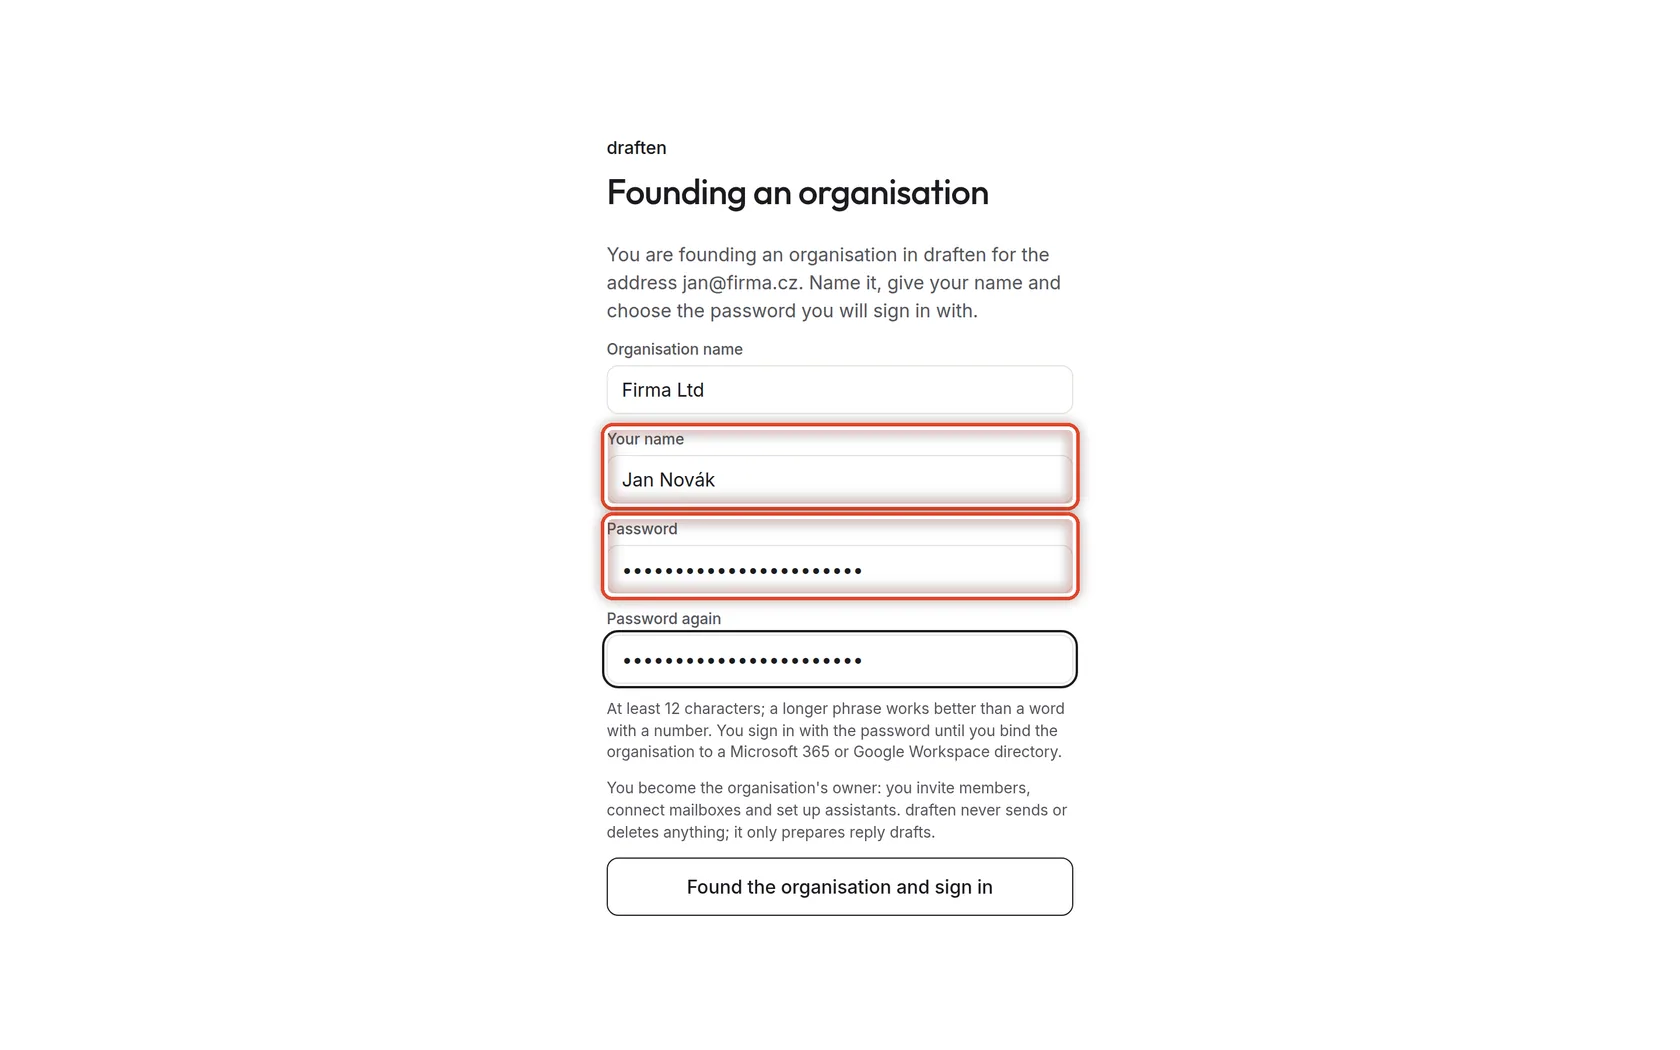
Your name and password
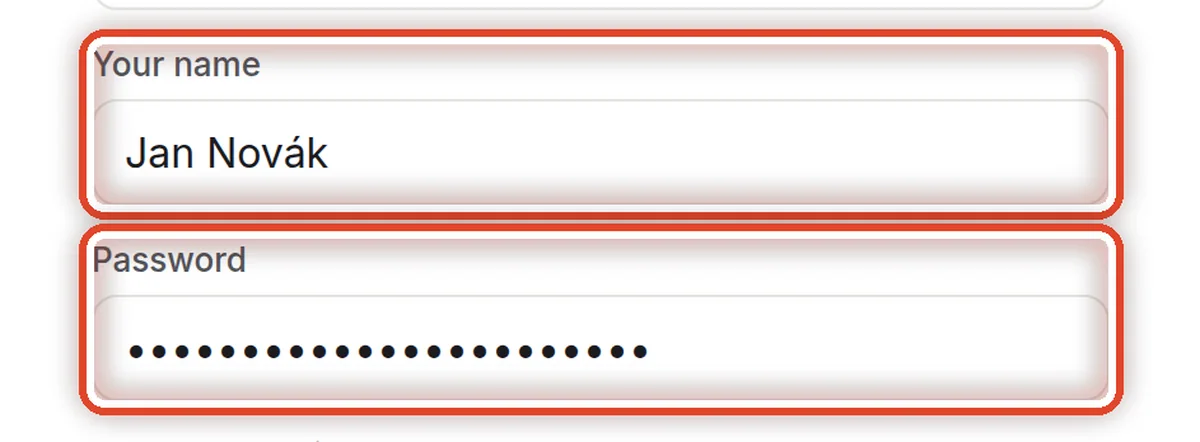
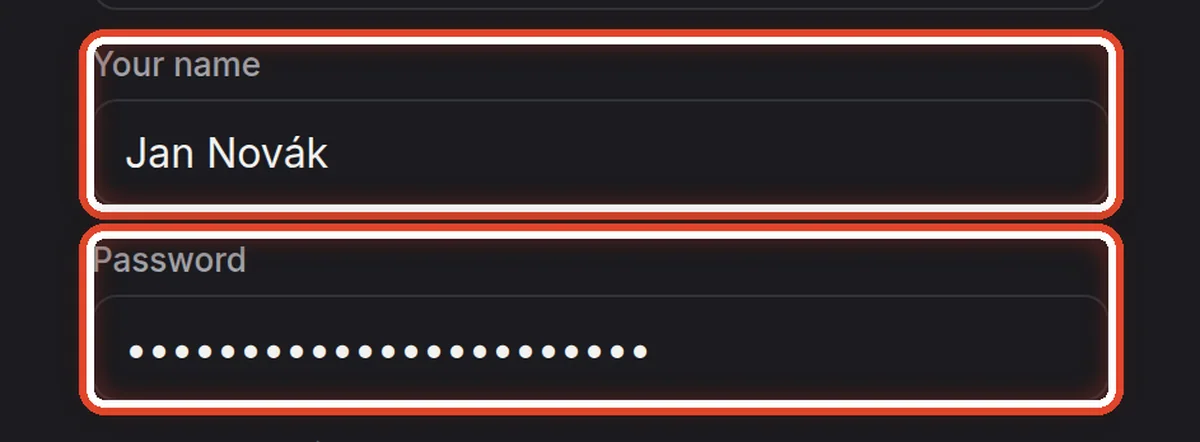
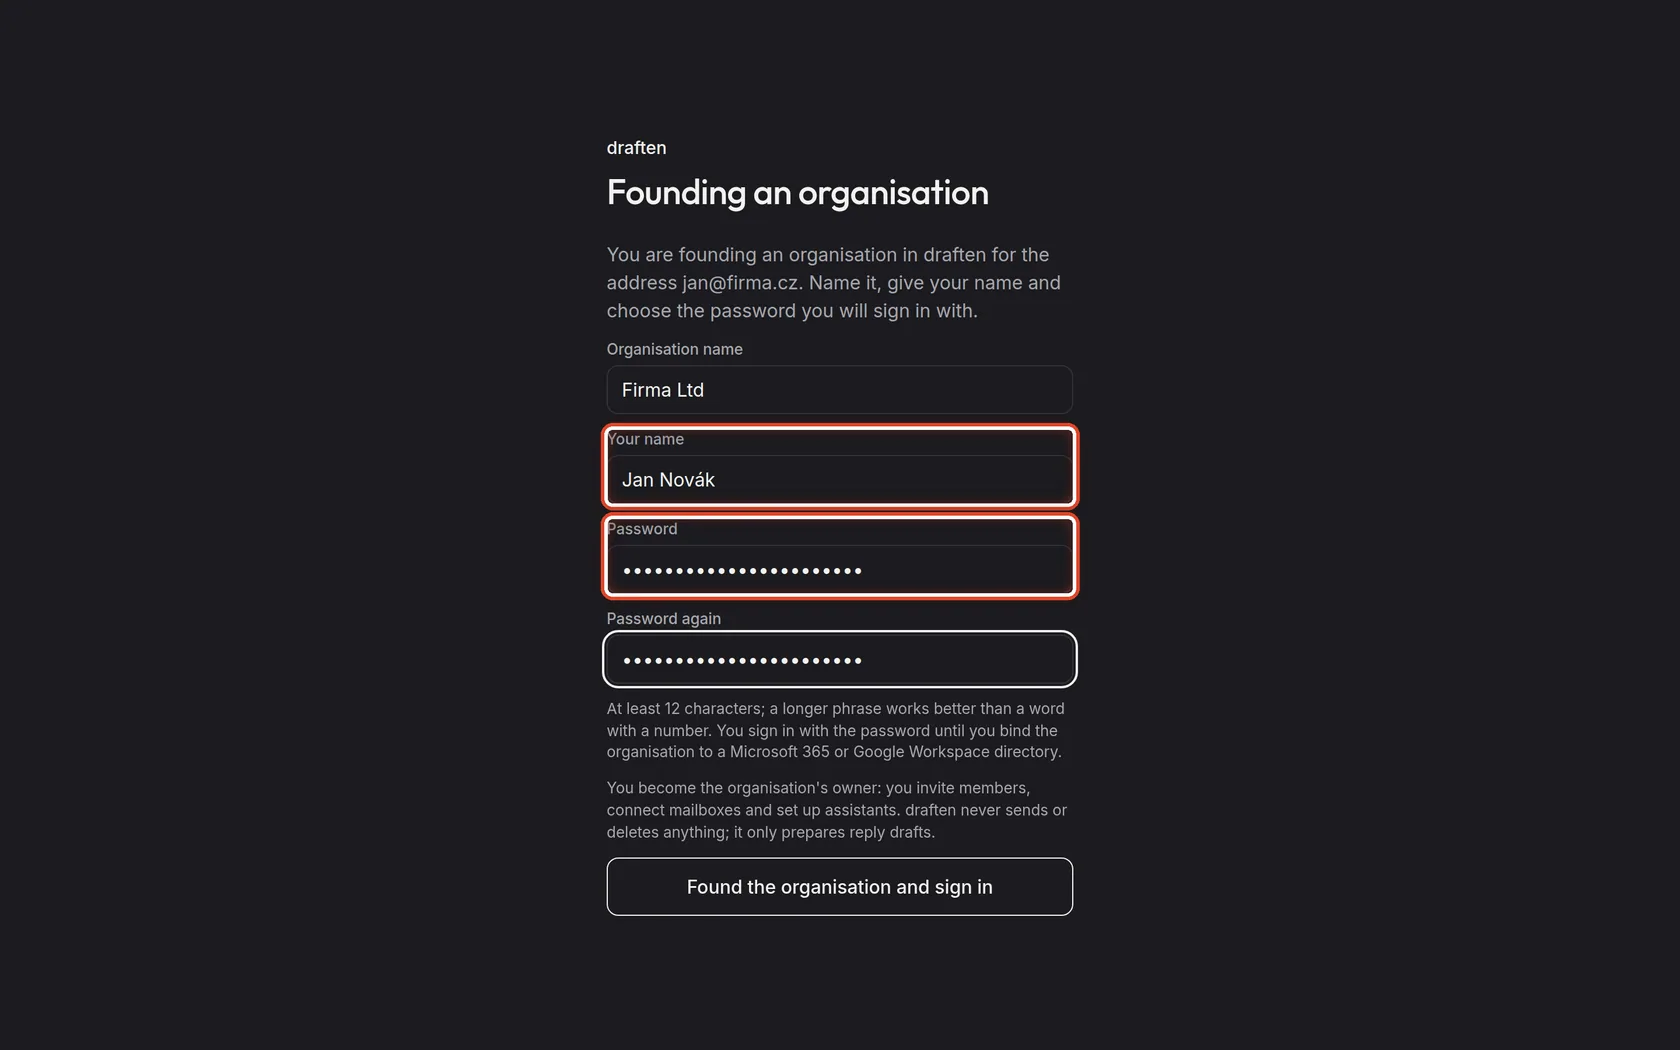
On the screenThe Your name, Password and Password again fields.
Do thisType your name and choose a password of at least 12 characters; a longer phrase is better than a word with a number. You sign in with the password until you bind the organisation to a Microsoft 365 or Google Workspace directory.
NoteSomeone who already has a draften account enters no password here — their sign-in stays as it is.
Step 3 of 8
Found the organisation
On the screenThe Found the organisation and sign in button.
Do thisClick it. The organisation is created, you become its owner and you are signed in straight away. The organisation takes your browser's time zone and language.
Step 4 of 8
The first sign-in
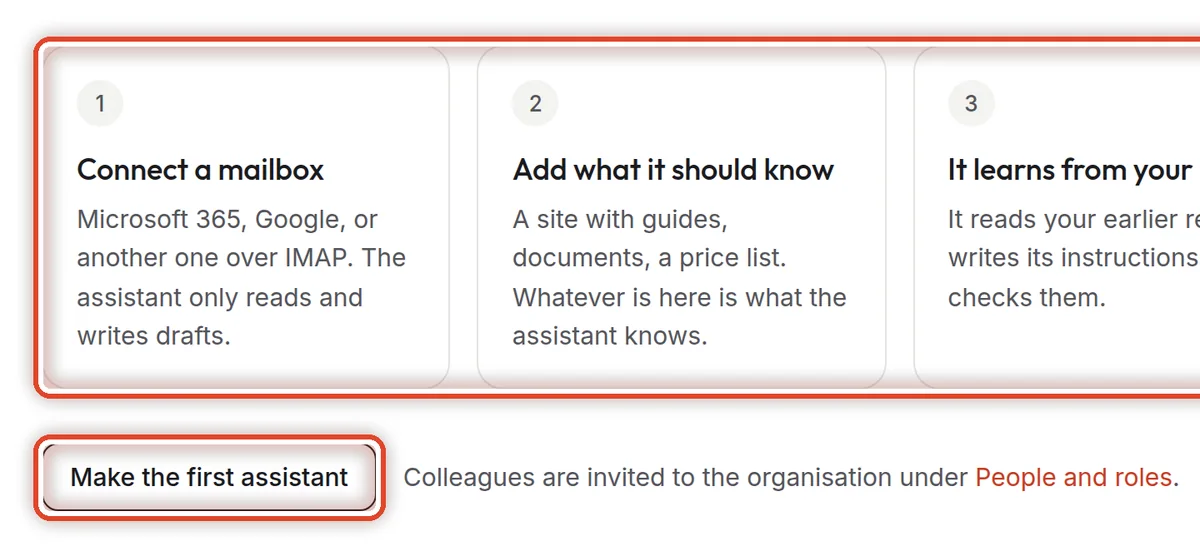
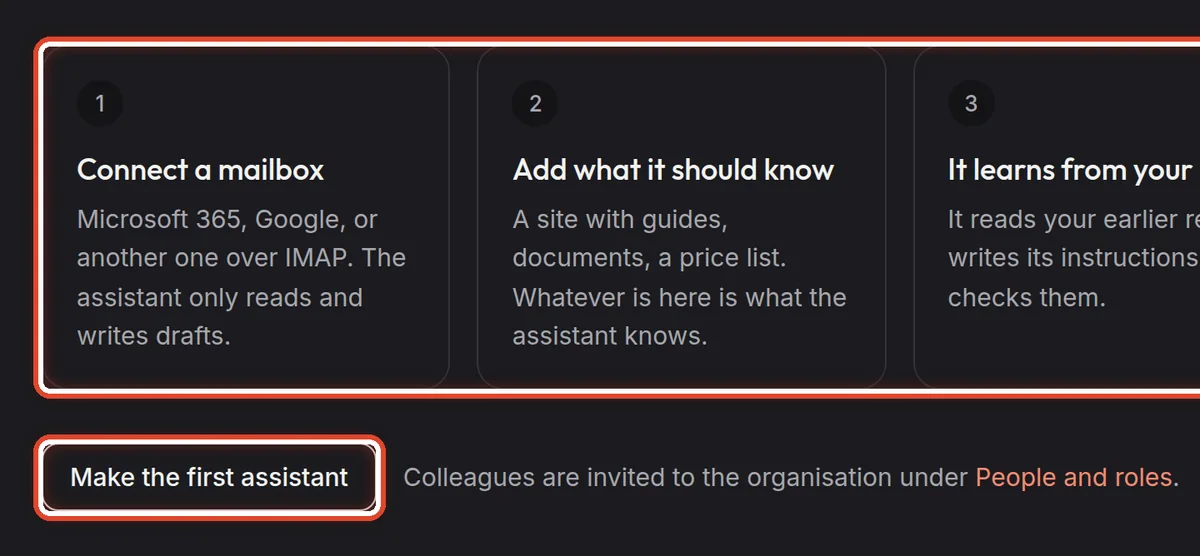
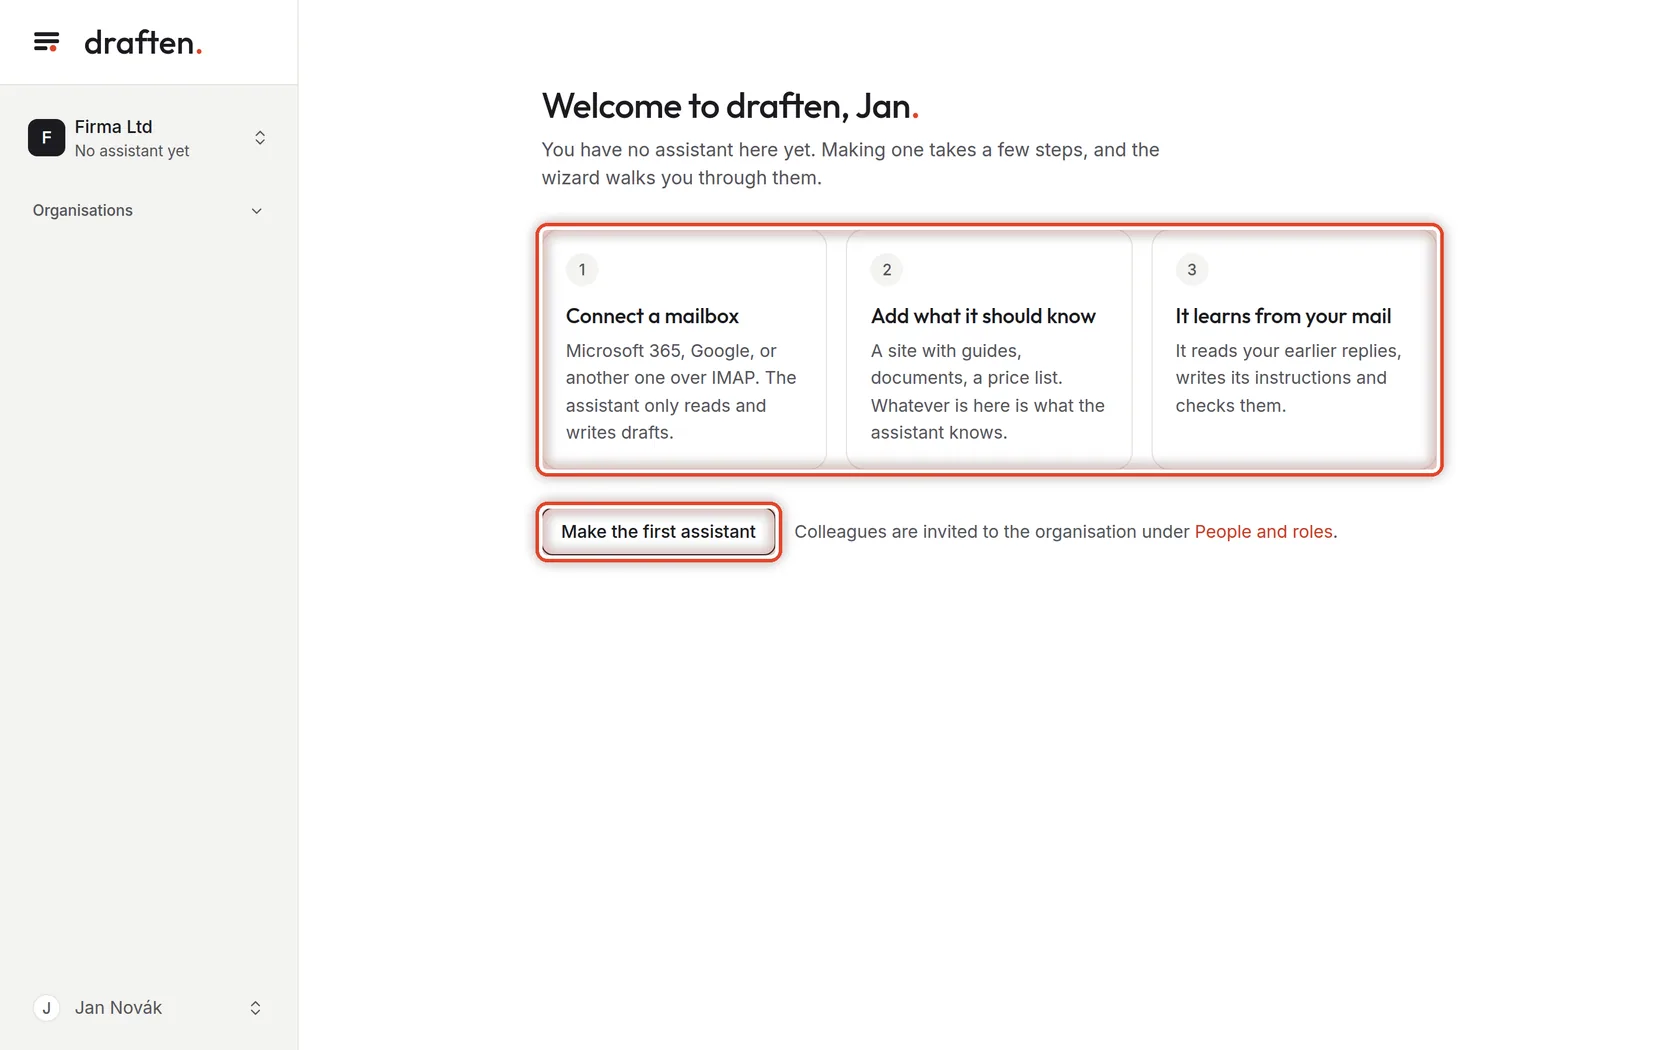
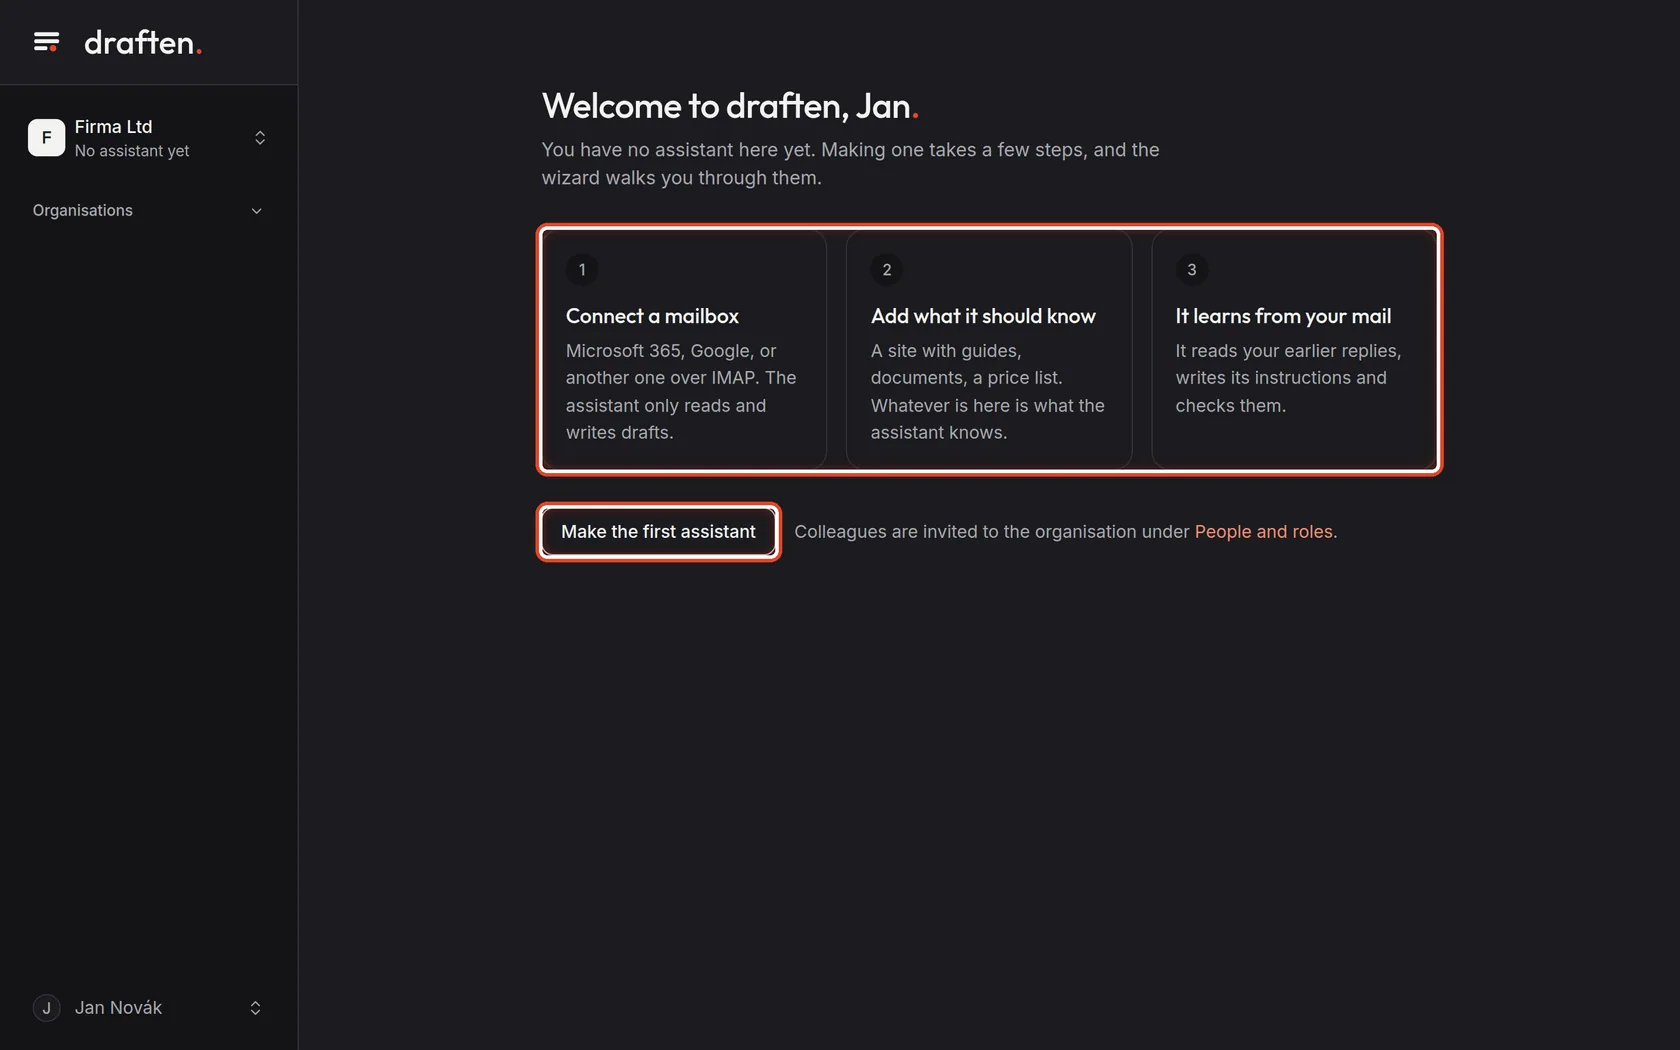
On the screenA welcome with three steps and the Make the first assistant button.
Do thisNothing is in the organisation yet. Make an assistant with Make the first assistant — the wizard adds a mailbox and knowledge and learns from the mail. The users' guide A new assistant, step by step describes it.
Step 5 of 8
The organisation's general settings
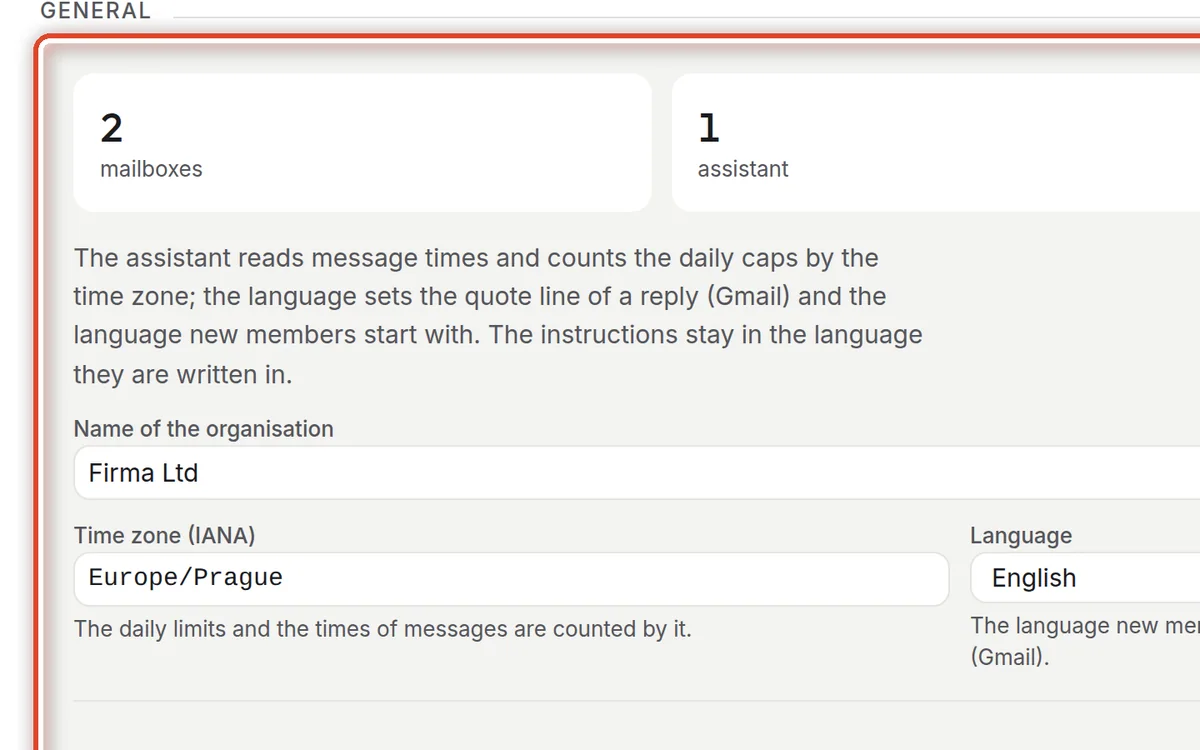
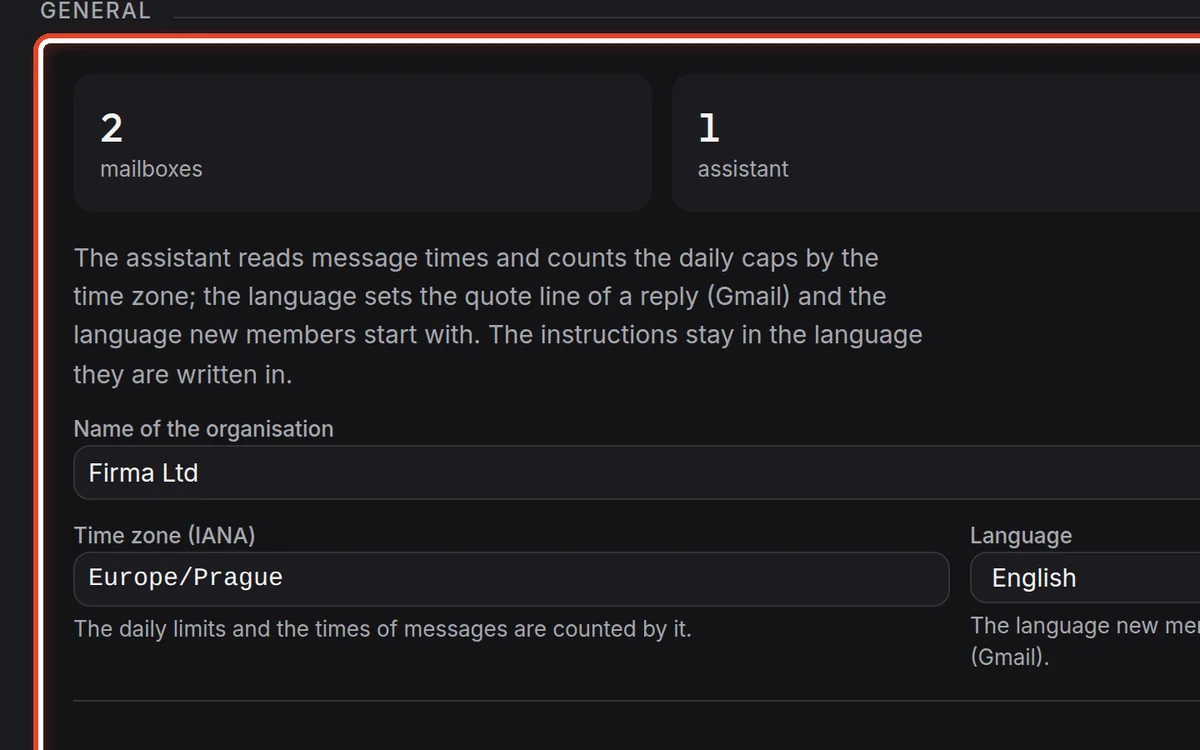
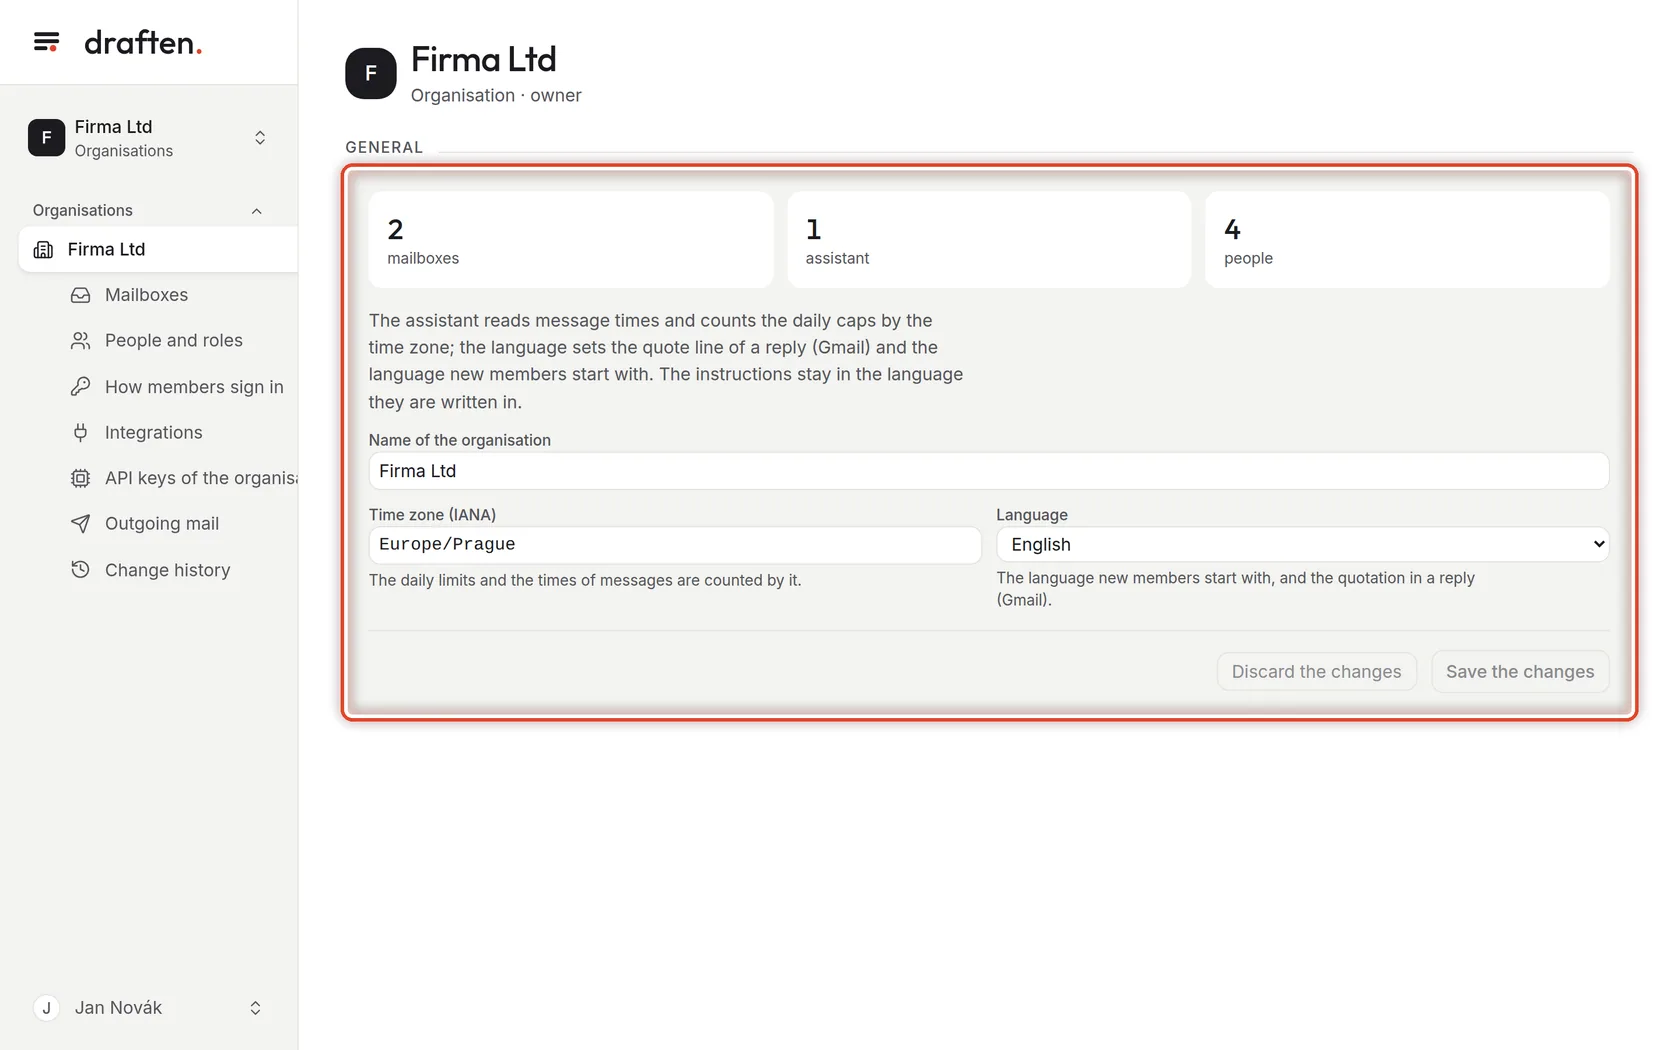
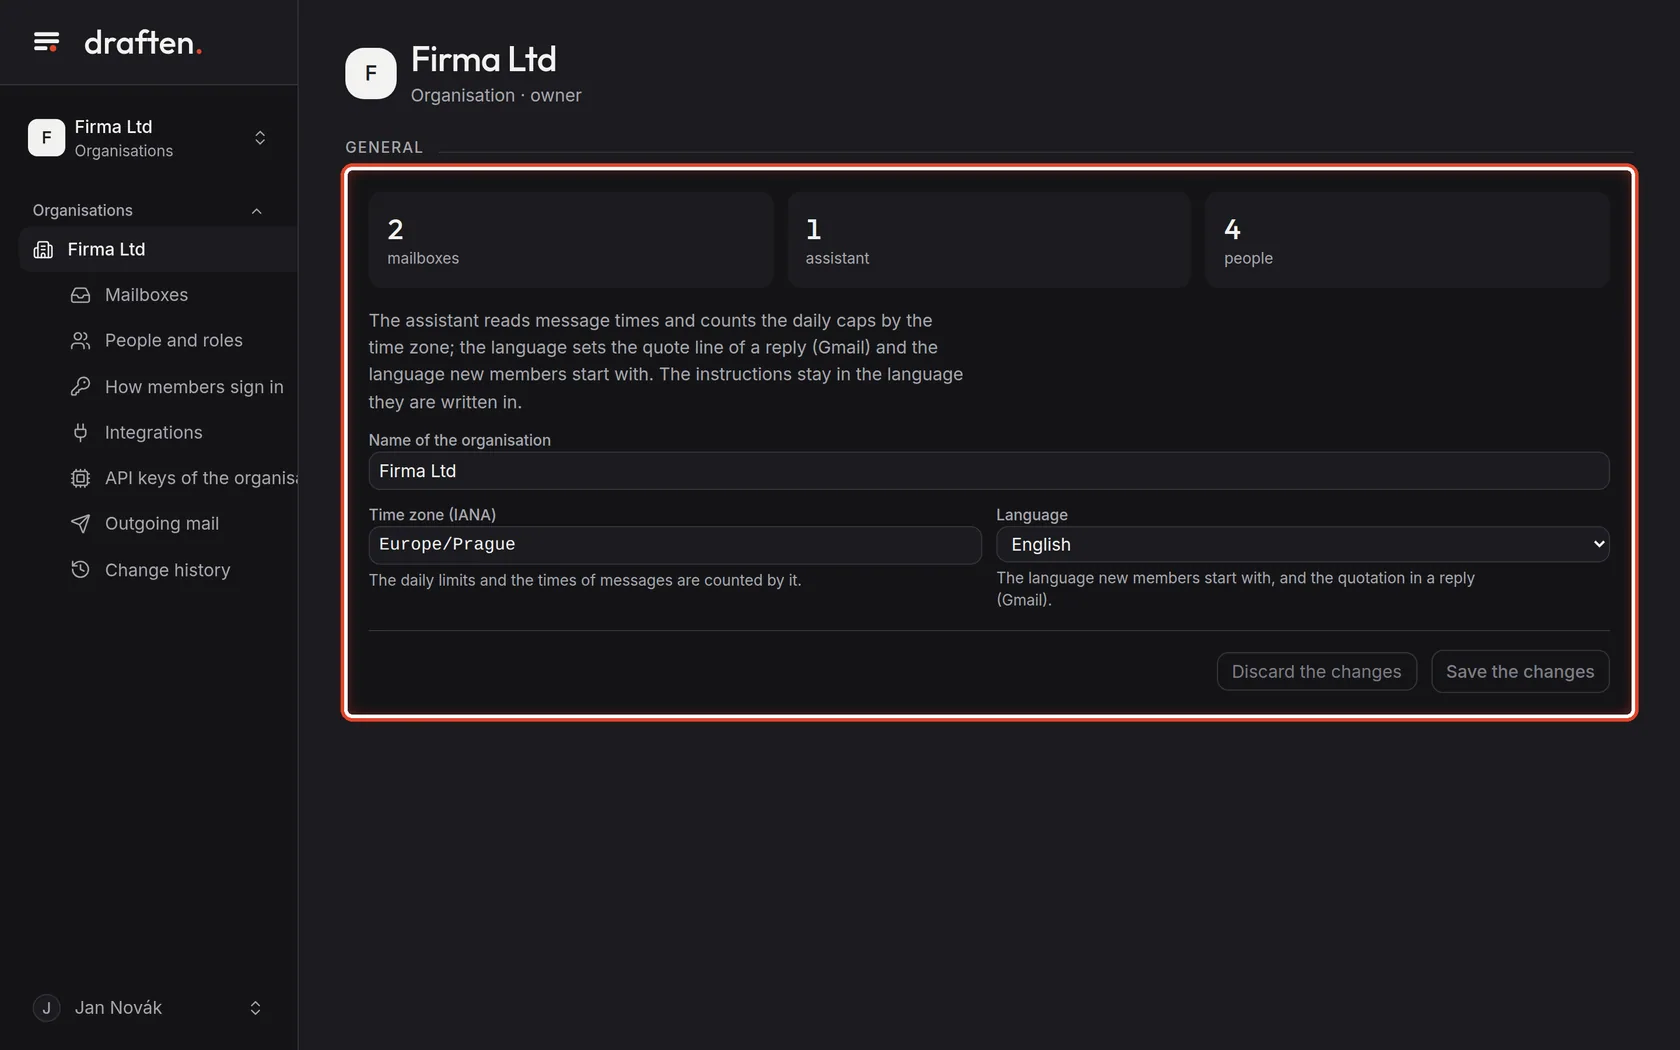
On the screenIn Organisation → General, the counts of mailboxes, assistants and people, and the Name, Time zone and Language fields.
Do thisThe time zone (IANA, Europe/Prague say) decides how daily limits and message times are counted. The language is the one new members start with and the quote line of Gmail replies. Assistants' instructions stay in the language they are written in.
NoteThe organisation owner changes the name, zone and language.
Step 6 of 8
People and roles
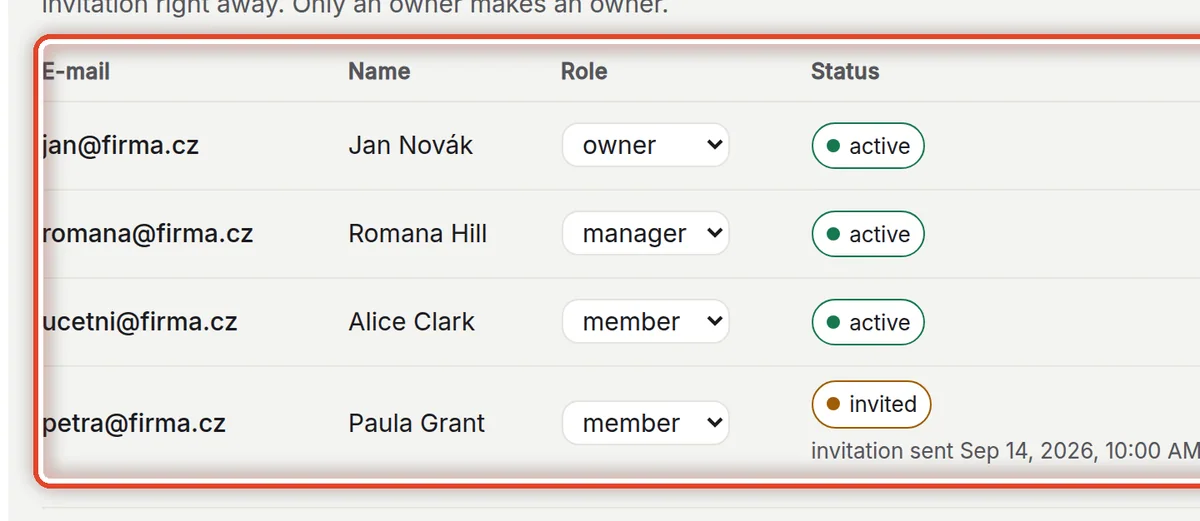
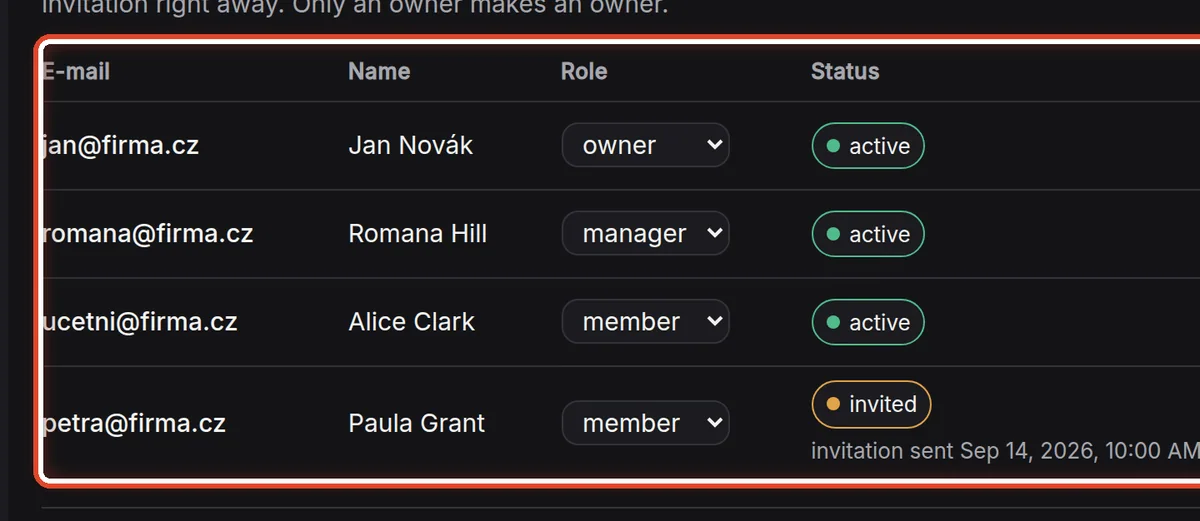
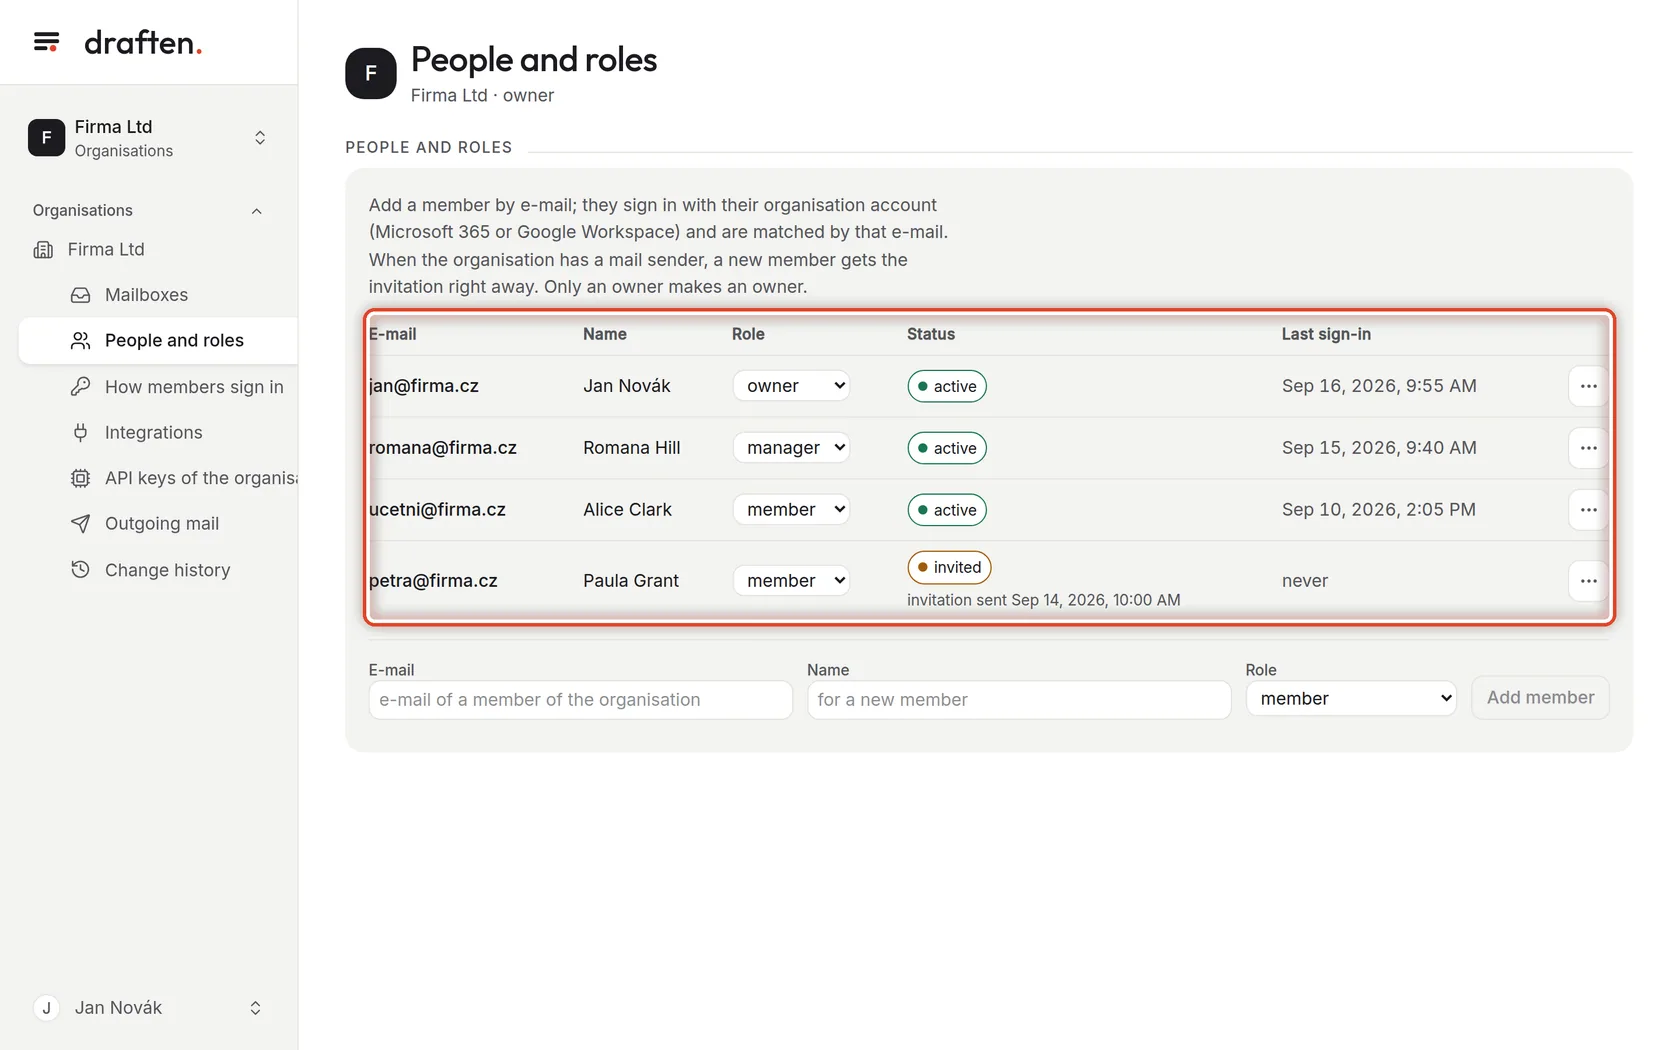
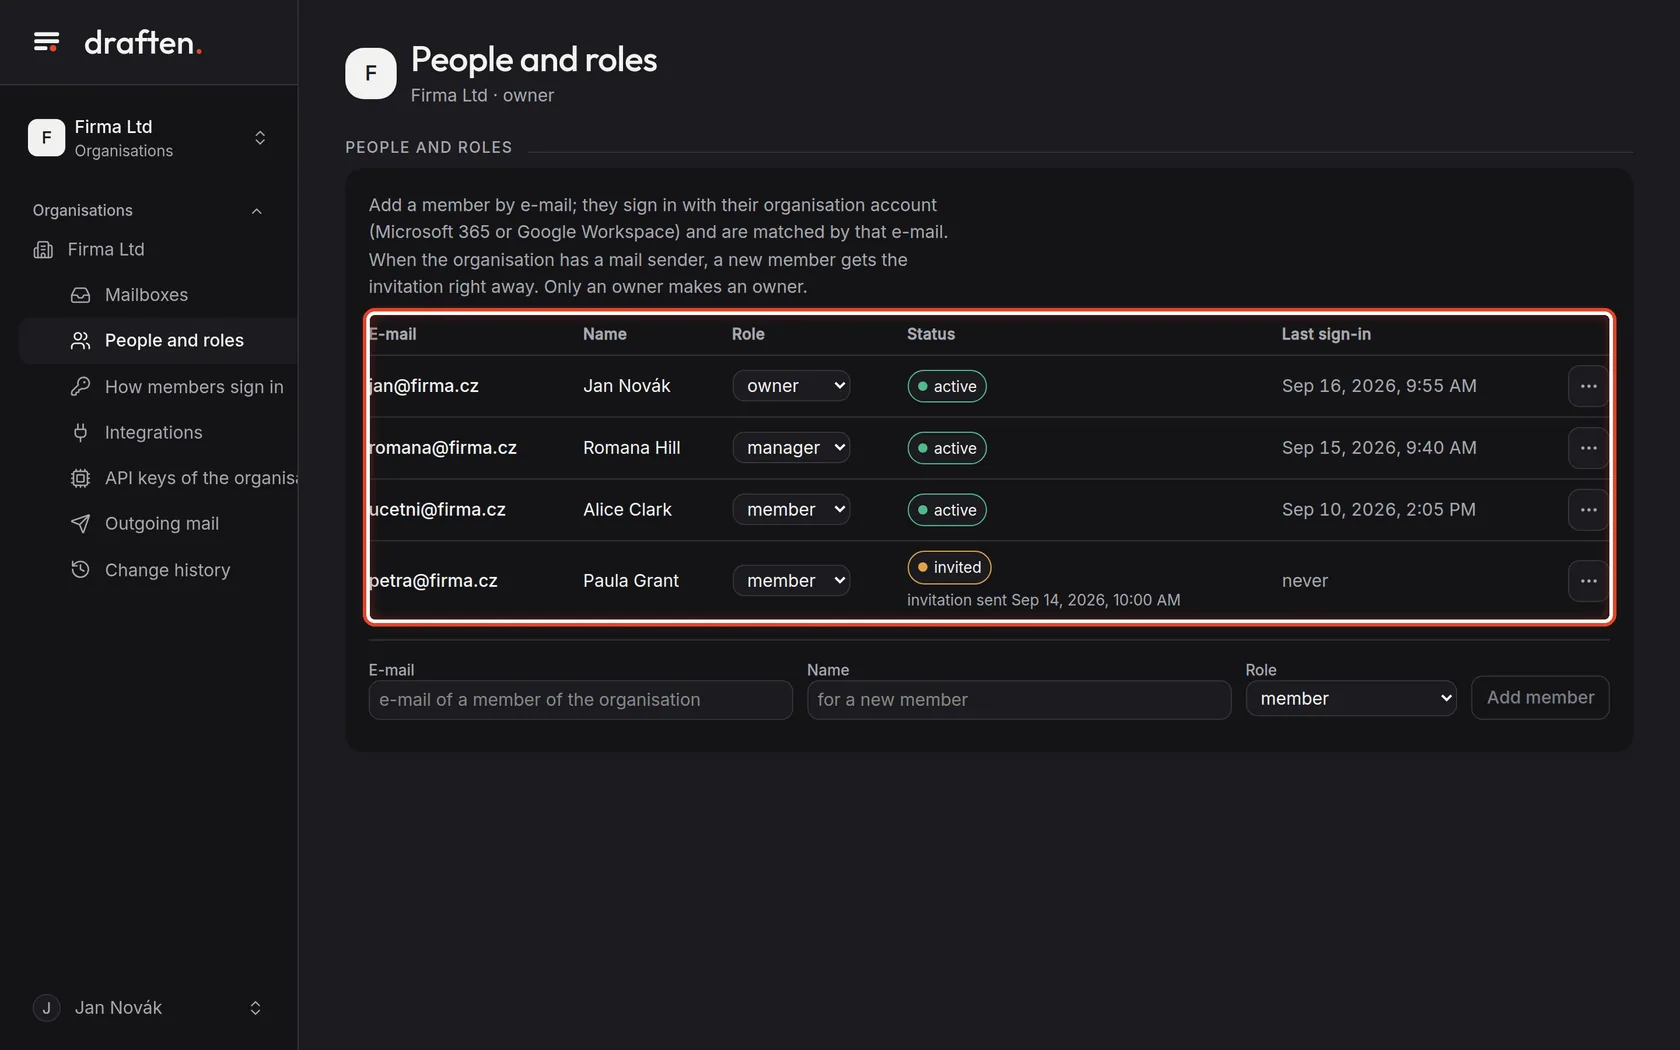
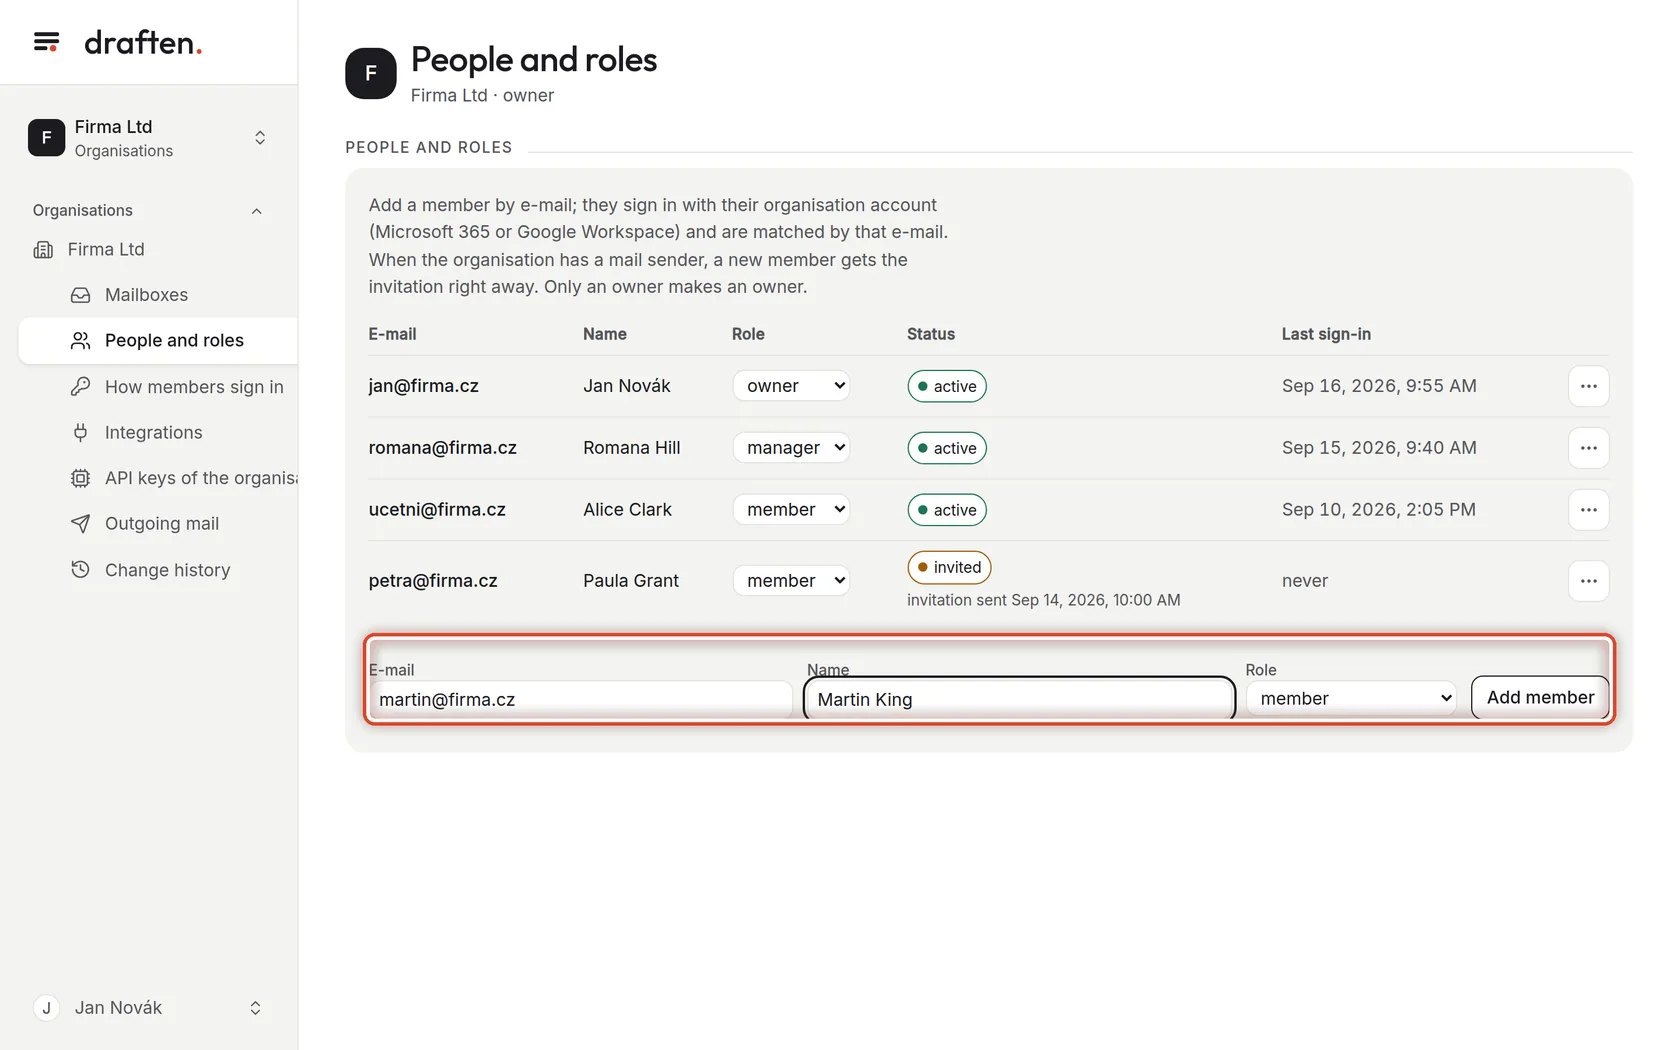
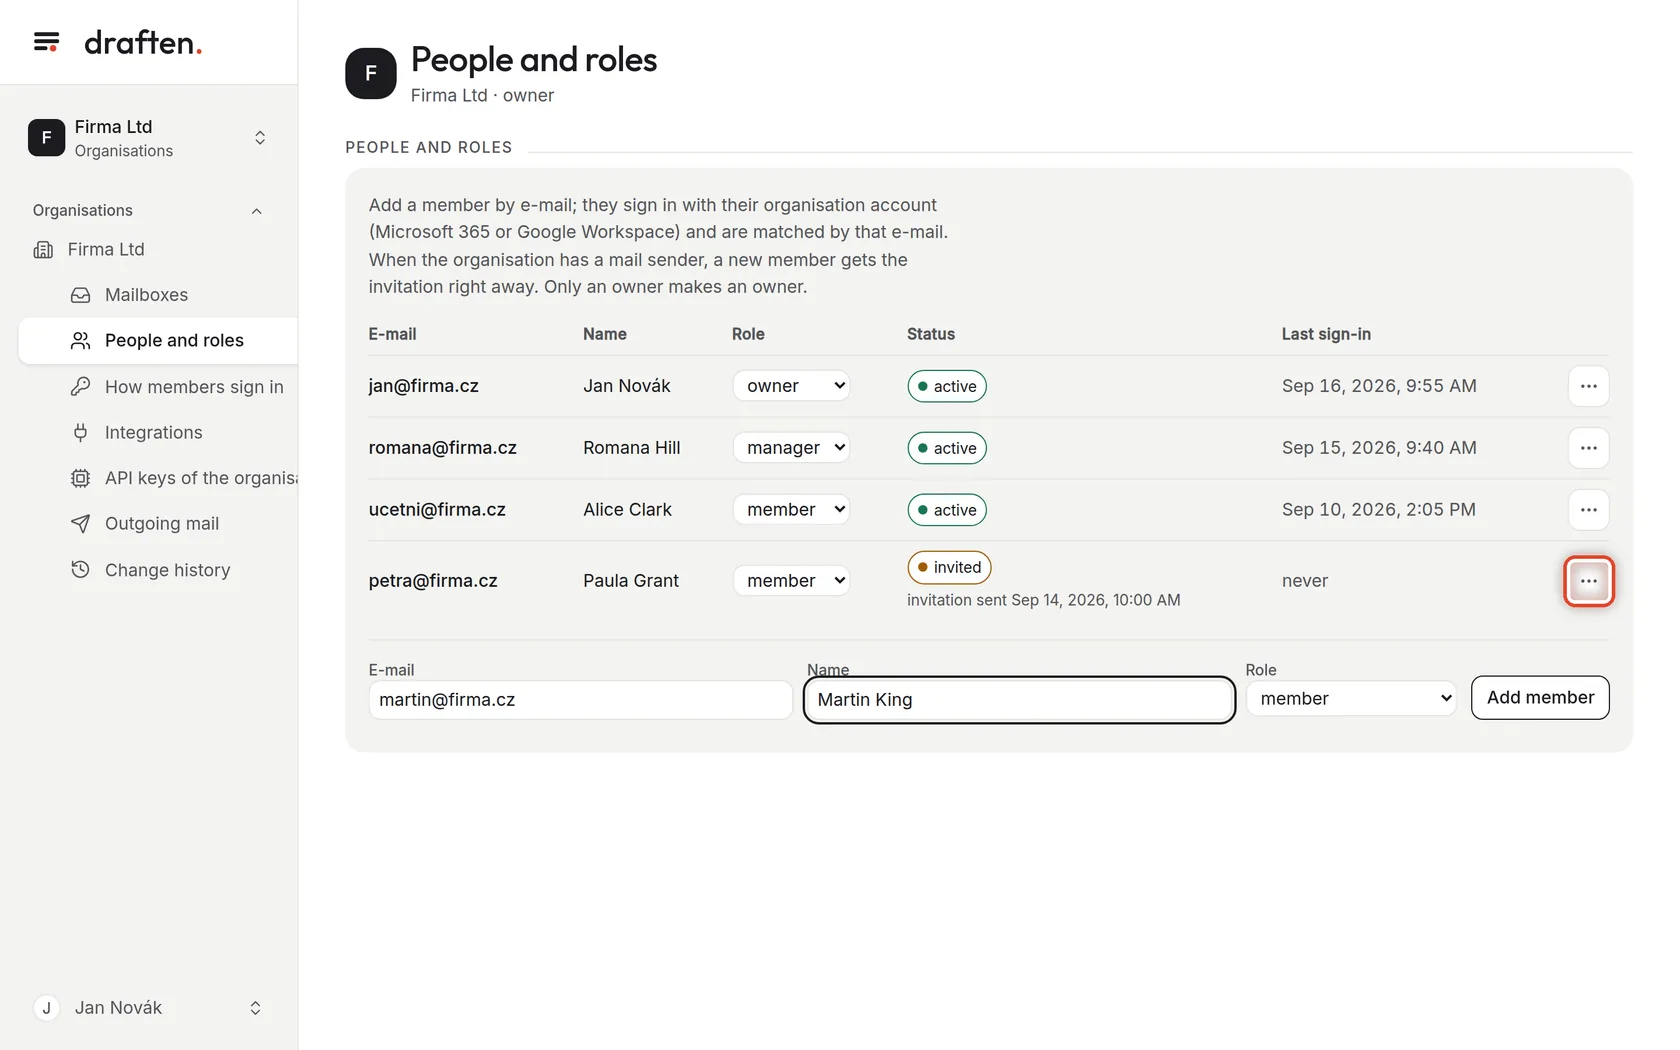
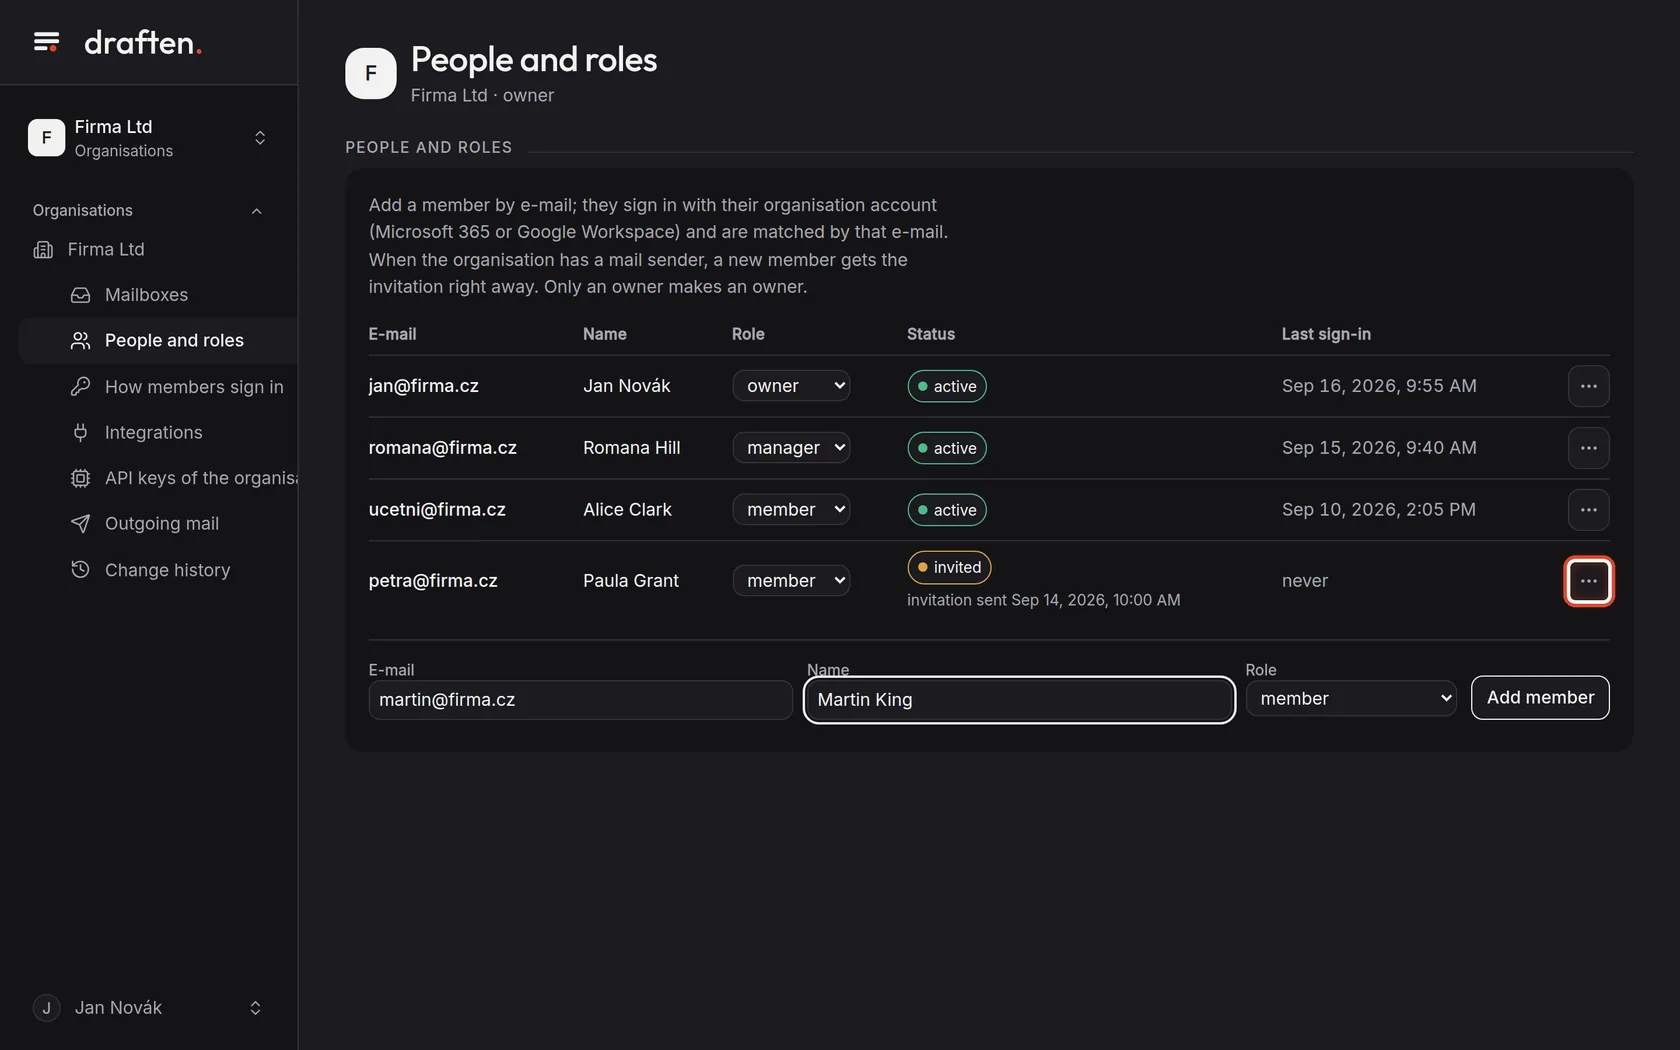
On the screenIn Organisation → People and roles, the members with role, status and last sign-in.
Do thisThree roles: an owner manages everything and has owner rights to all mailboxes; a manager invites members, connects mailboxes, manages integrations and keys, and has editor rights to the mailboxes; a member sees only the mailboxes they were given access to. Change a role in the row.
NoteOnly an owner makes or removes an owner; the last owner stays. In detail: People and roles.
Step 7 of 8
Add a member
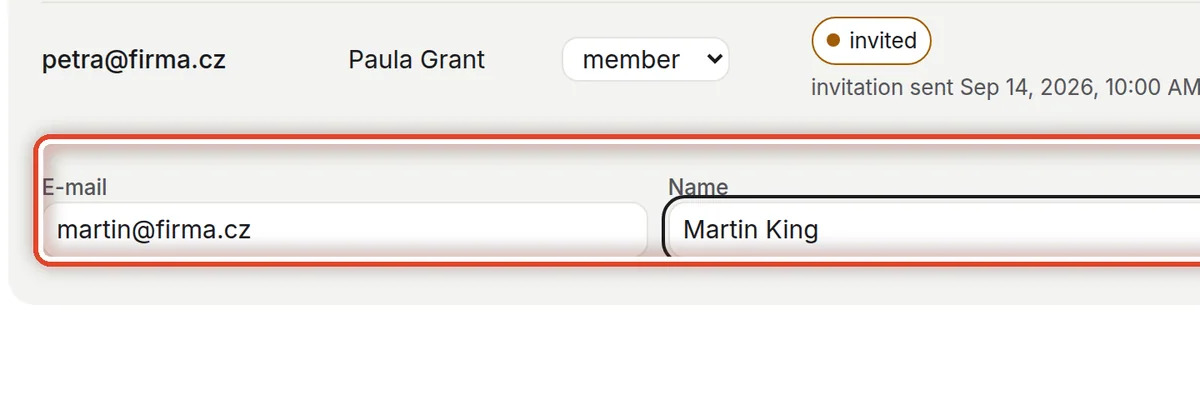
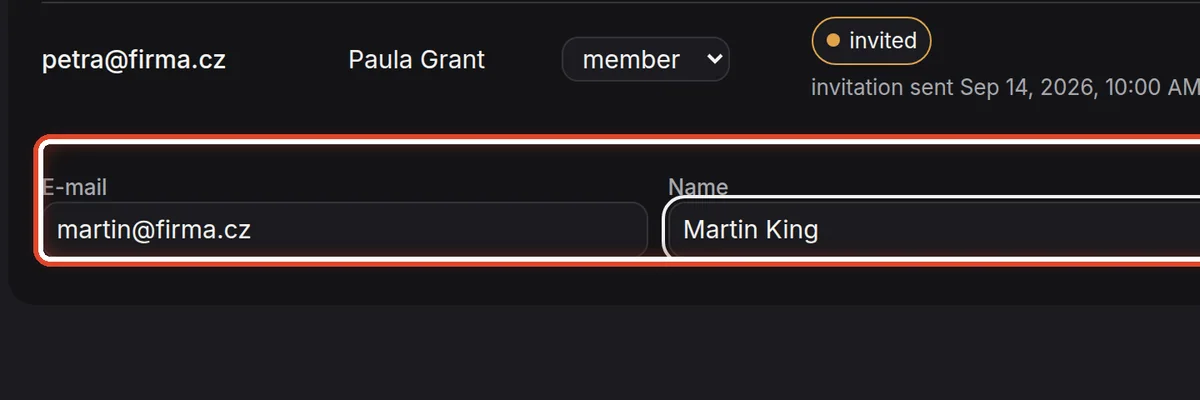
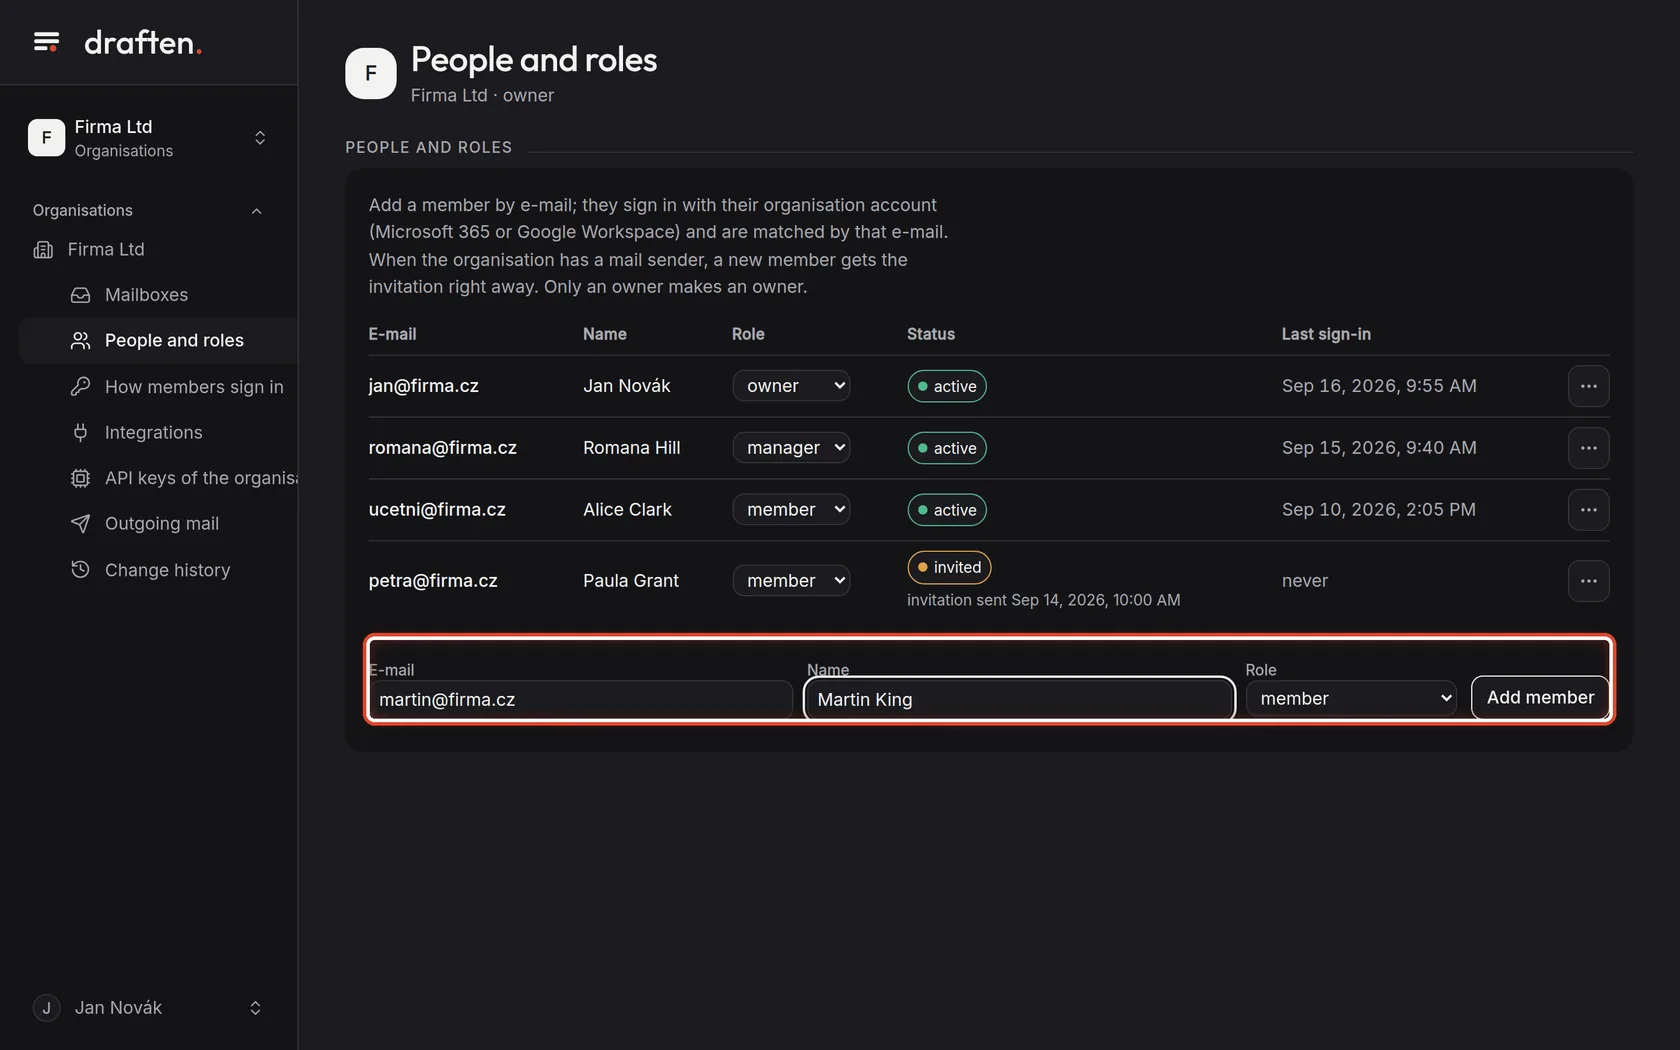
On the screenUnder the list, the E-mail, Name and Role fields and the Add member button.
Do thisType the e-mail, a name for a new person, choose the role and click Add member. When the organisation has a mail sender (or the operator provides one), the member gets an invitation with a one-time link at once.
NoteWithout a mail sender the member is added too, only nobody tells them — they sign in with the organisation's account (Microsoft 365 or Google Workspace) by that e-mail. See Outgoing mail and How members sign in.
Step 8 of 8
Invitation and removal
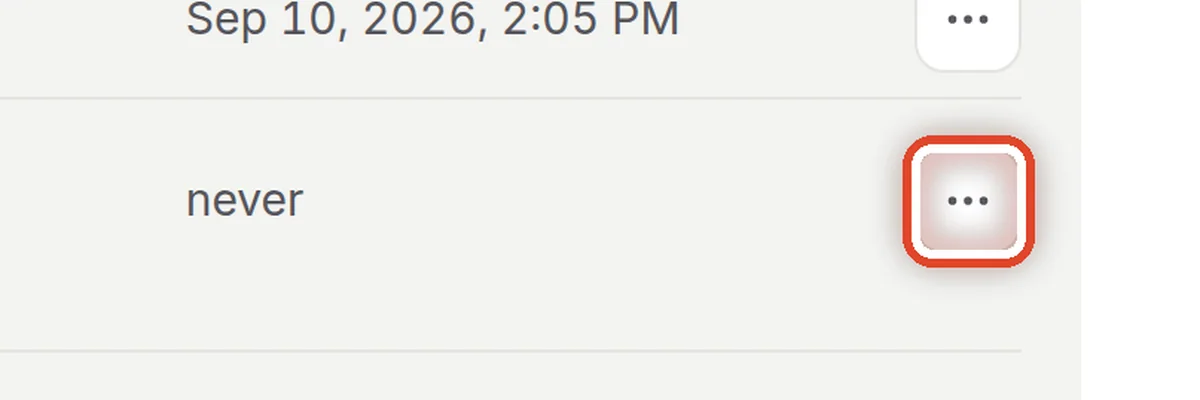
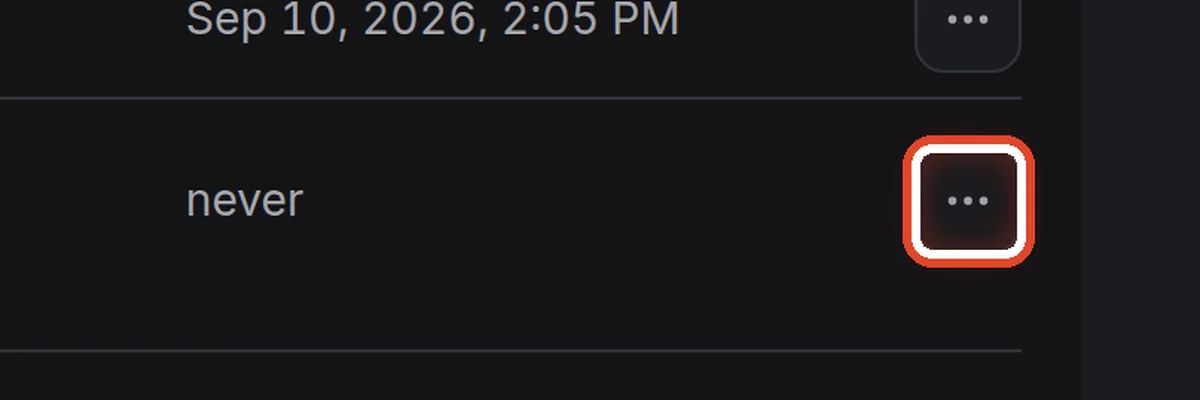
On the screenIn a member's row, the three-dots button.
Do thisThe menu has Send invitation (or Send again — the old link stops working) and removal from the organisation. A removed member loses their mailbox access too.
NoteThe invited status means the invitation went but the member has not signed in yet. If it did not go, the reason shows by the member.
The end
The organisation is up
Next: set how members sign in, where the invitations are sent from, and add and connect mailboxes.
- Signing in with Microsoft 365 or GoogleBinding to a directory is described in How members sign in.
- MailboxesThe guide Adding and connecting a mailbox.